Solar Oven S’mores STEM Activity with FREE Printable
As an Amazon Associate, I earn from qualifying purchases. This post may contain affiliate links. Read my disclosure policy.
When the summer heat rolls in, most people look for ways to cool down. But our kids had a different idea—they turned the heat wave into an opportunity for science…and s’mores!
Using just a cardboard box, some foil, and a few other household supplies, they built their own DIY solar oven and made delicious, gooey s’mores powered completely by the sun. The result? Melted chocolate, soft marshmallows, and a whole lot of learning.
If you’re looking for a simple, hands-on STEM activity that combines science, engineering, and snacks, this is the one!
What Is a Solar Oven?
A solar oven is a device that uses sunlight to cook food. It works by trapping heat from the sun using reflective materials (like aluminum foil) and insulating layers (like plastic wrap). The sunlight is redirected and absorbed to heat the food inside the box—no electricity or fire needed!
Learn more about solar energy here!
How to Make a Solar Oven for S’mores
A solar oven is a device that uses sunlight to cook food. It works by trapping heat from the sun using reflective materials (like aluminum foil) and insulating layers (like plastic wrap). The sunlight is redirected and absorbed to heat the food inside the box—no electricity or fire needed!
Supplies Needed:
- 1 cardboard box with a lid (a pizza box or shoebox works great)
- Aluminum foil
- Clear plastic wrap
- Black construction paper
- Tape or glue
- Scissors or craft knife
- Ruler or stick (to prop the lid)
- Graham crackers, chocolate, and marshmallows
Step-by-Step Instructions:
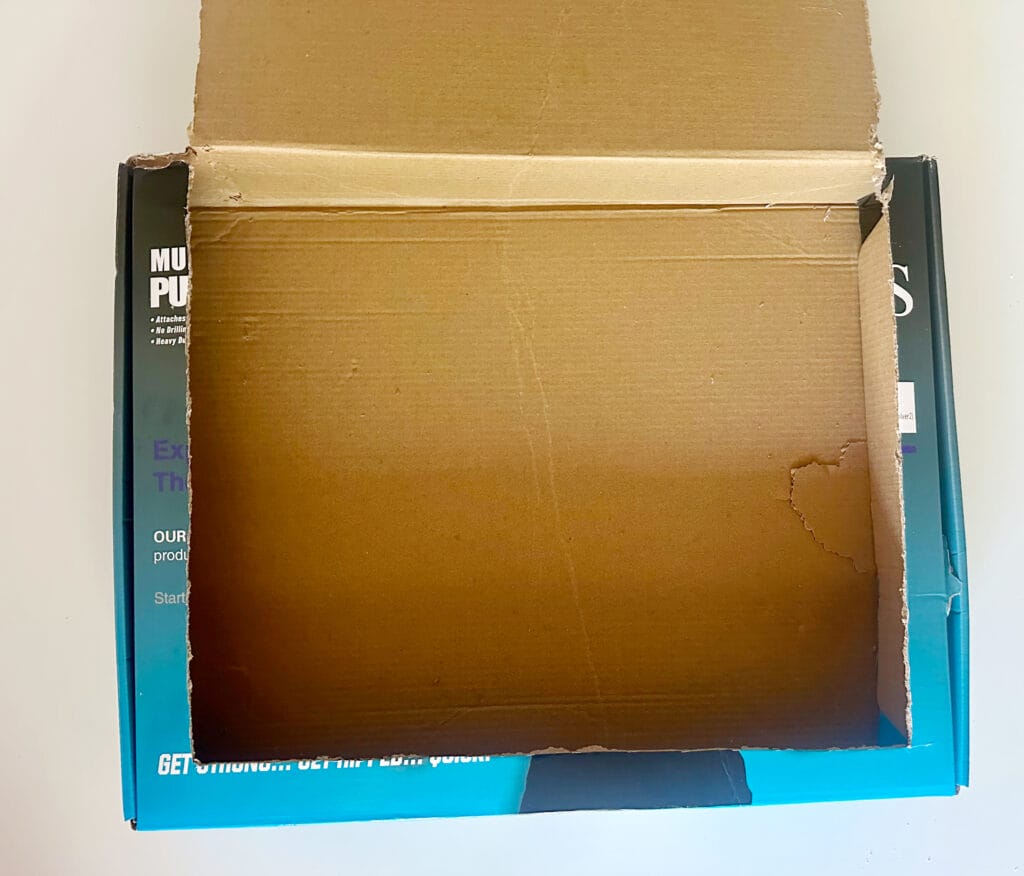
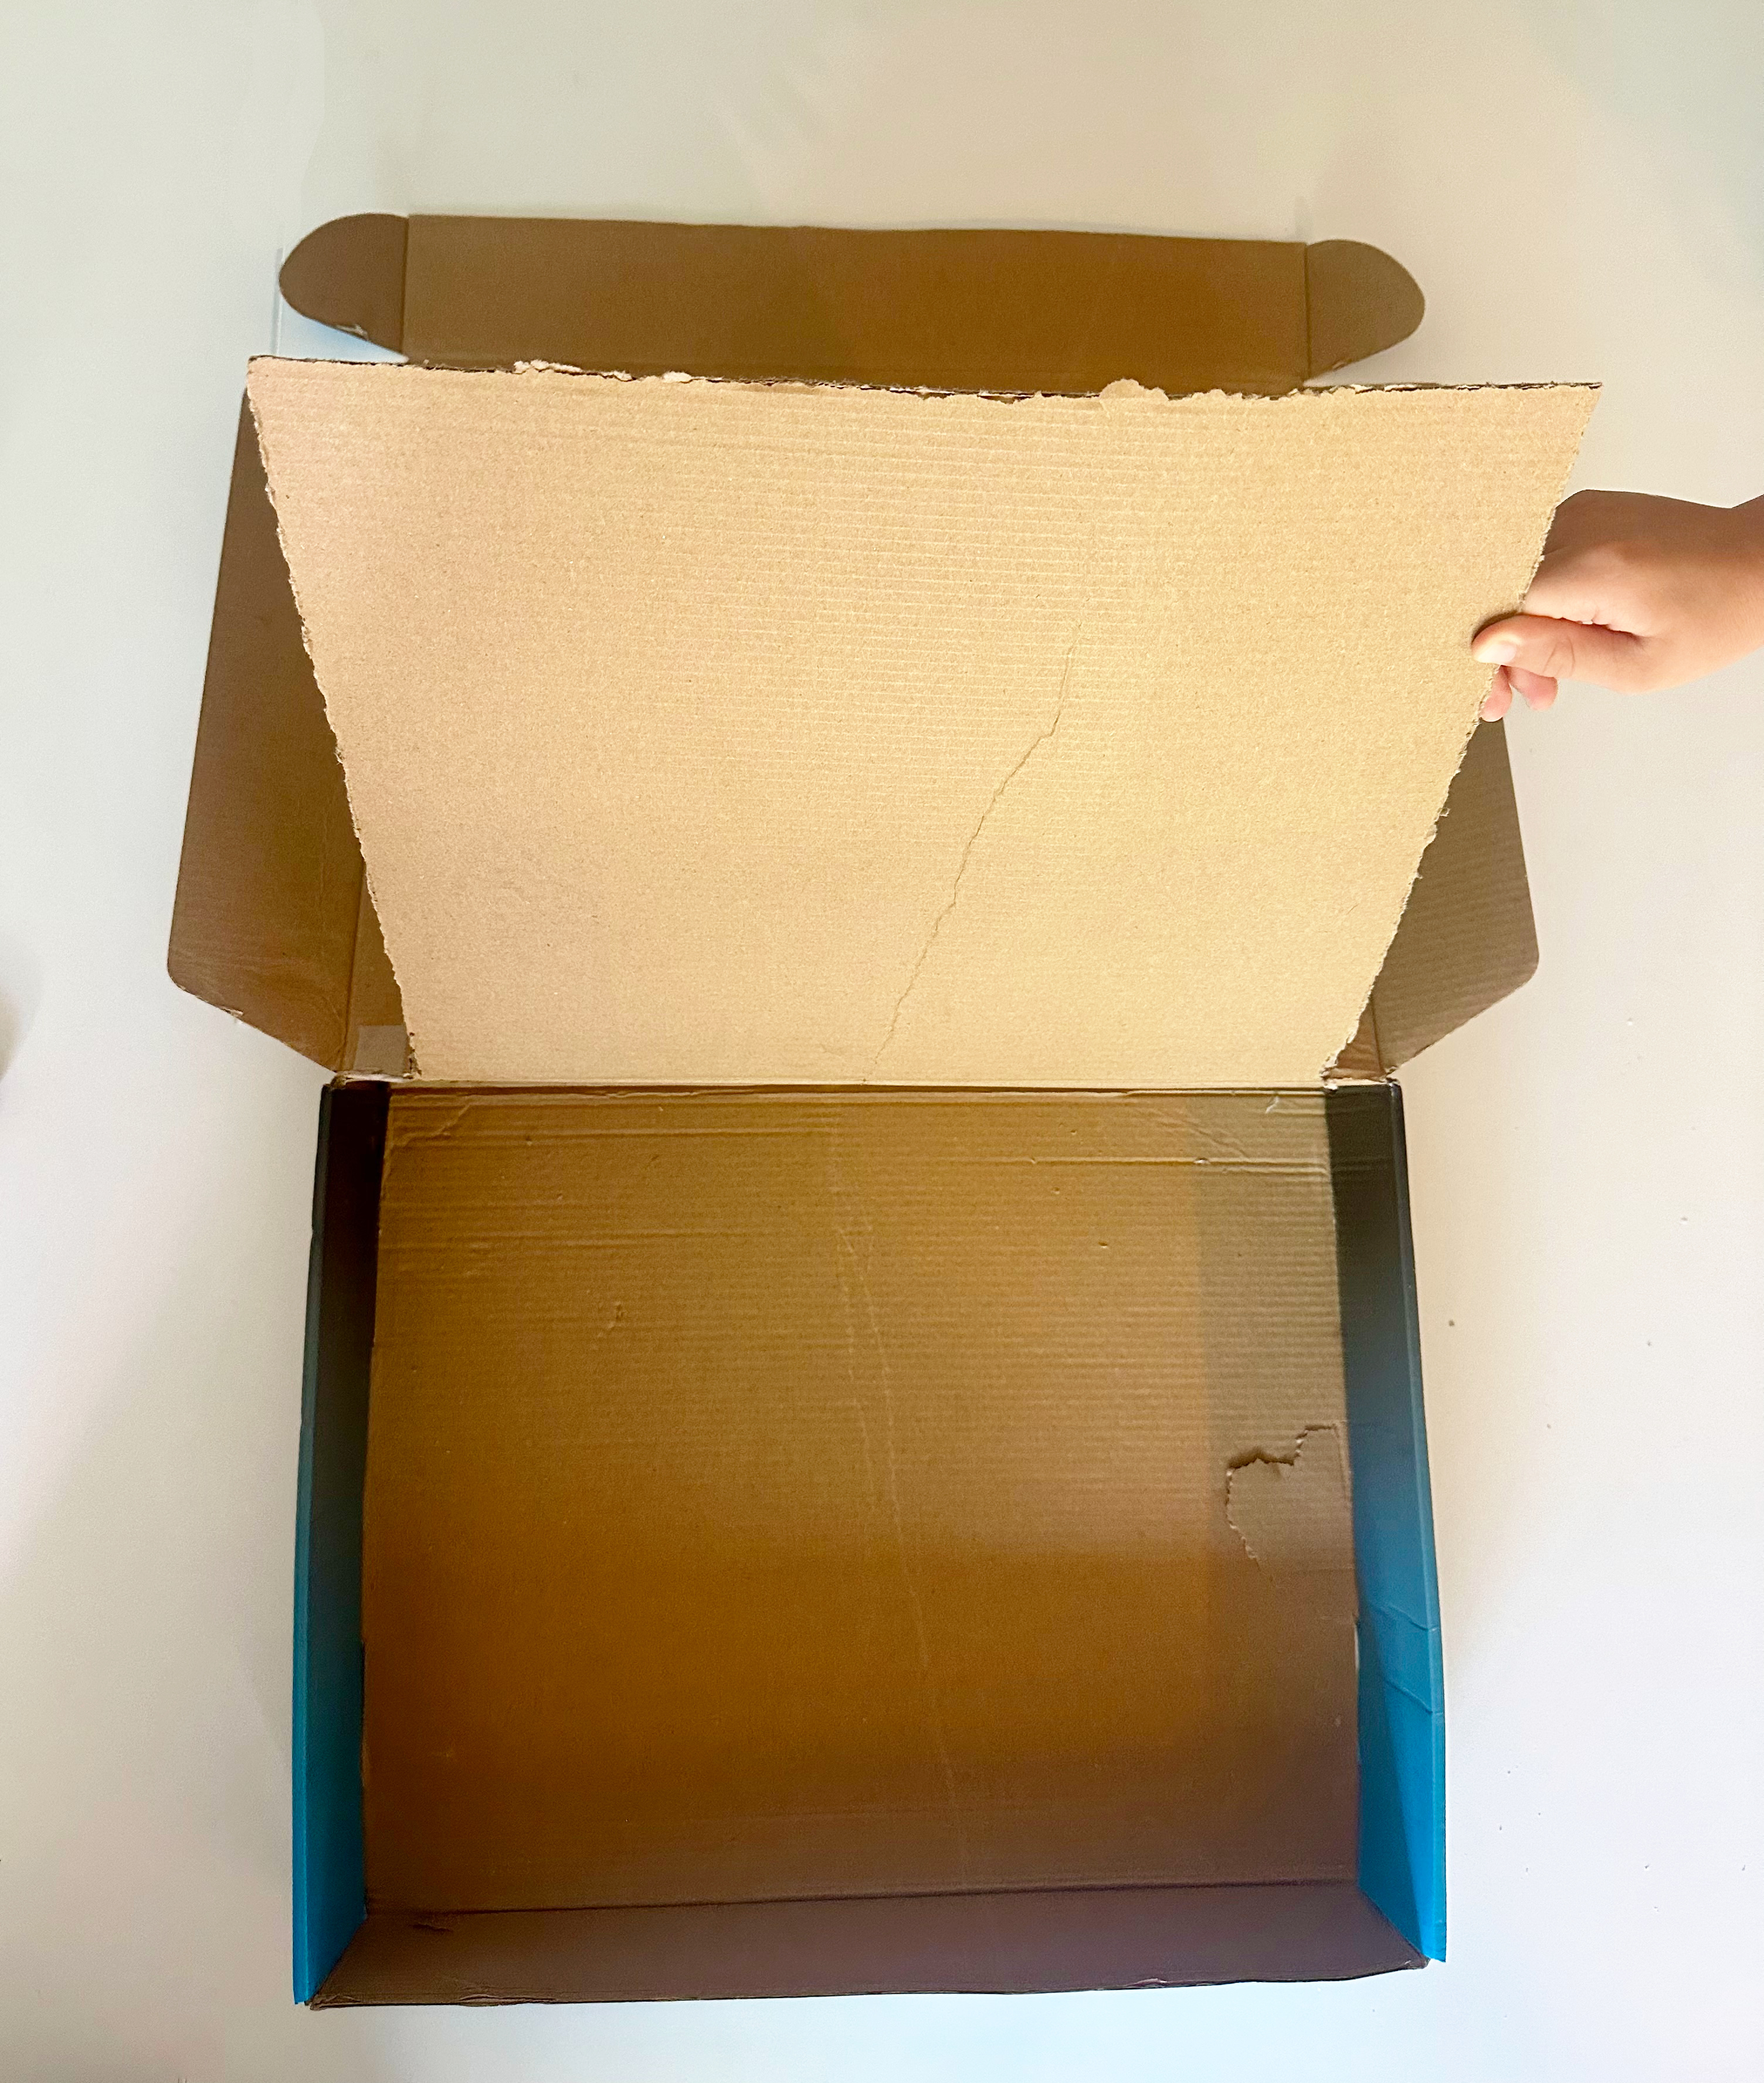
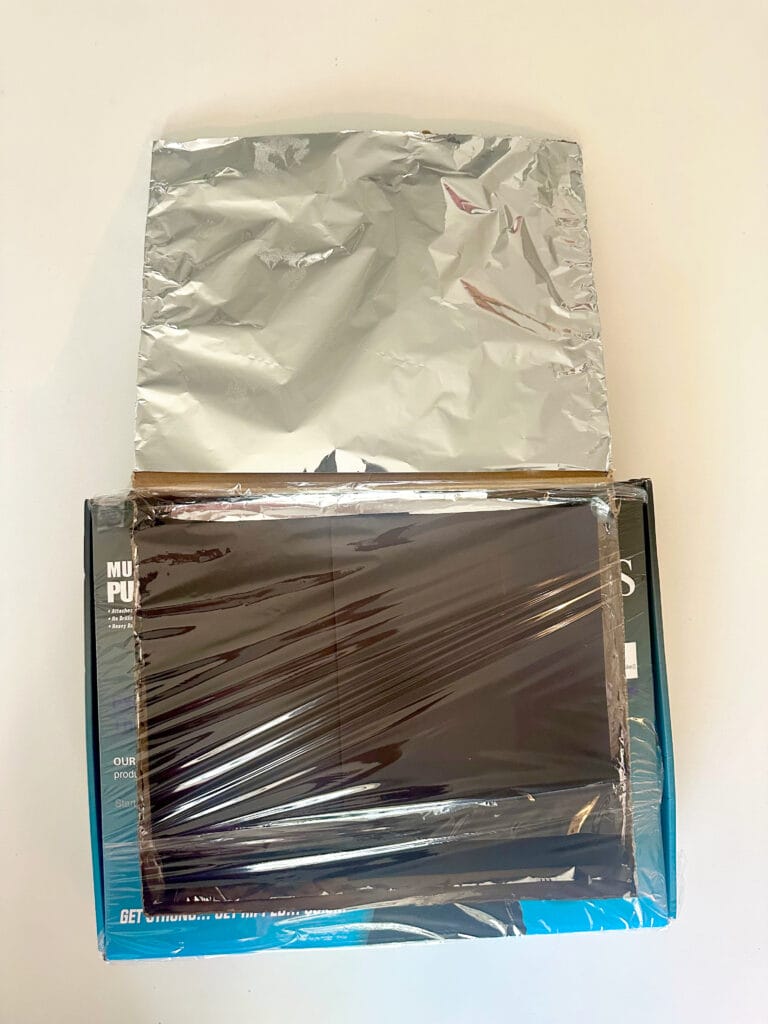
1. Cut a flap in the lid.
Using scissors or a craft knife, cut three sides of a square or rectangle on the top of the box to create a flap. Leave one side attached so it can lift up like a lid.
2. Line the inside with foil.
Cover the inside of the box (bottom and sides) and the top flap with aluminum foil. This reflects sunlight inward. Tape it down smoothly.

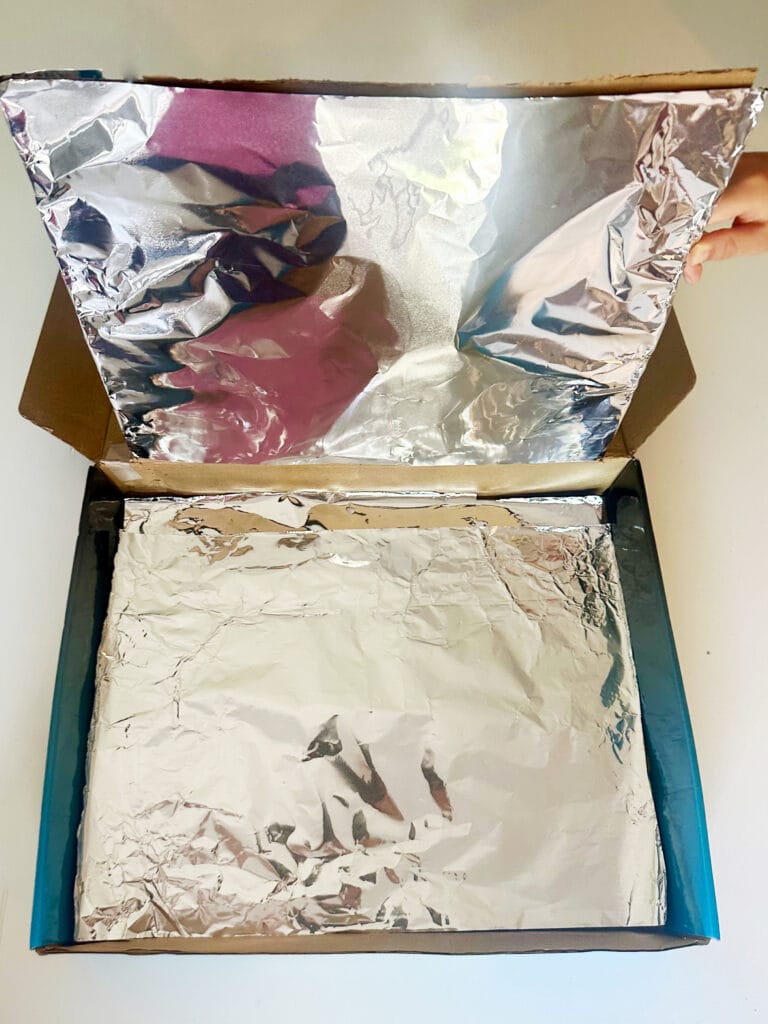
3. Add black construction paper.
Place a sheet of black paper on the bottom of the box. Black absorbs heat and helps cook the s’more faster.

4. Cover the opening with plastic wrap.
Tape clear plastic wrap across the hole you cut in the lid, sealing all sides. This keeps the warm air in while letting sunlight through—like a greenhouse!
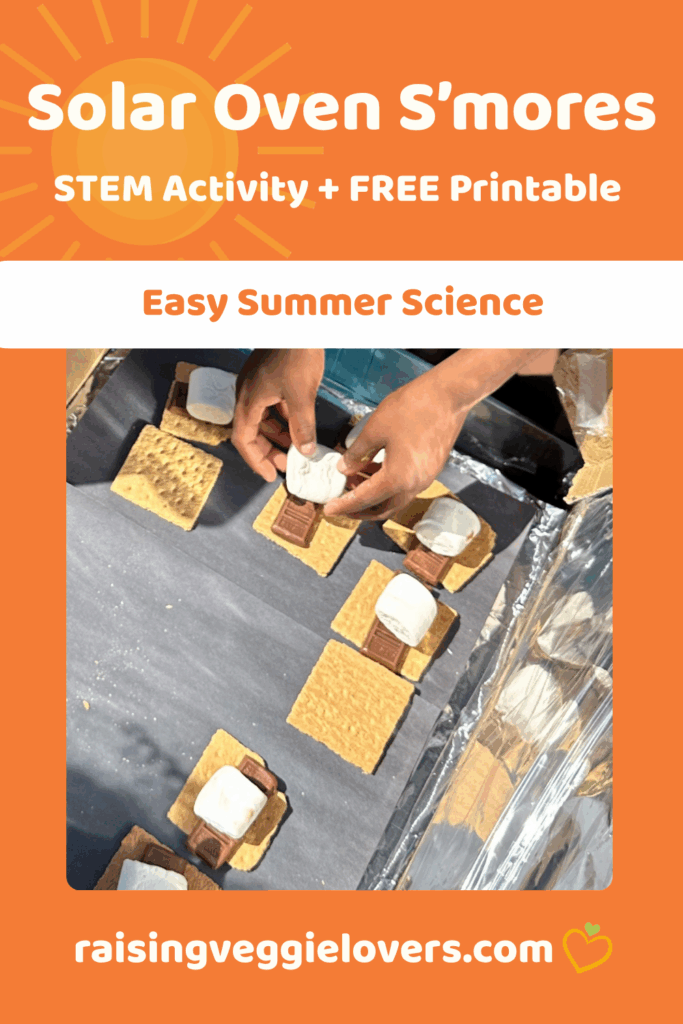
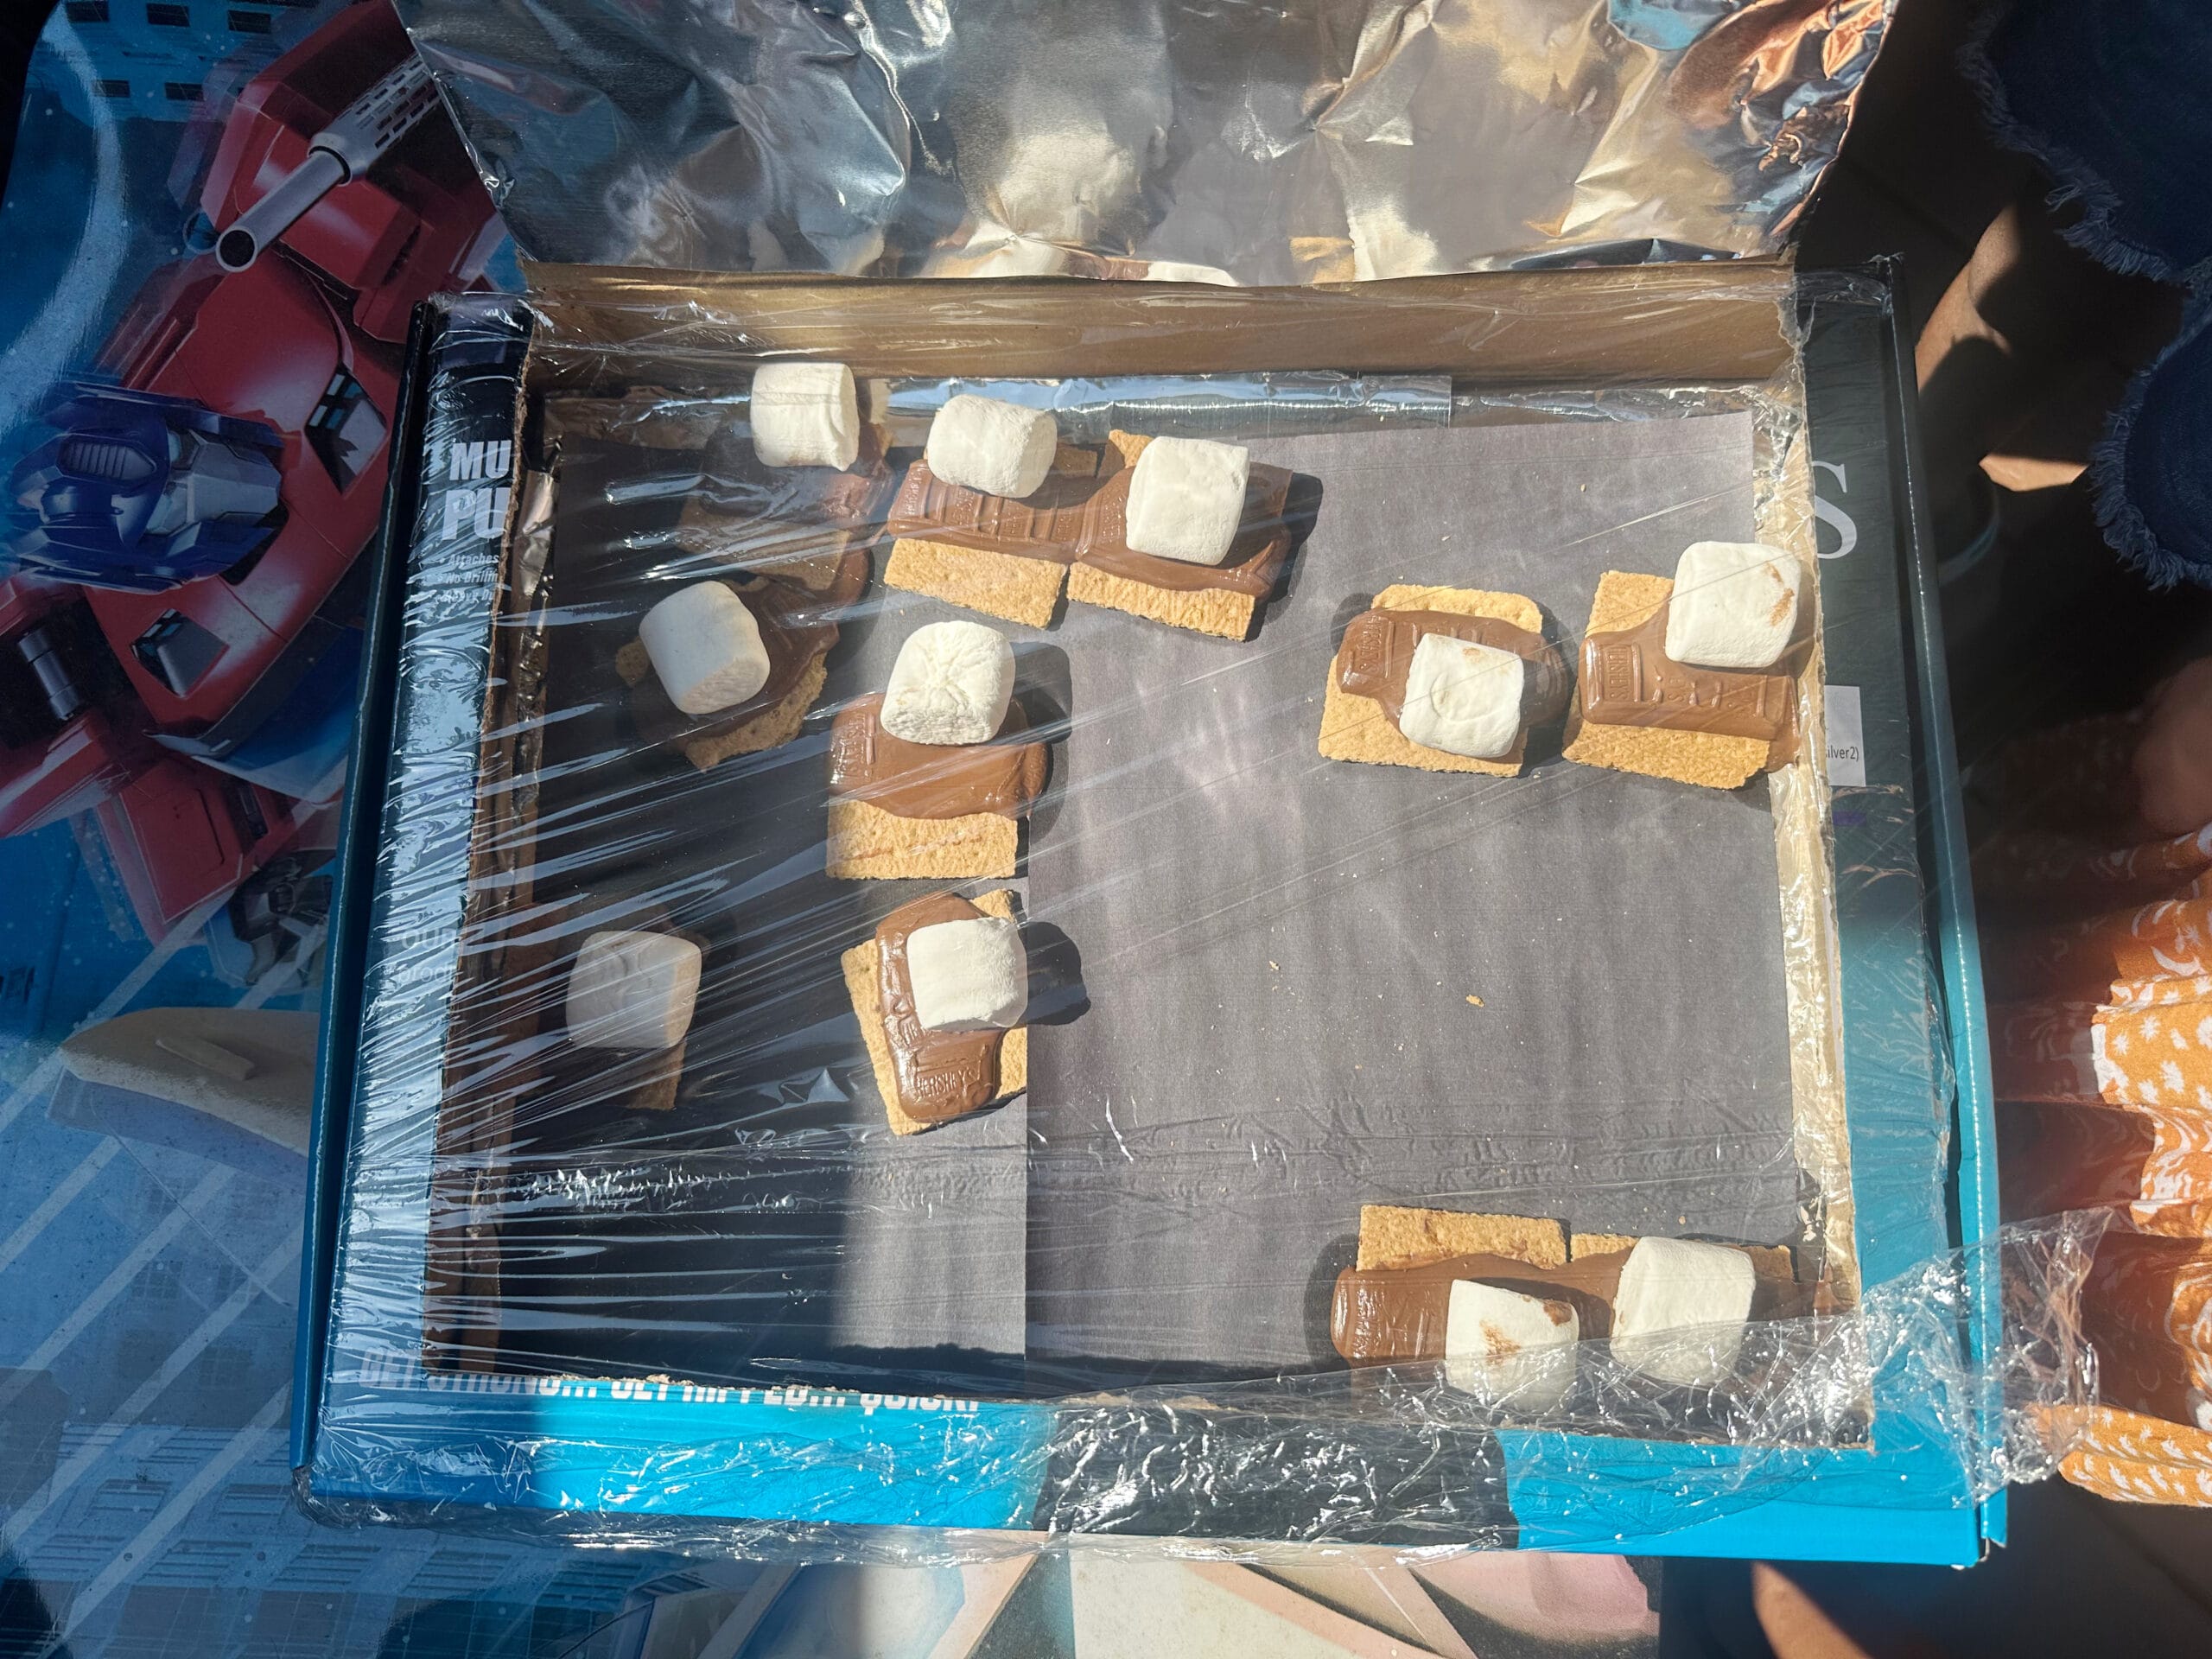
5. Add the s’mores.
Break a graham cracker in half and place it inside the box. Top one half with chocolate and a marshmallow.

6. Close and aim your solar oven.
Close the lid and prop open the foil flap using a ruler or stick to reflect sunlight into the box. Adjust it to get the best angle of direct sunlight.
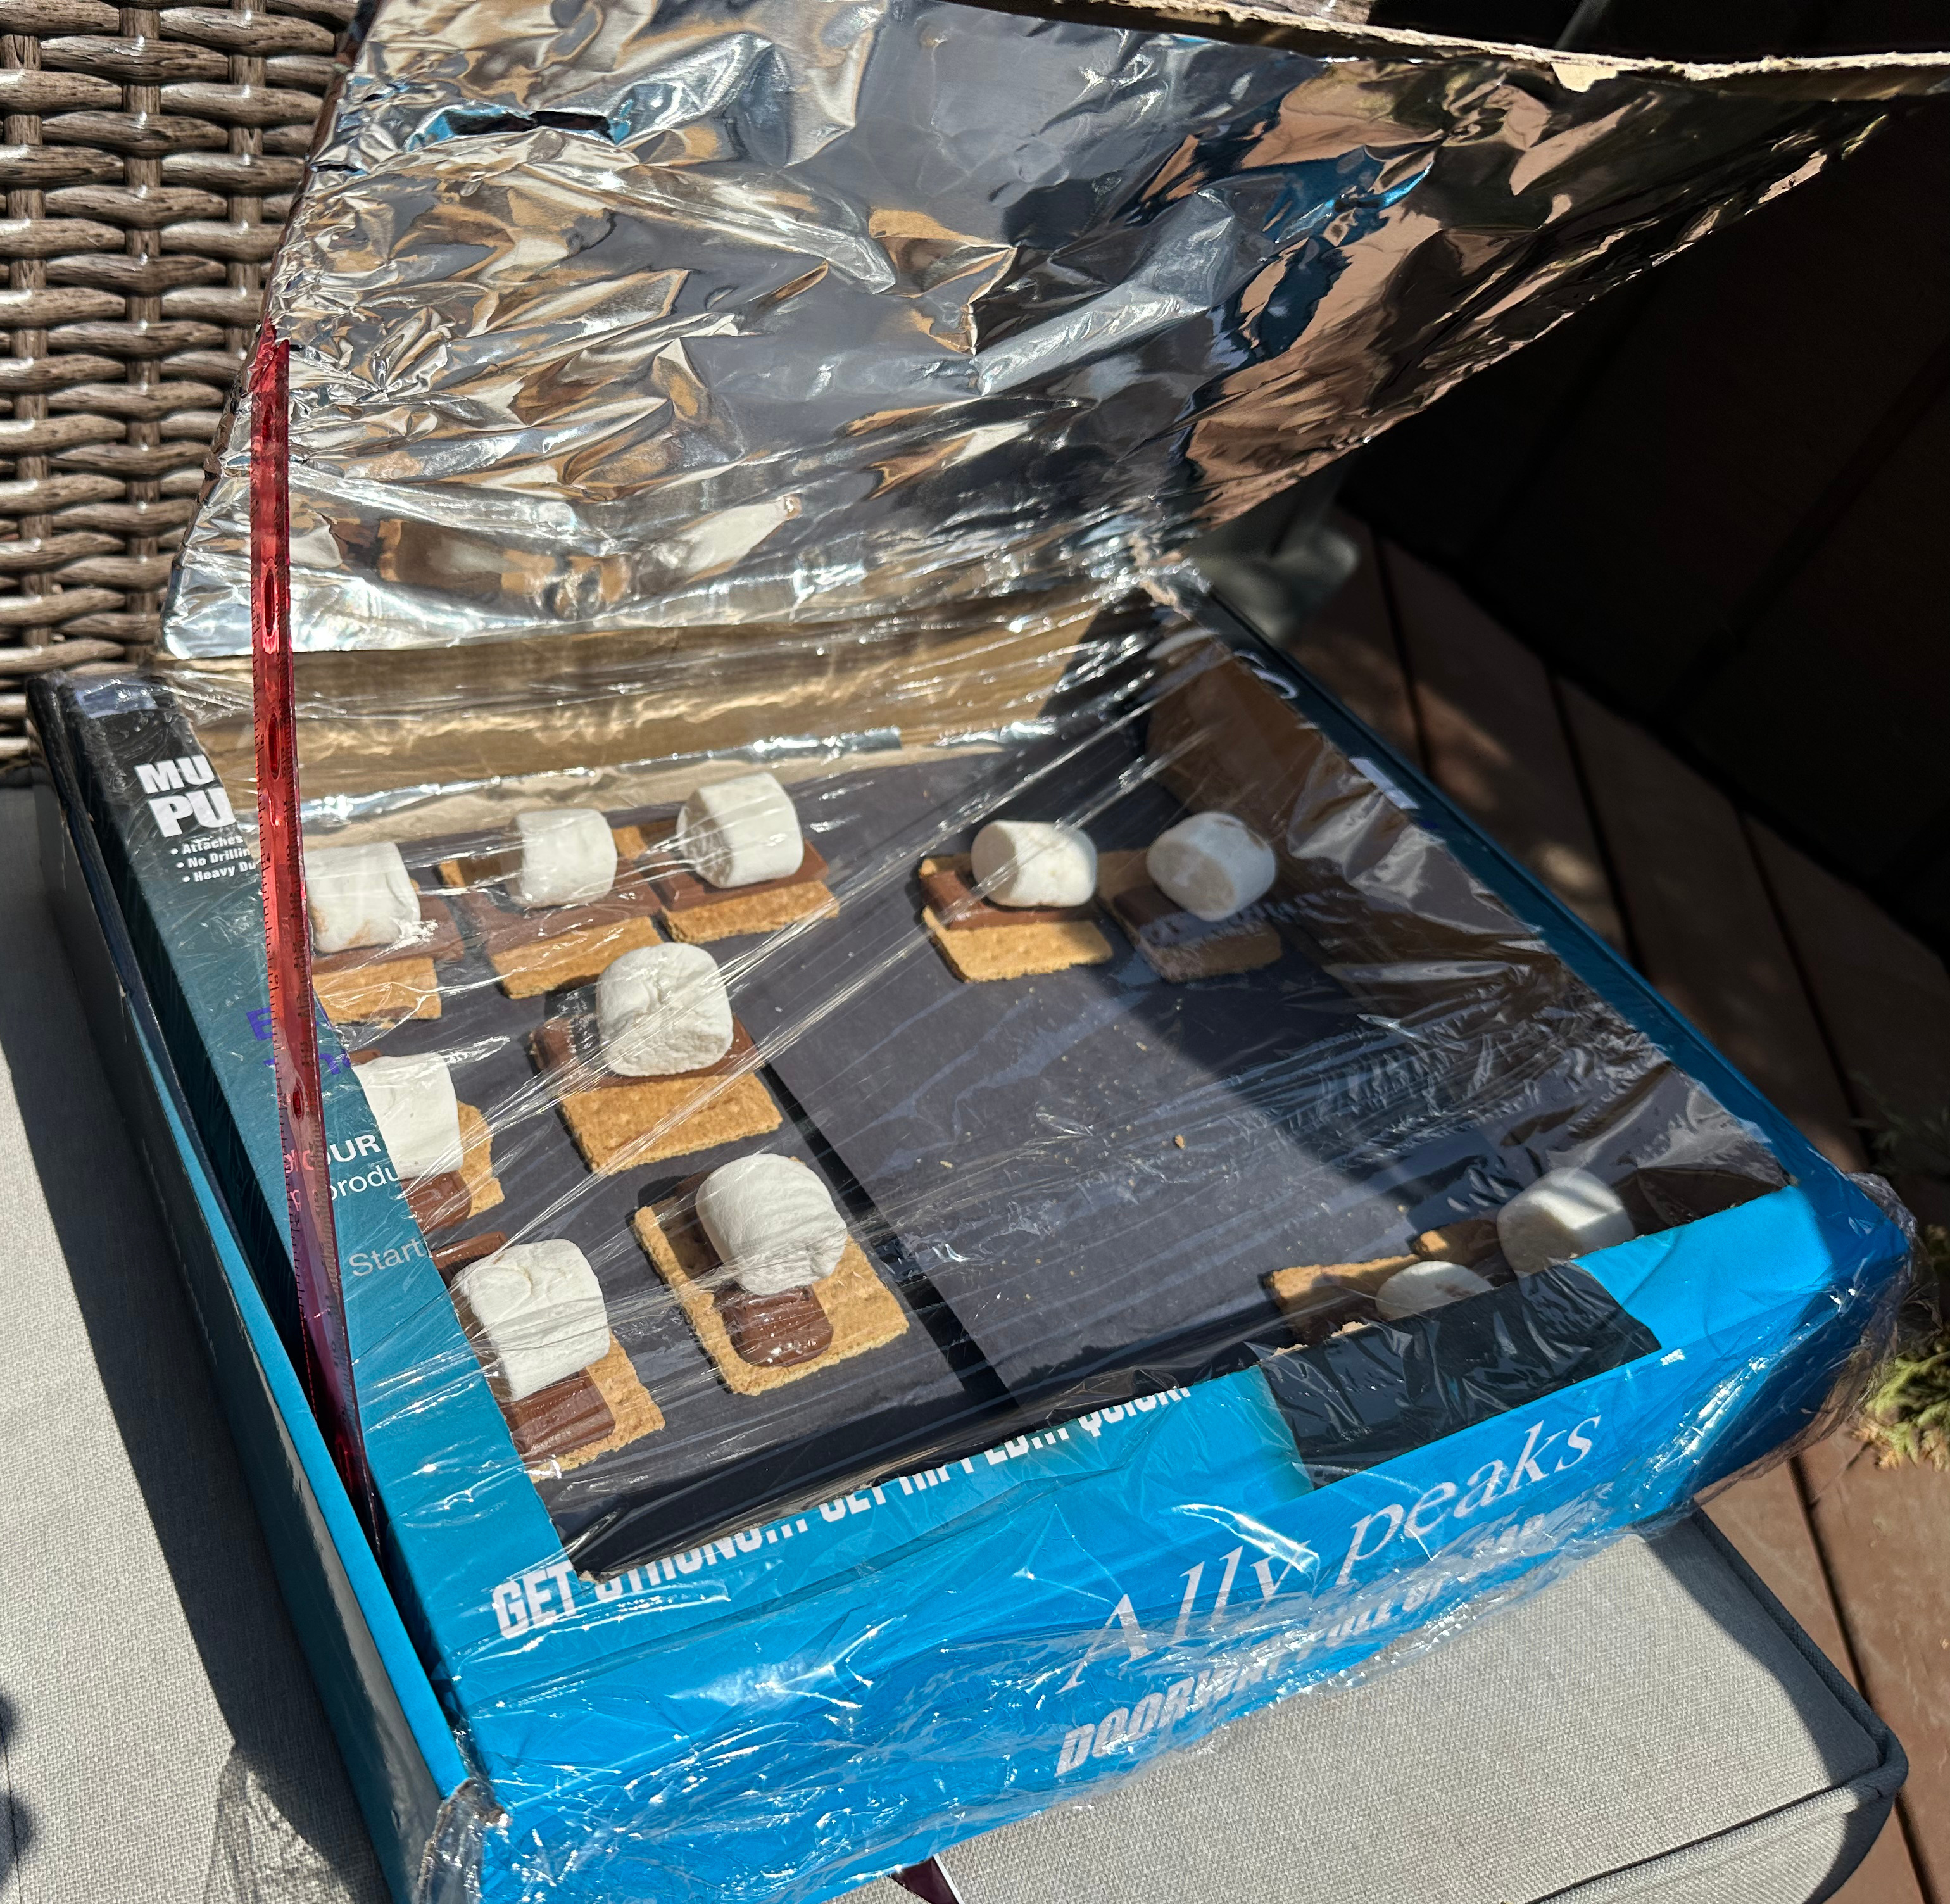
7. Wait and watch.
After 20–30 minutes in full sun (longer if it’s cloudy), the chocolate should be melted and the marshmallow warm and gooey.
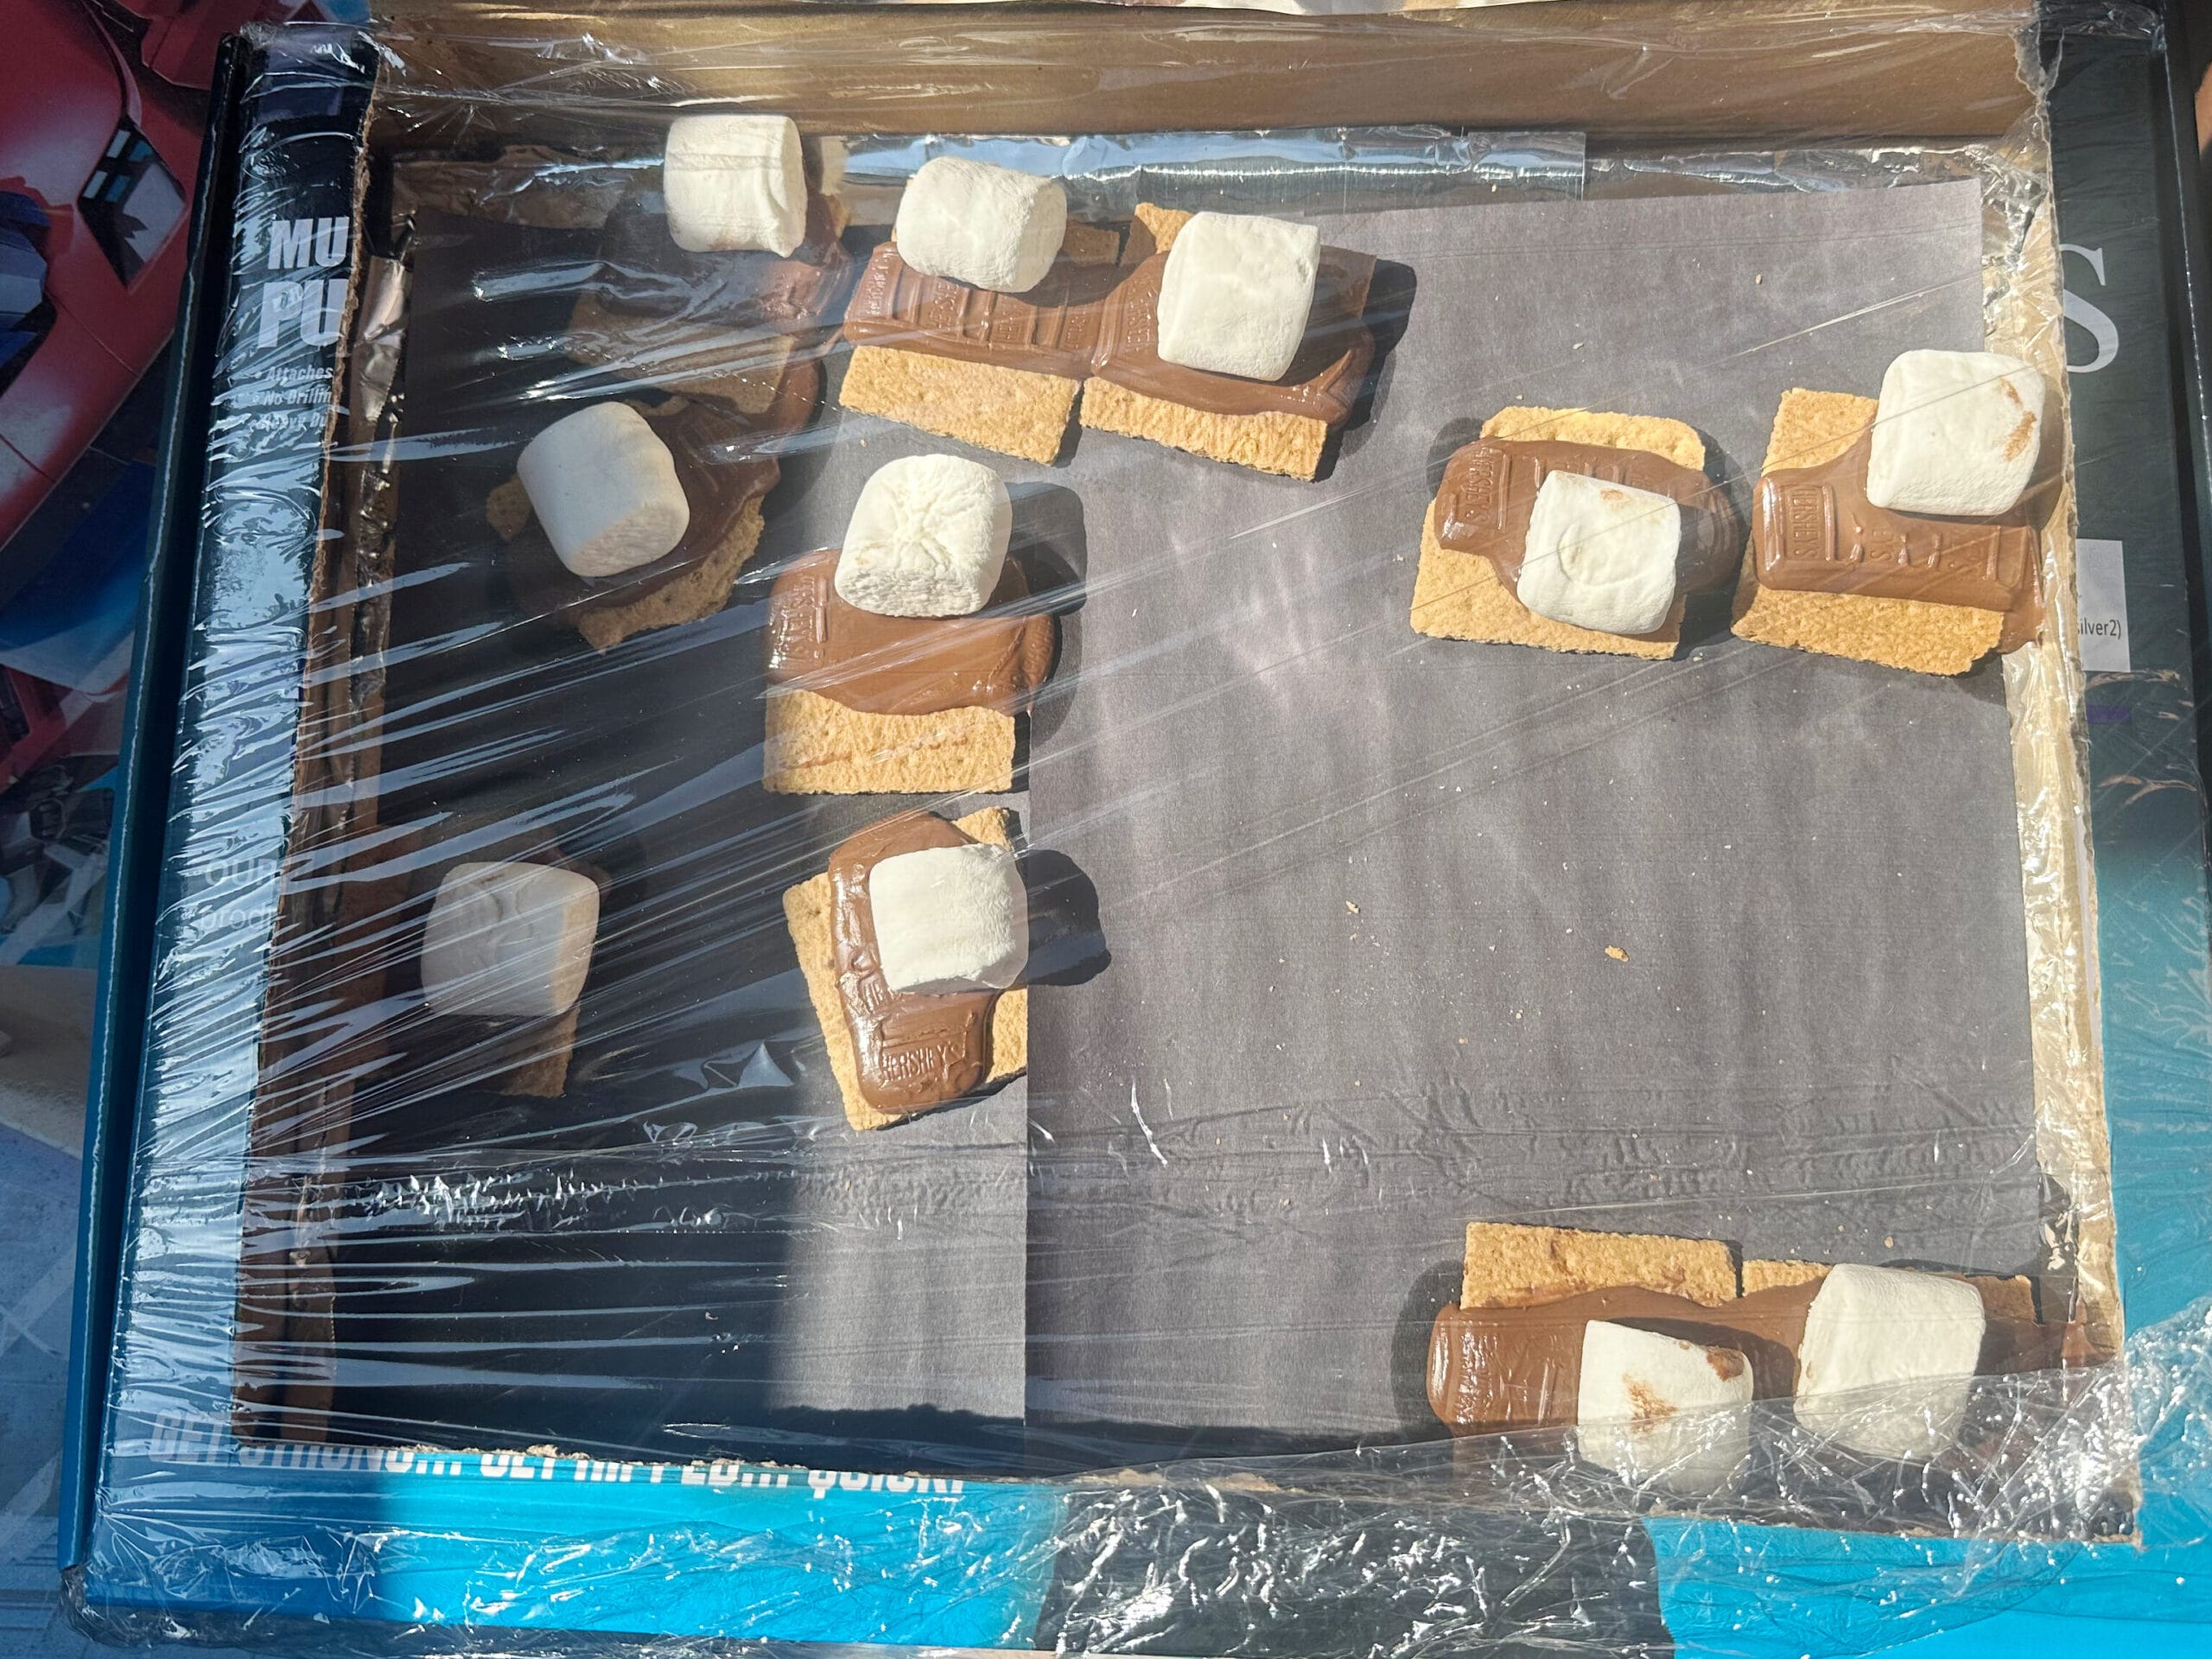
What Happened with Ours?
Our kids placed the graham cracker on the bottom, then layered the chocolate and finally the marshmallow. The chocolate melted quickly, thanks to the sun’s rays reflecting off the foil and being absorbed by the black paper. The marshmallow didn’t melt completely, but it was soft and warm, making it easy to squish into place.
Free Printable: Solar Oven S’mores STEM Guide
To make this activity even more fun, we’ve created a free printable worksheet you can use with your kids or homeschool group! It includes:
- A “Solar Oven S’mores Lab Sheet” to record observations (before and after, temperature, weather, time)
- A mini science explainer on solar energy
Download the FREE Solar Oven S’mores STEM Guide
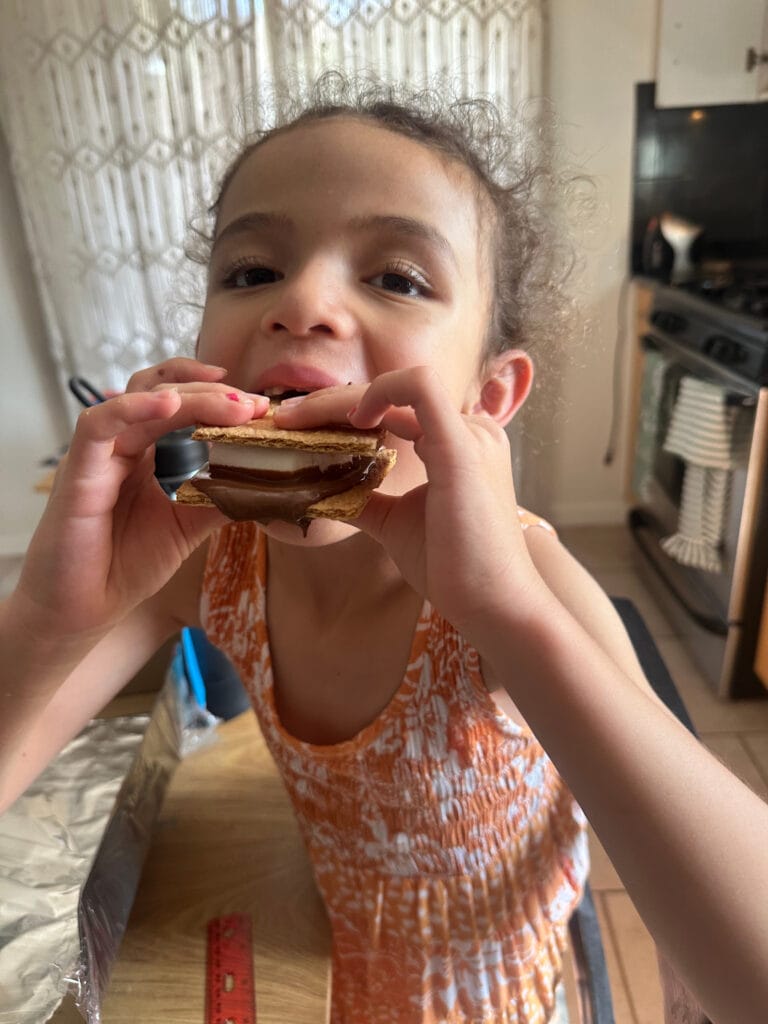
S’mores + science = sweet success!
Making a solar oven is an unforgettable way for kids to learn through play—and enjoy a treat at the end. Whether you’re homeschooling, running a summer camp, or just looking for screen-free fun, this activity is a winner.
Have your kids tried solar cooking? Share your solar oven success stories in the comments below or tag us on Instagram @raisingveggielovers!