As an Amazon Associate, I earn from qualifying purchases. This post may contain affiliate links. Read my disclosure policy.
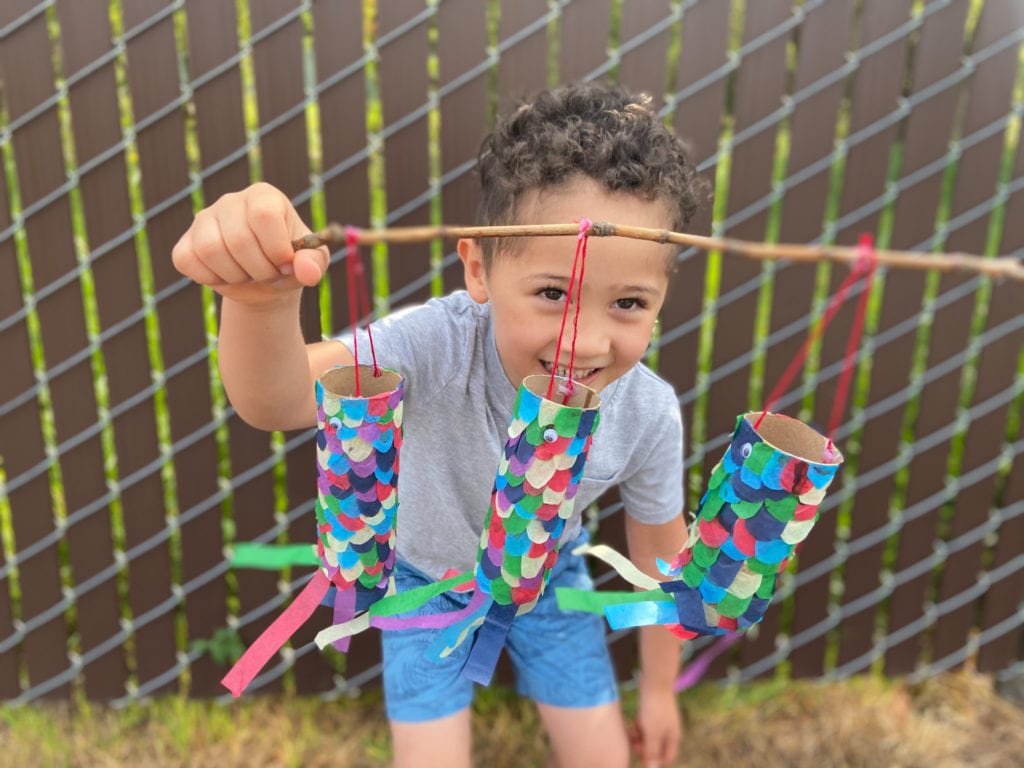
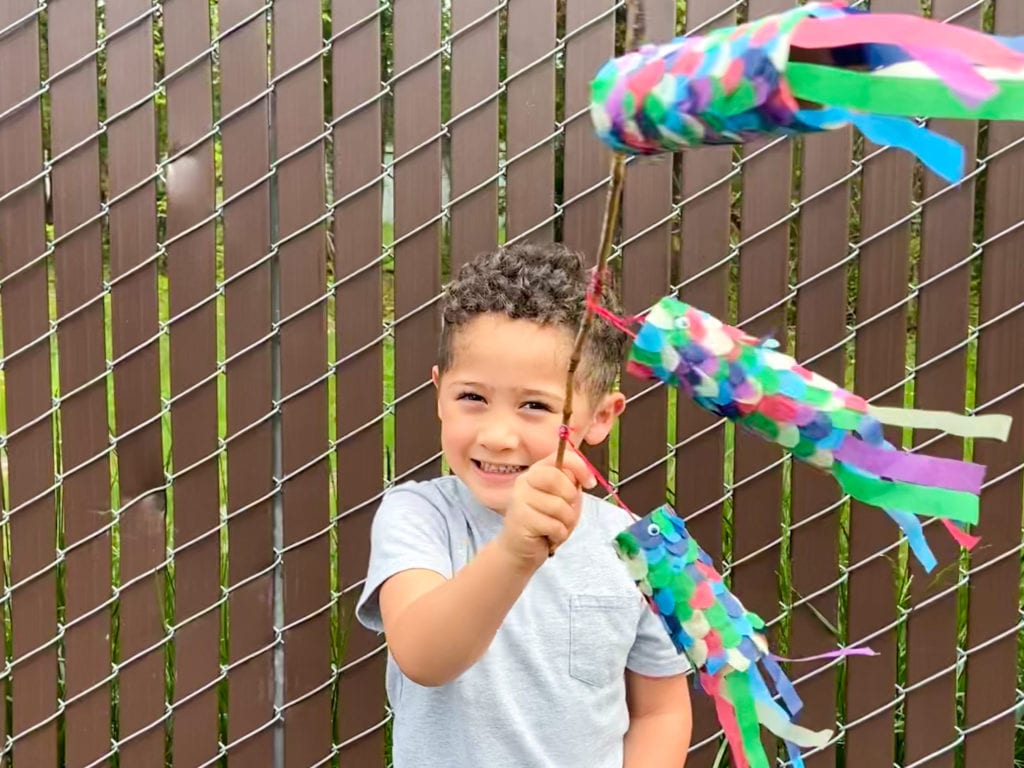
May 5th is usually associated with Cinco De Mayo, but it’s also Boys’ Day! Boys day was originally a Japanese holiday, but has become part of Hawai’i’s culture as well. Celebrate the boys in your life by making this fun and easy koinobori craft!
What is Boys Day?
Just as Girls’ Day is a traditional Japanese holiday, so is Boys’ Day (known as Tango No Sekku or Kodomo No Hi). Well, at least it used to be. In more modern times it has changed from Boys’ Day to Children’s Day.
It is celebrated annually on May 5th in honor of the health and prosperity of children. Koi (carp) represents strength, courage and success and has become a symbol of this holiday.
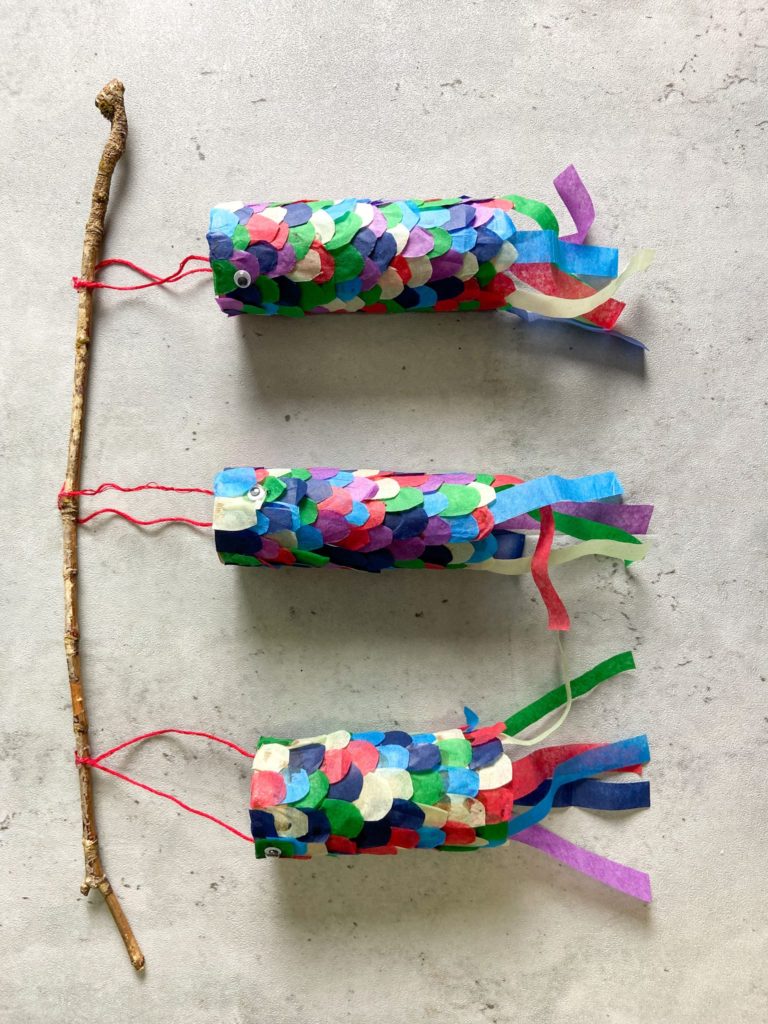
Koinobori (carp windsocks) are raised in front of houses to represent the people living there. A black koinobori represents the father, red the mother and other colors for each of the kids. When it was celebrated as Boys’ Day, blue was for the eldest boy, and other colors were reserved for younger brothers.
Boys’ Day in Hawai’i
Boys’ Day is still celebrated in Hawai’i (instead of Children’s Day). On this day, boys are given extra special treatment and sometimes small gifts. Koinobori may also be flown at some families’ homes, though not as often as they would be in Japan.
Boys’ Day Book
Here is a great book about Boys’ Day in Hawai’i. It’s actually a bonus 2-in-1 book about Girls’ Day as well!
Learn about the origin, significance, and customs of Girls’ Day (March 3) and Boys’ Day (May 5). This book highlights the similarities and differences between community, school, and family celebrations in Japan and in Hawaii.
How do you make this koinobori craft?
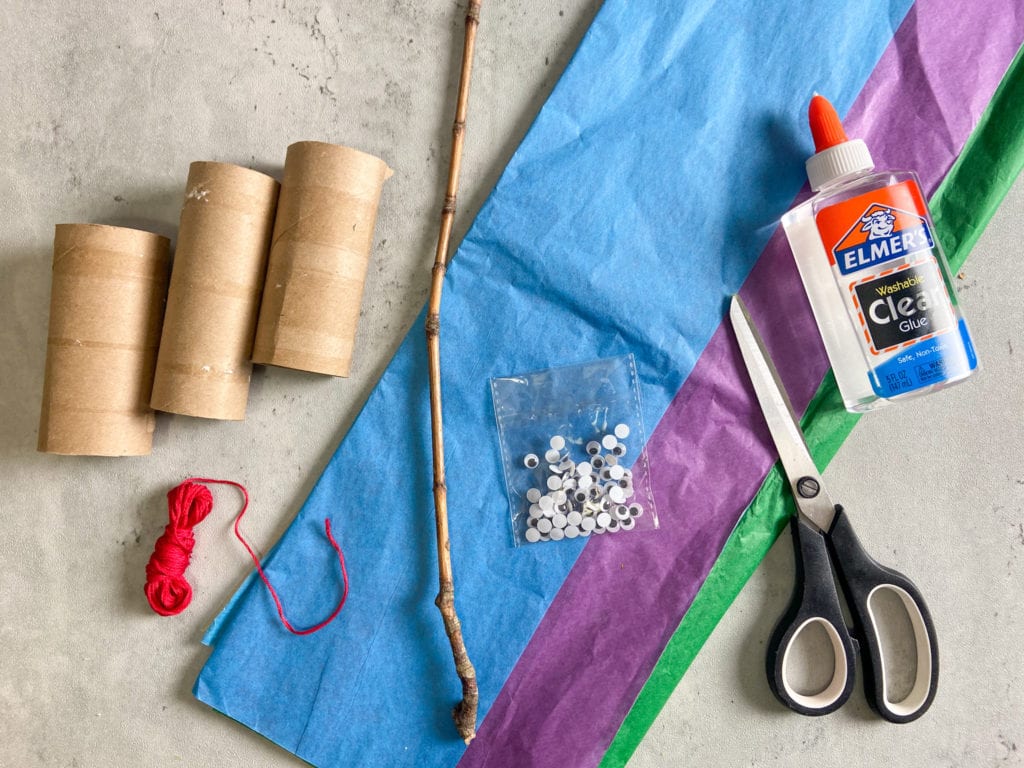
Supplies:
- tissue paper
- glue or double sided tape
- glue gun (optional)
- yarn or string
- a bamboo rod or stick
- toilet paper roll
- googly eyes
- scissors
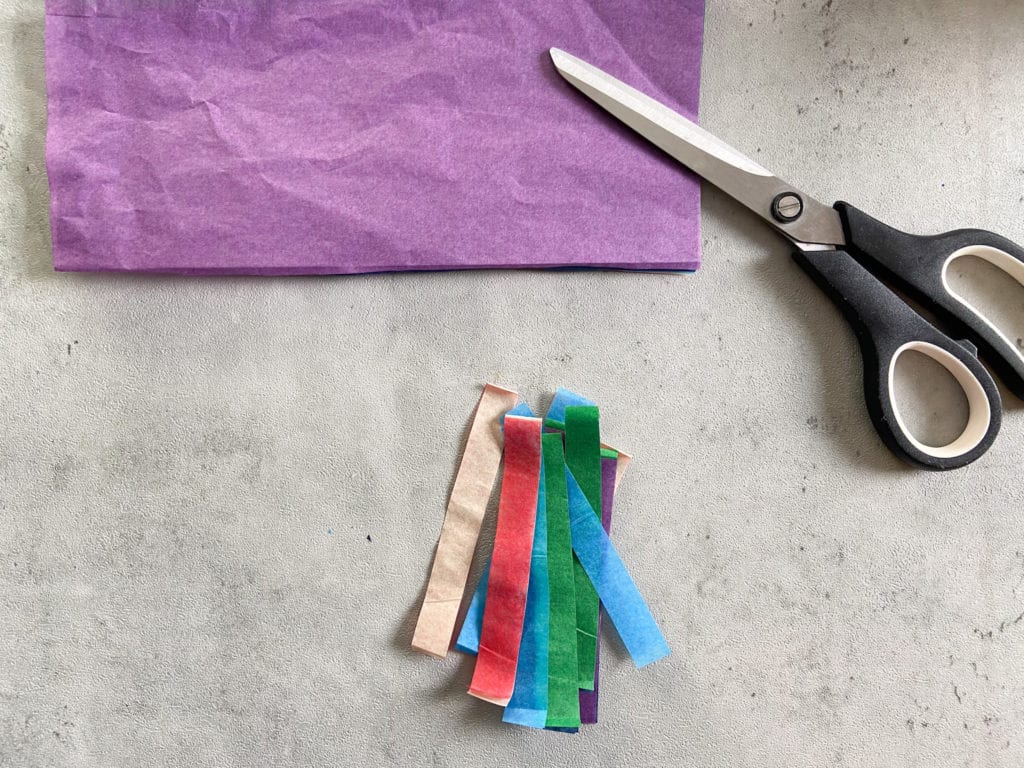
Step 1: Cut scales out of the tissue paper. I layered them together to make it more efficient. I also used a variety of colors, but you can also make it mono-colored to be more traditional.
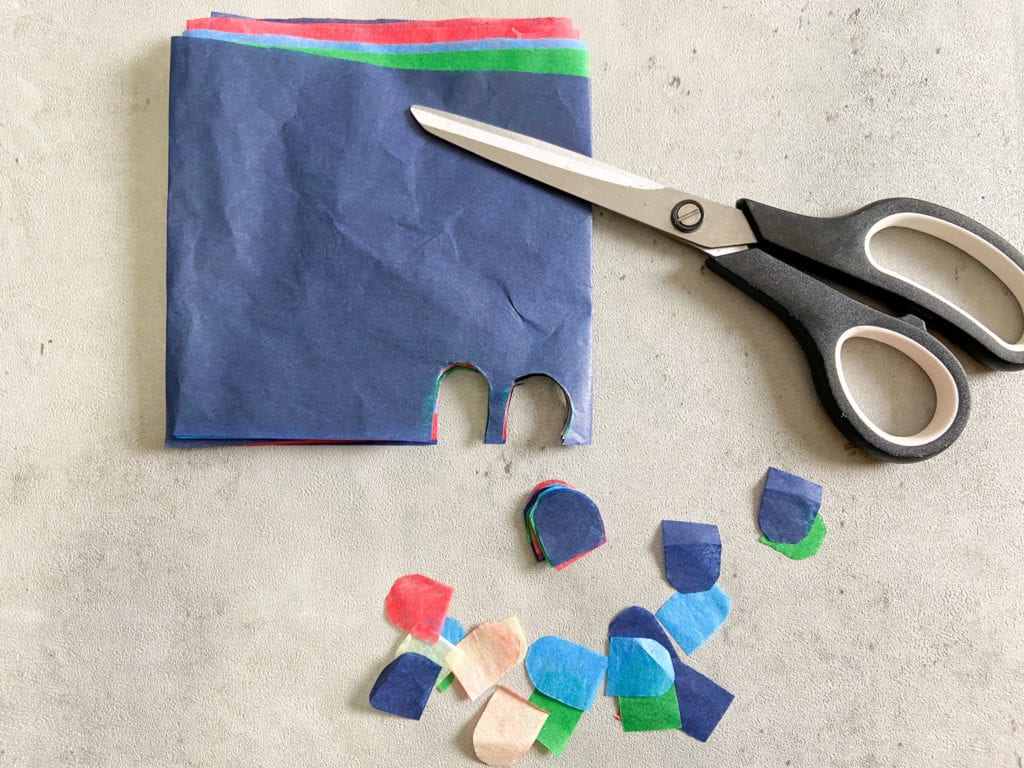
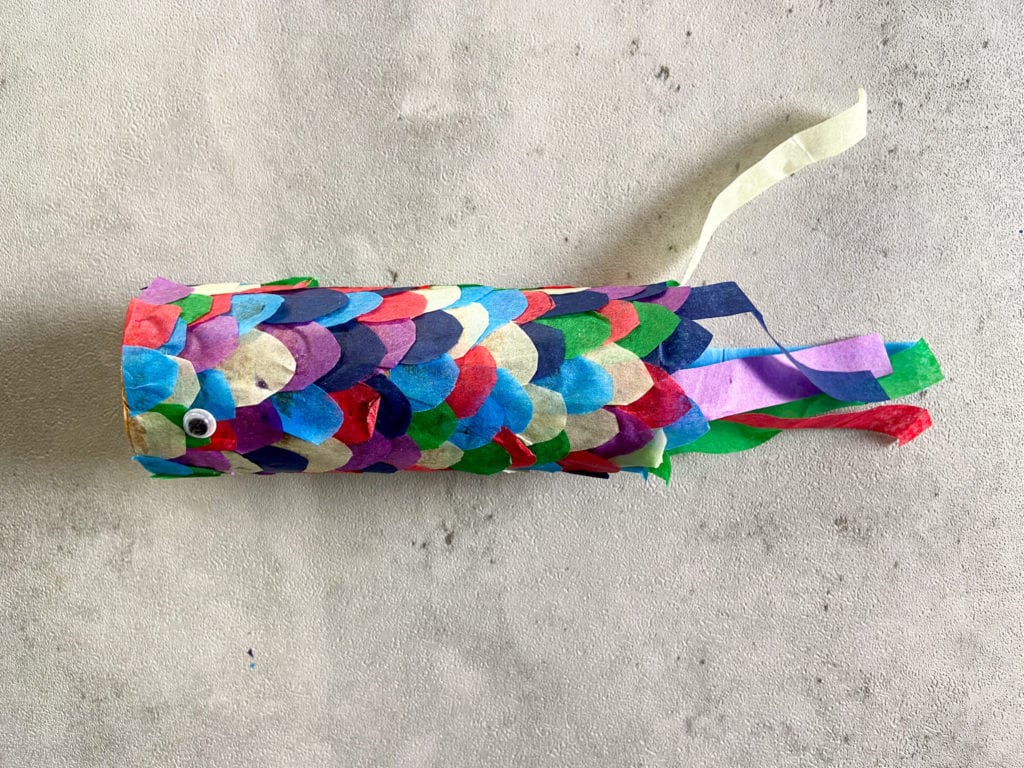
Step 2: Glue the scales onto a toilet paper roll, starting with the bottom and working your way up to the top. Make sure to keep the scales close together, and to partially overlap the layer below. I used a paintbrush to spread the glue into a very thin layer. Excess glue will show through the tissue paper, so use as little as possible. You can also used strips of double-sided tape instead of glue.
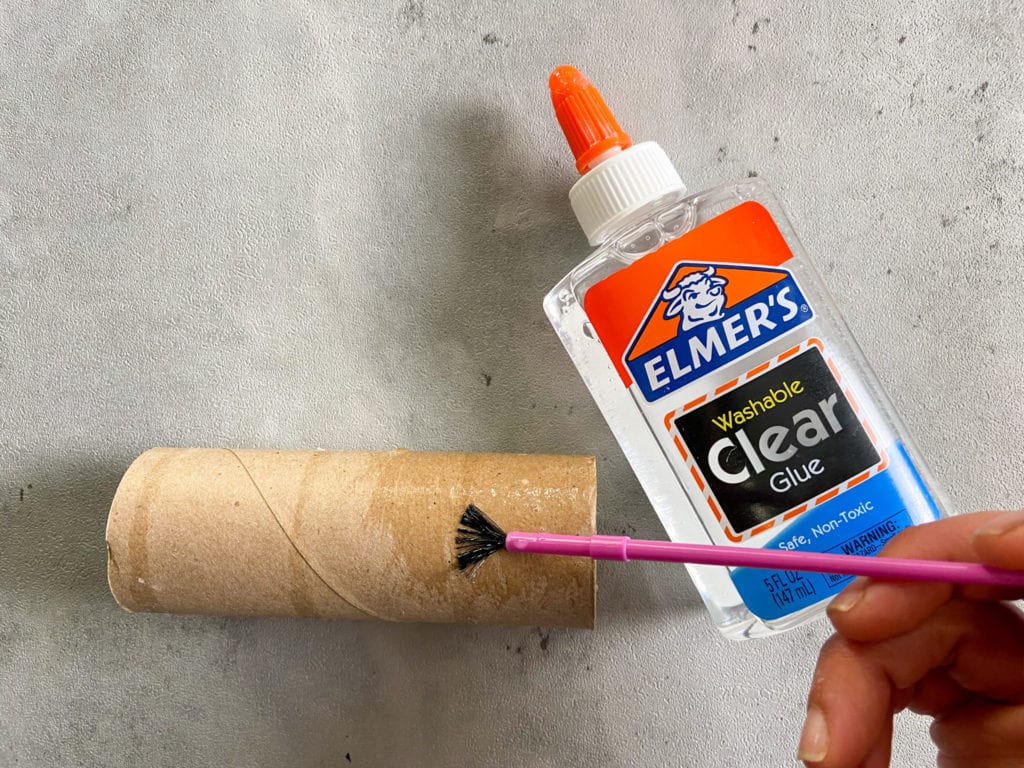
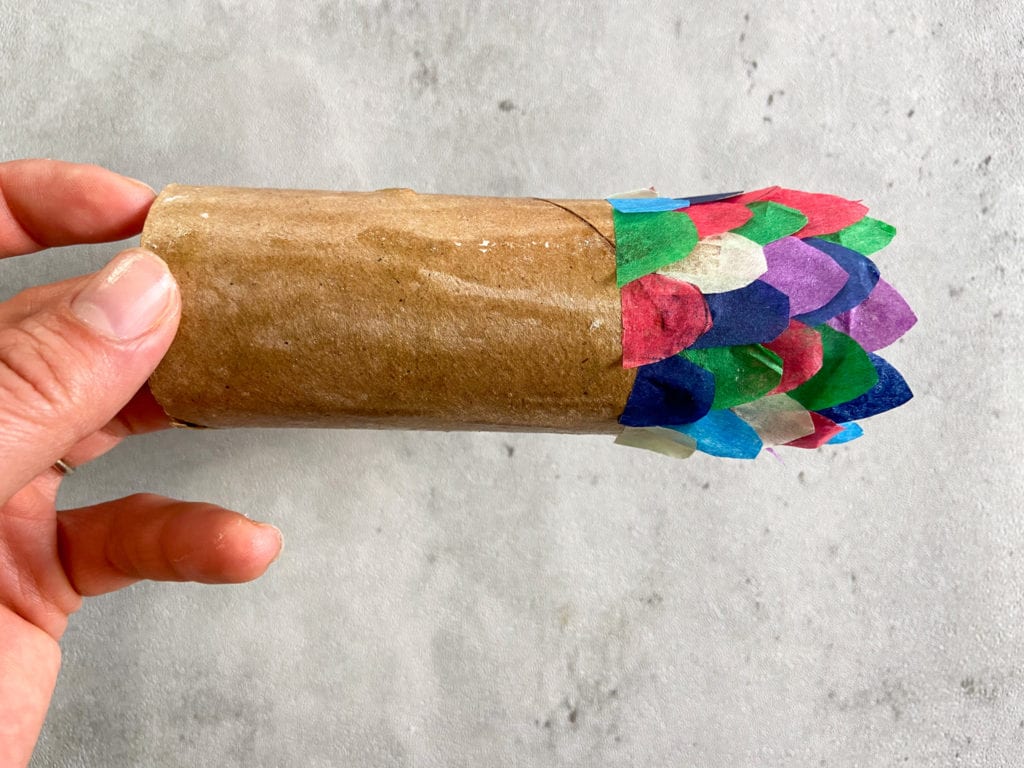
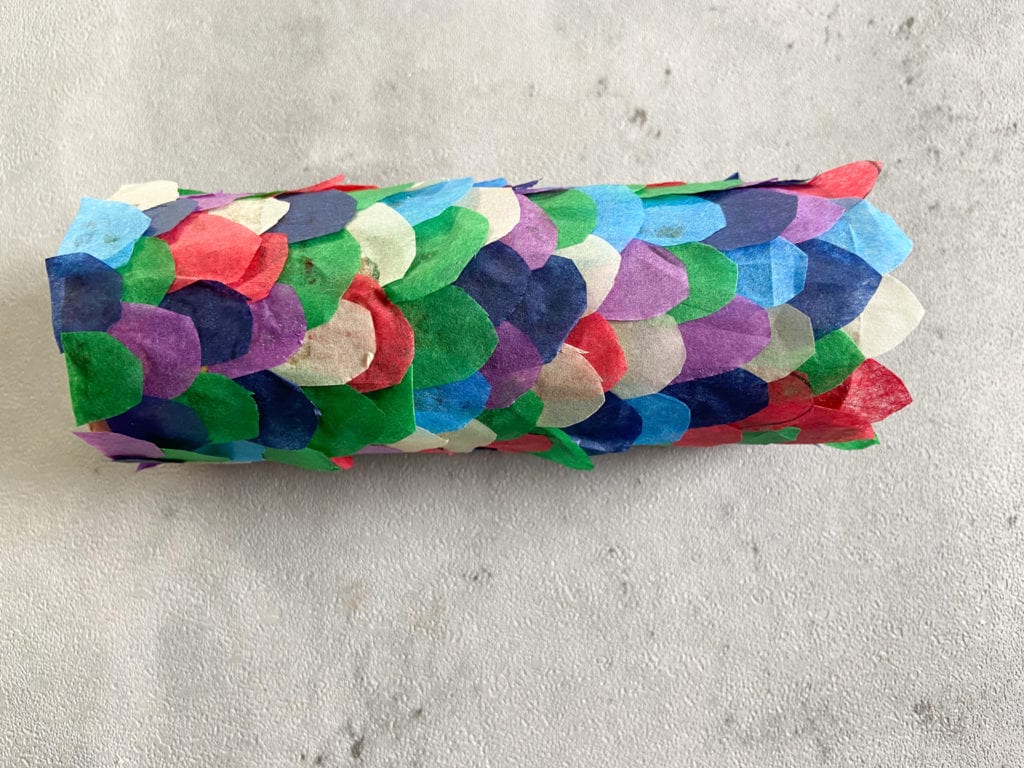
Step 3: Glue two googly eyes at the top of the koi, one each on opposite sides.
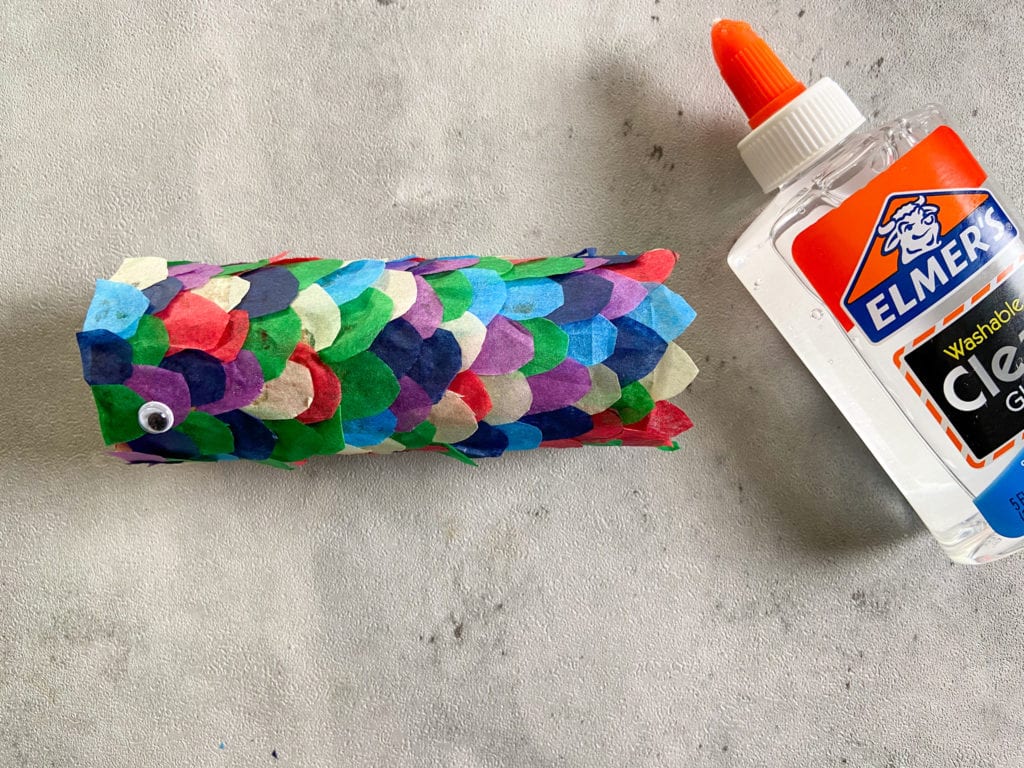
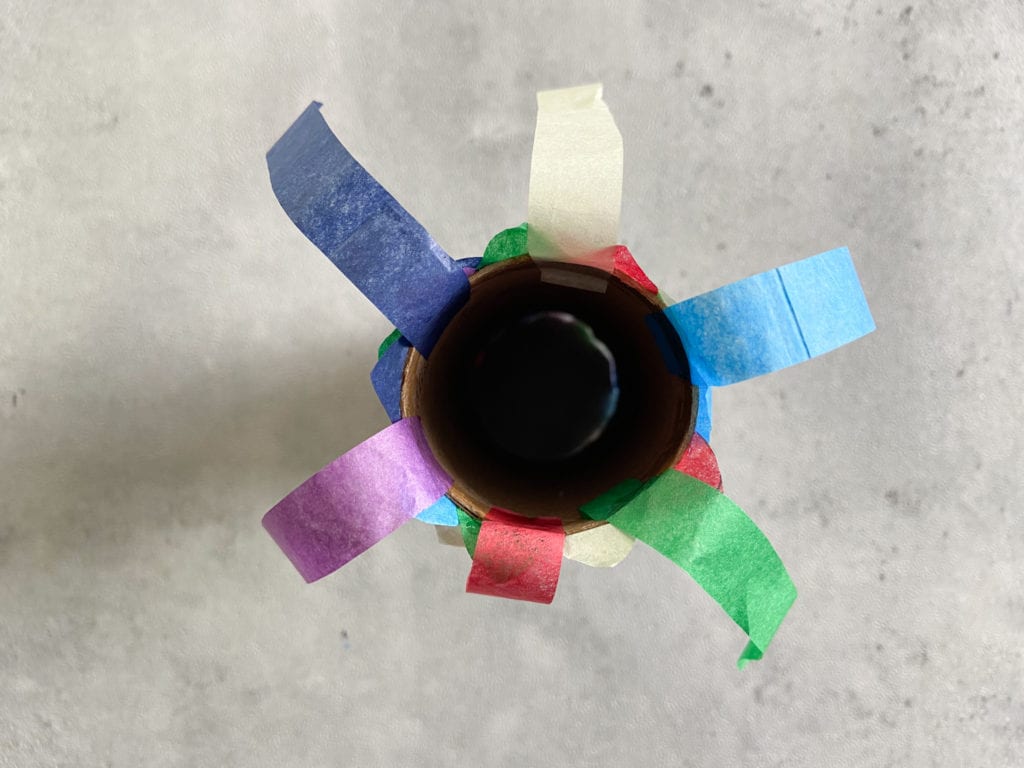
Step 4: Cut streamers out of the tissue paper, and glue them to the inside of the toilet paper roll (on the opposite end of the eyes).
Step 5: Cut 2 pieces of string (about 6″ long), then glue them on the inside of the toilet paper roll. I glued each string in the same area as the koi’s eyes. I also used a glue gun for this part to save drying time (this is optional).
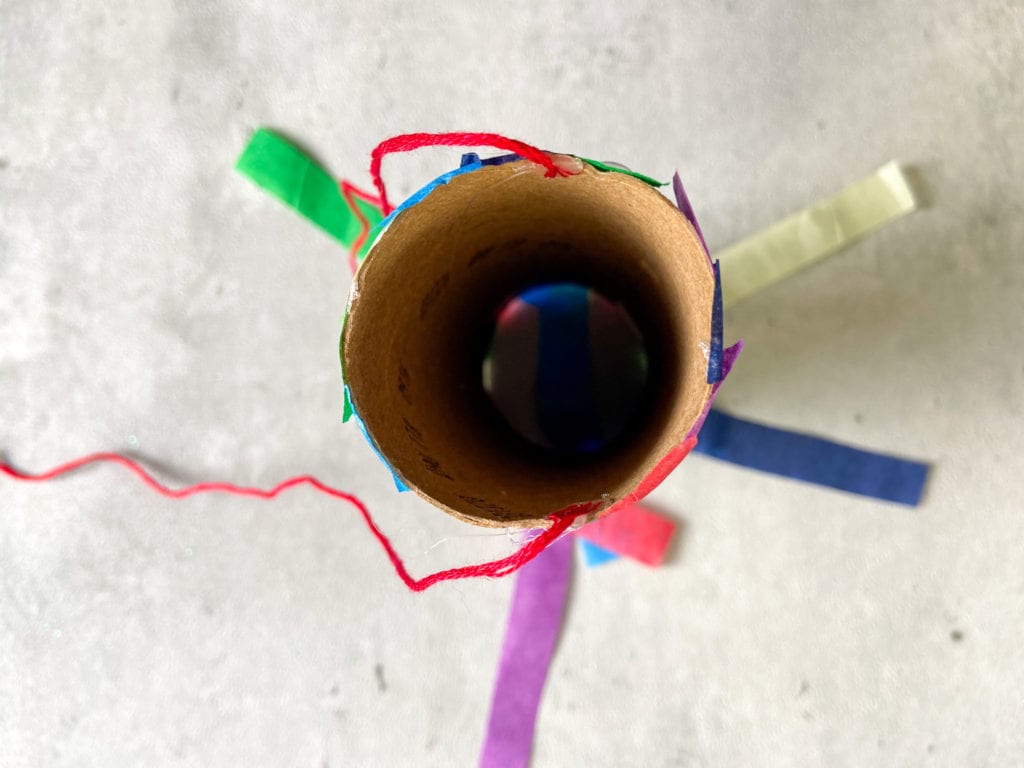
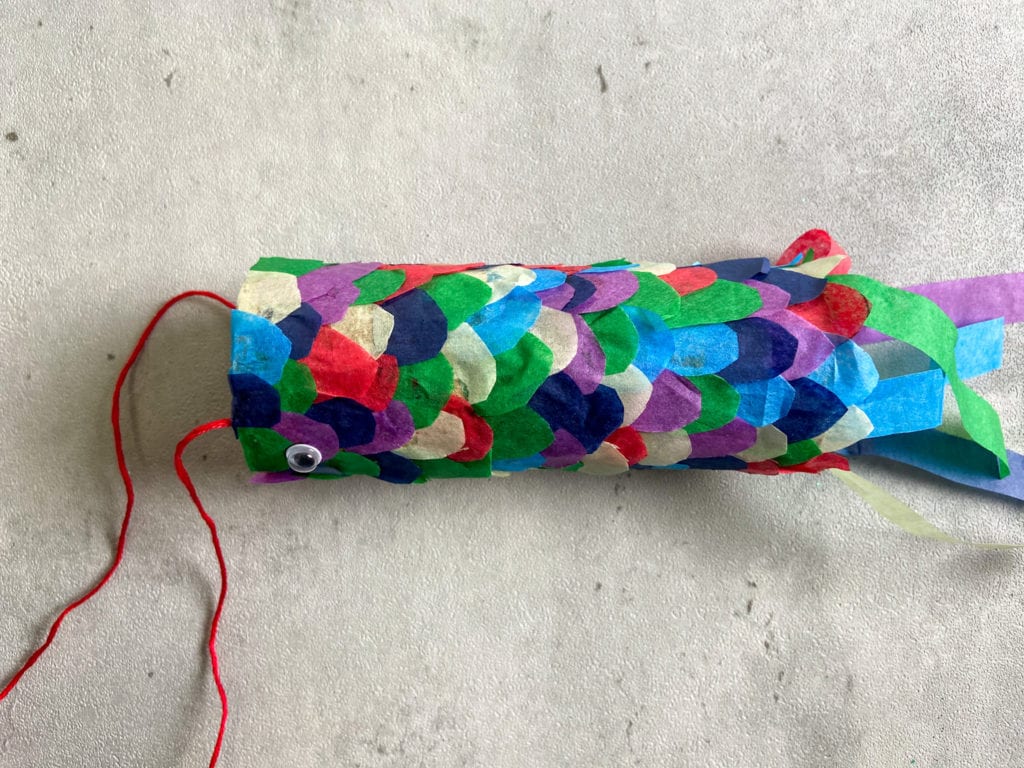
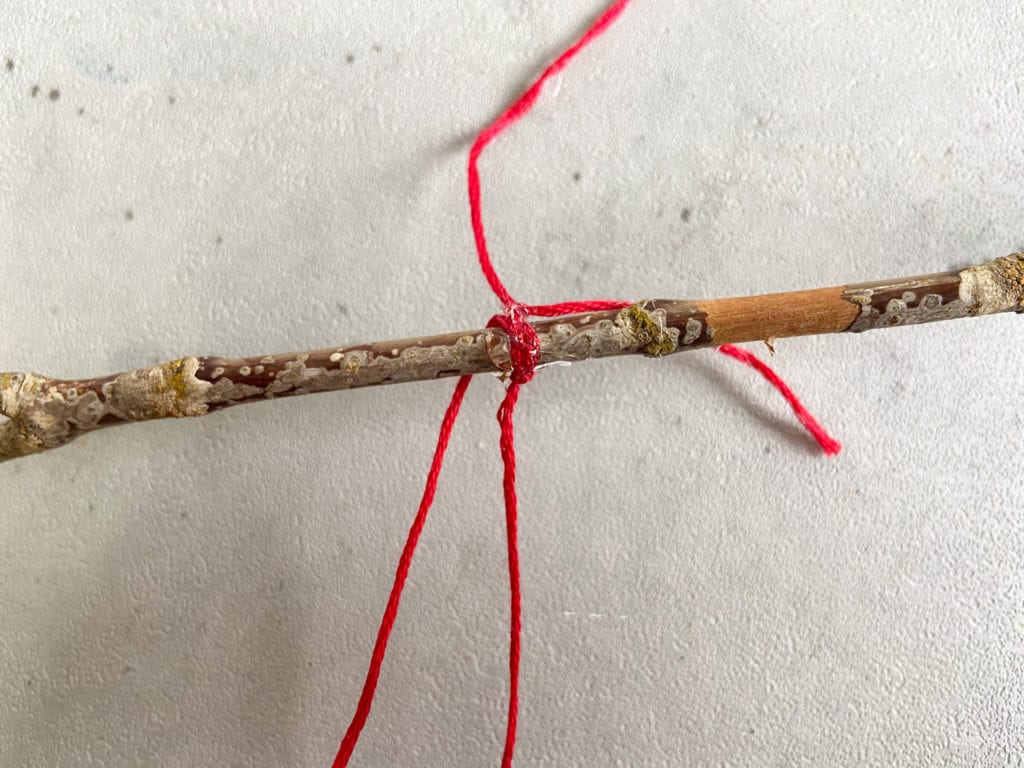
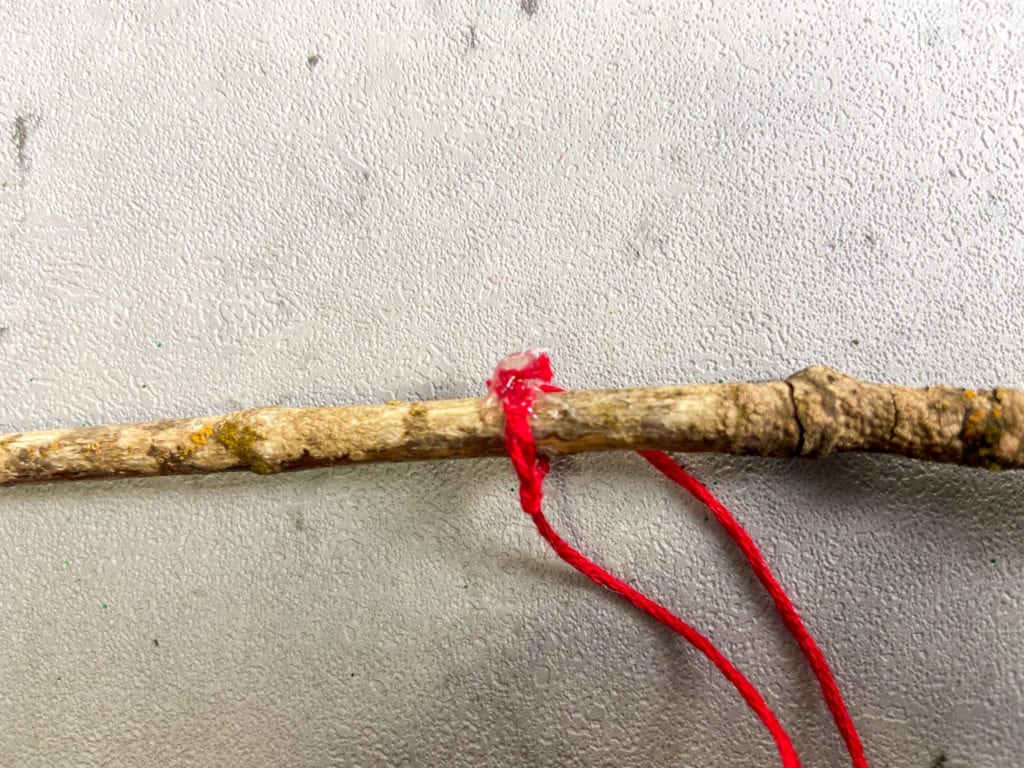
Step 6: Repeat steps 1-5 for as many koi as you’d like. Once they’re all completed, tie the koi to a stick or rod. Cut off the excess string, then use glue to secure the koi in place. Again, I used a glue gun for this but that’s optional.
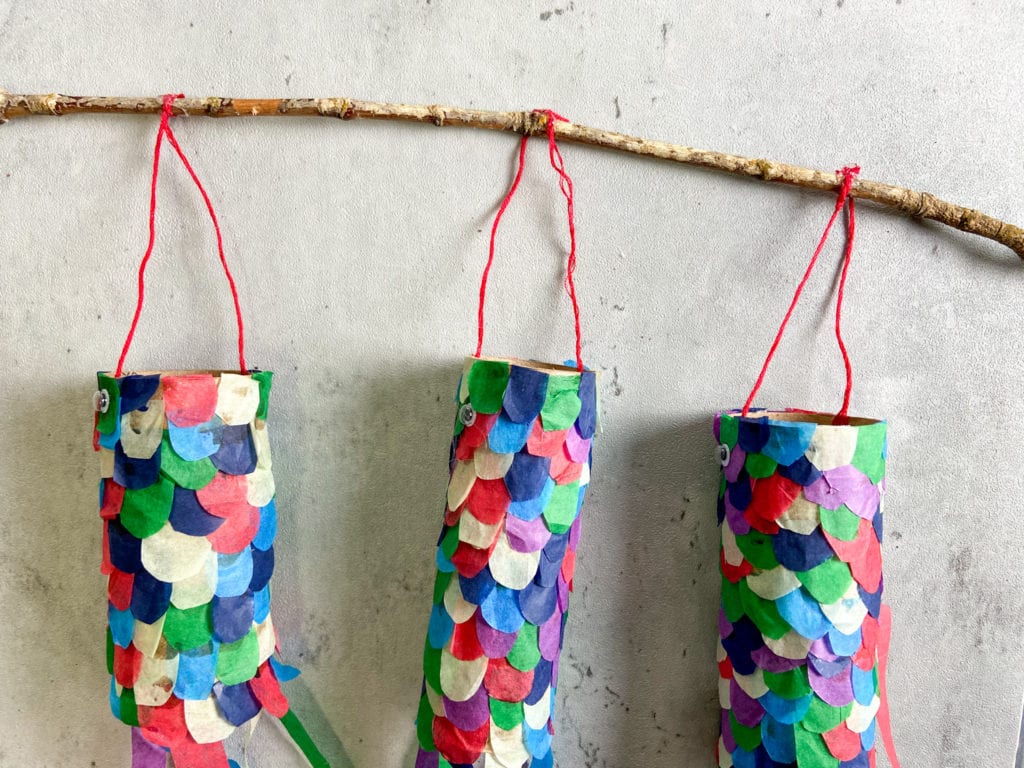
Now it’s time to watch the koi fly! Hang the it outside for the wind to catch, or play with it by swinging it back and forth!
As always, sharing is caring! Please click on the buttons below to share this post with your friends!

