Easy Self Watering Milk Jug Planter
As an Amazon Associate, I earn from qualifying purchases. This post may contain affiliate links. Read my disclosure policy.
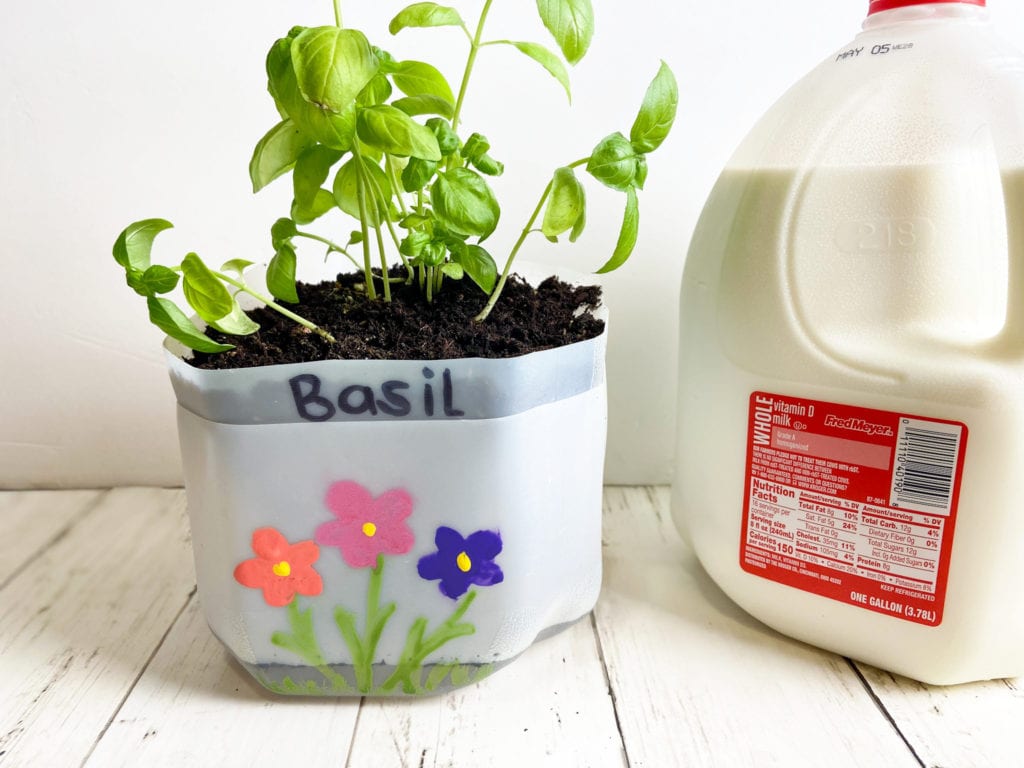
My family goes through 2-3 gallons of milk a week! I’m sure most of you with young kids can relate! We recycle the milk jugs each week, but unfortunately, only a small percentage of that actually gets recycled.
So, when I find a way to upcycle the milk jugs, it makes me really happy! This self watering milk jug planter is a great project for Earth Day, or any other time of the year that you’re growing plants.
What is Earth Day
Earth Day is celebrated every year on April 22nd. It’s a day to celebrate our beautiful planet and to bring attention to environmental issues that affect it.
Earth Day is the perfect opportunity to teach your kids about caring for the environment and how we can make our home a better place.
Kids Books About Recycling

Through engaging illustrations and easy-to-understand explanations, young readers will discover the importance of environmental conservation. From learning about the recycling process to discovering creative ways to reduce waste, this book empowers kids to make a positive impact on the planet. Join the journey and become a recycling champion!

Through colorful illustrations and playful storytelling, young readers will discover the joy and importance of recycling. From sorting materials to creating something new, this book makes learning about sustainability exciting and accessible for children. Get ready to embark on a journey of eco-friendly fun and make a positive impact on our planet!
How do you make a self watering milk jug planter?
Supplies:
- empty milk jug
- box cutter or knife
- scissors
- paint, stickers, or other permanent markers for decorating
Step 1: Peel the label off the milk jug. If you’re having a hard time getting it off, fill the jug with warm water and let it sit for a minute or two. Then, try peeling it off again.
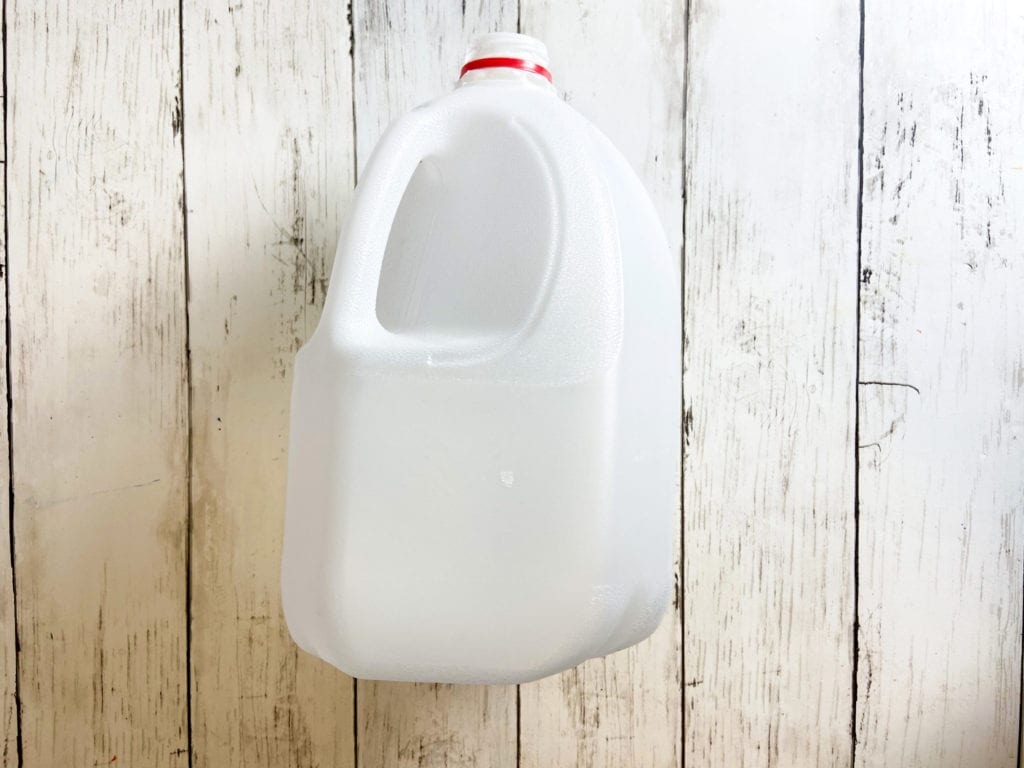
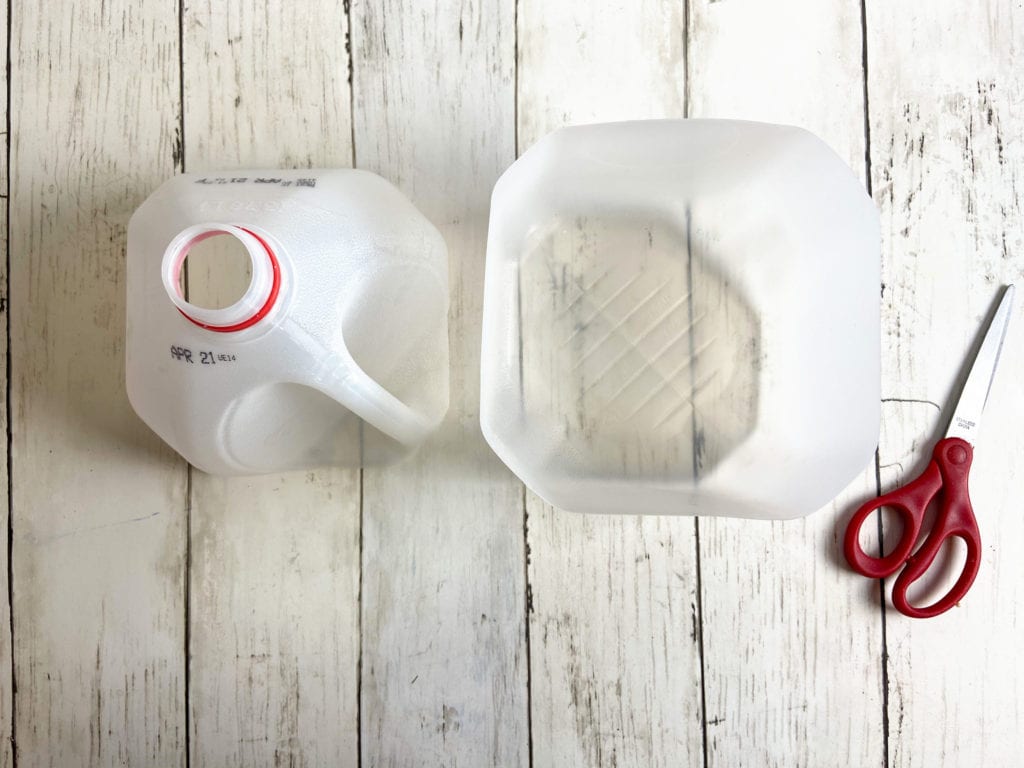
Step 2: Cut the milk jug in half, just below the handle. I used a sharp kitchen knife to cut it and then used scissors to cut off the jagged edges. You can also use a box cutter.
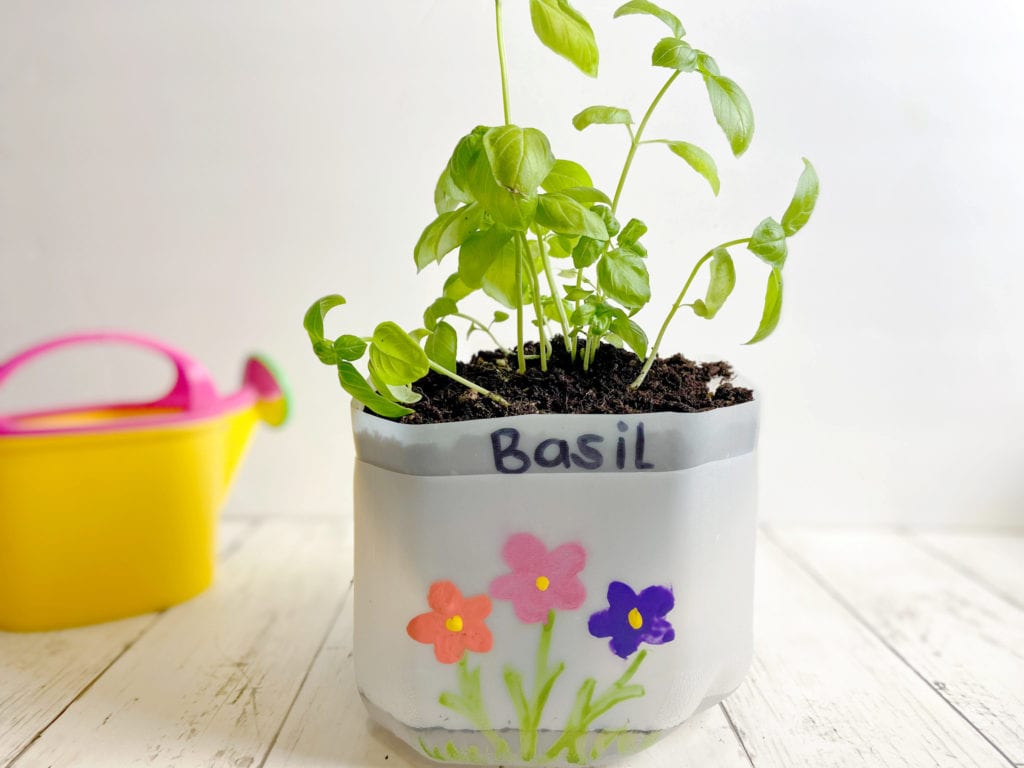
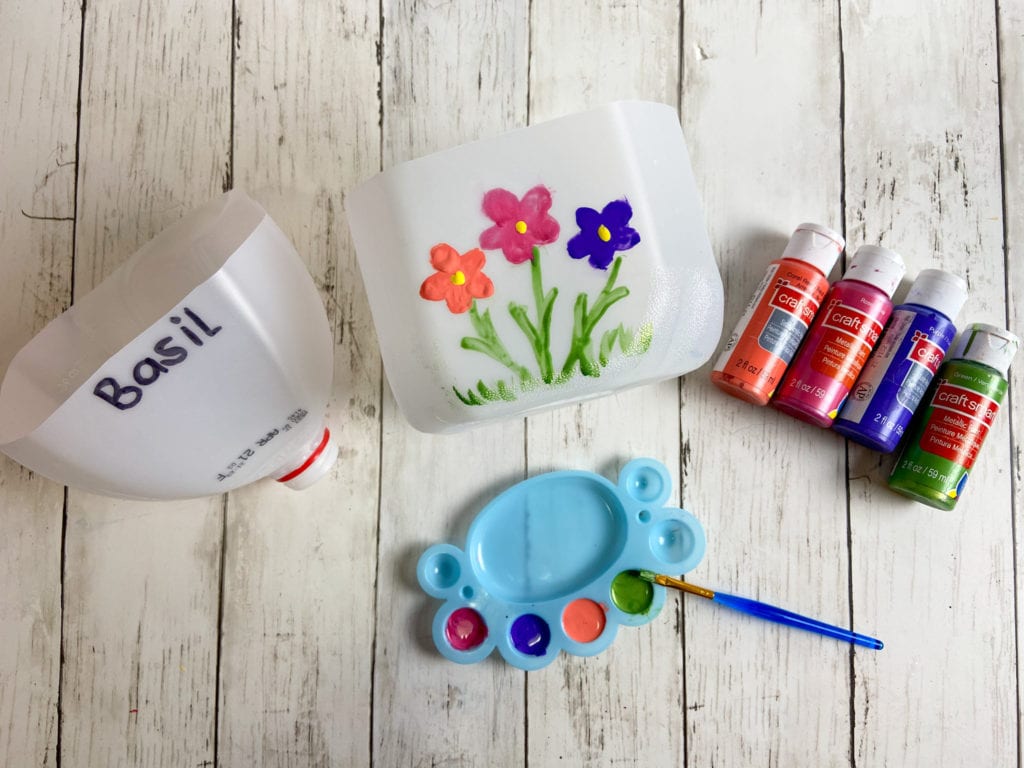
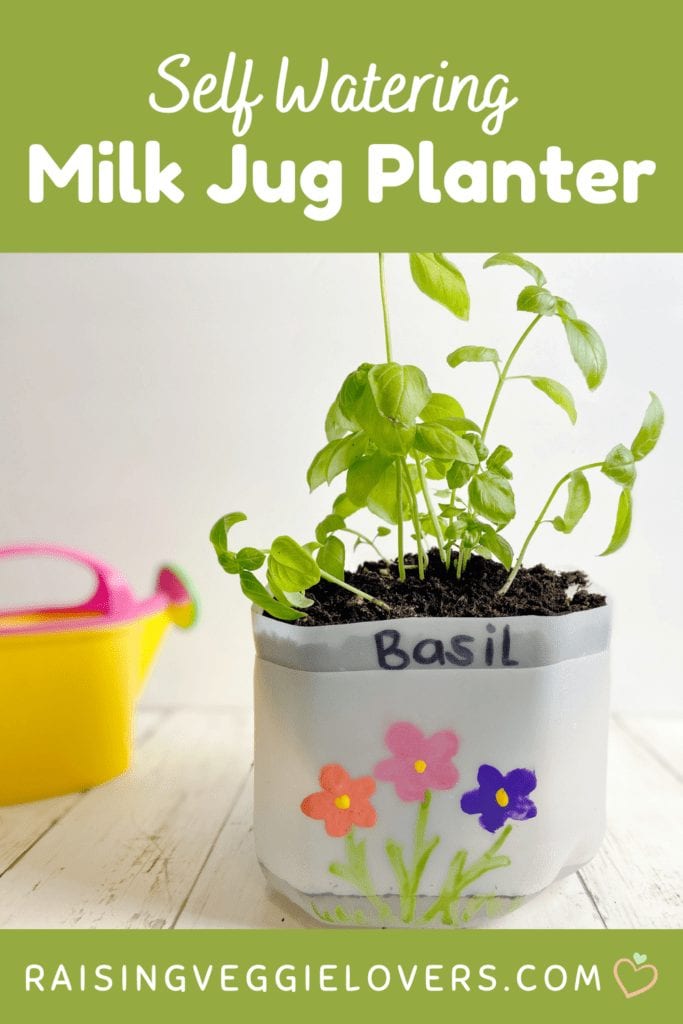
Step 3: Decorate the bottom part of the jug anyway you want! Let your kids get creative with this. Use acrylic paint, stickers, or permanent markers. Puffy paint would be cool too! If you want, you can label the plant on the top part of the jug, as pictured below.
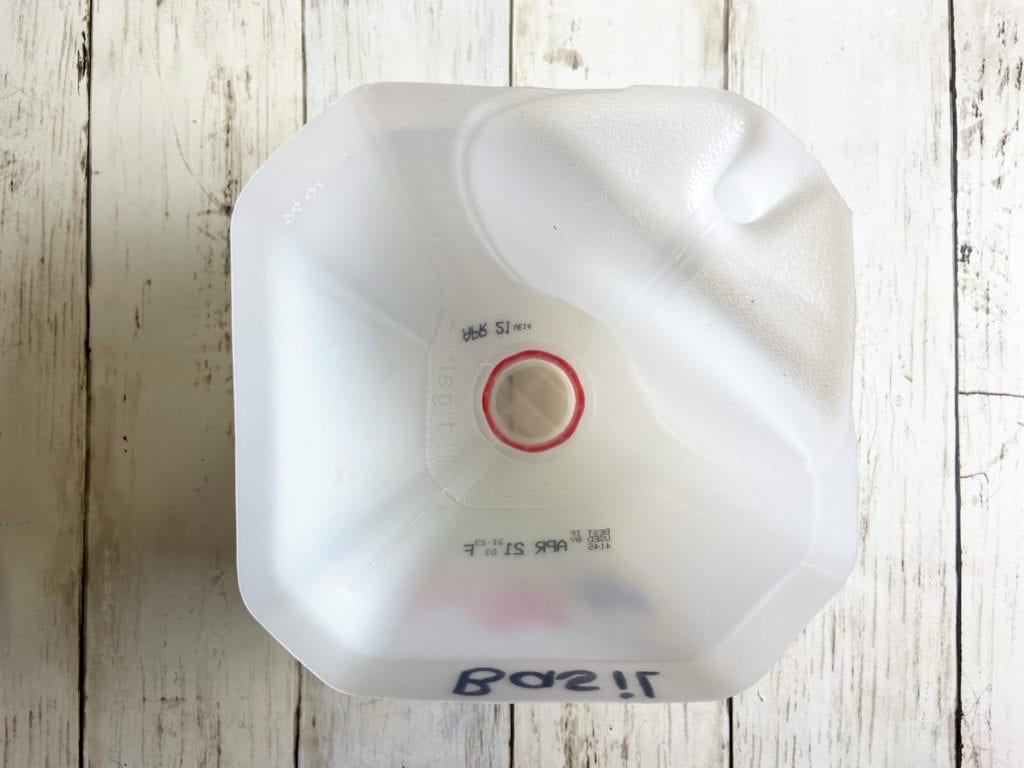
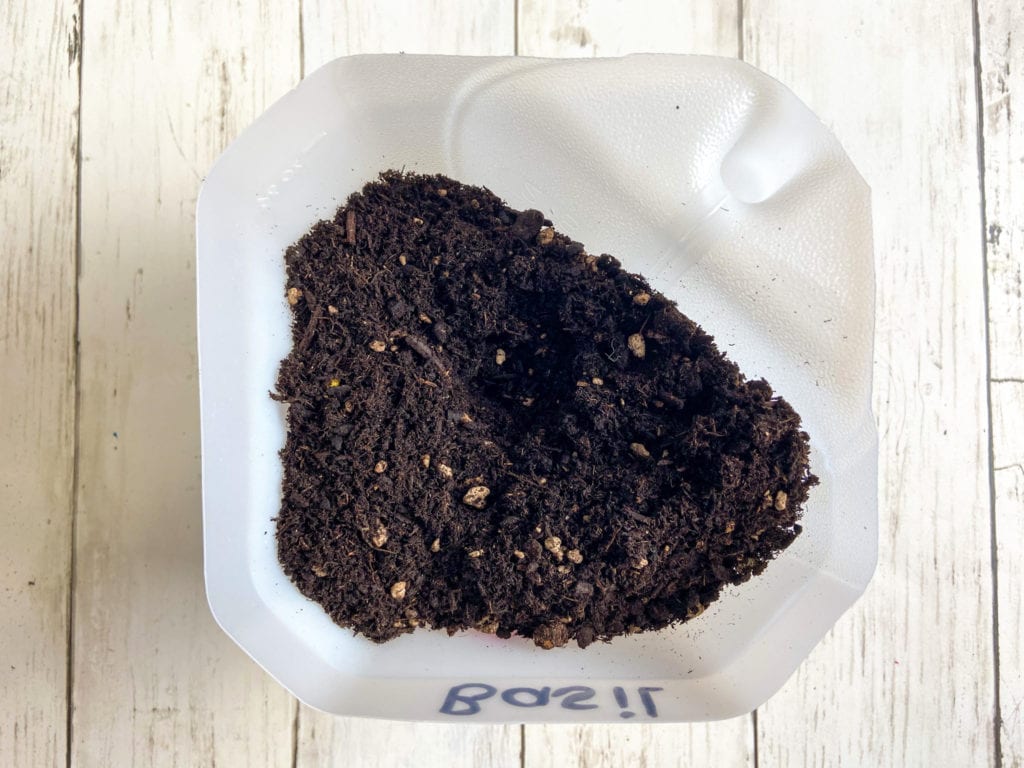
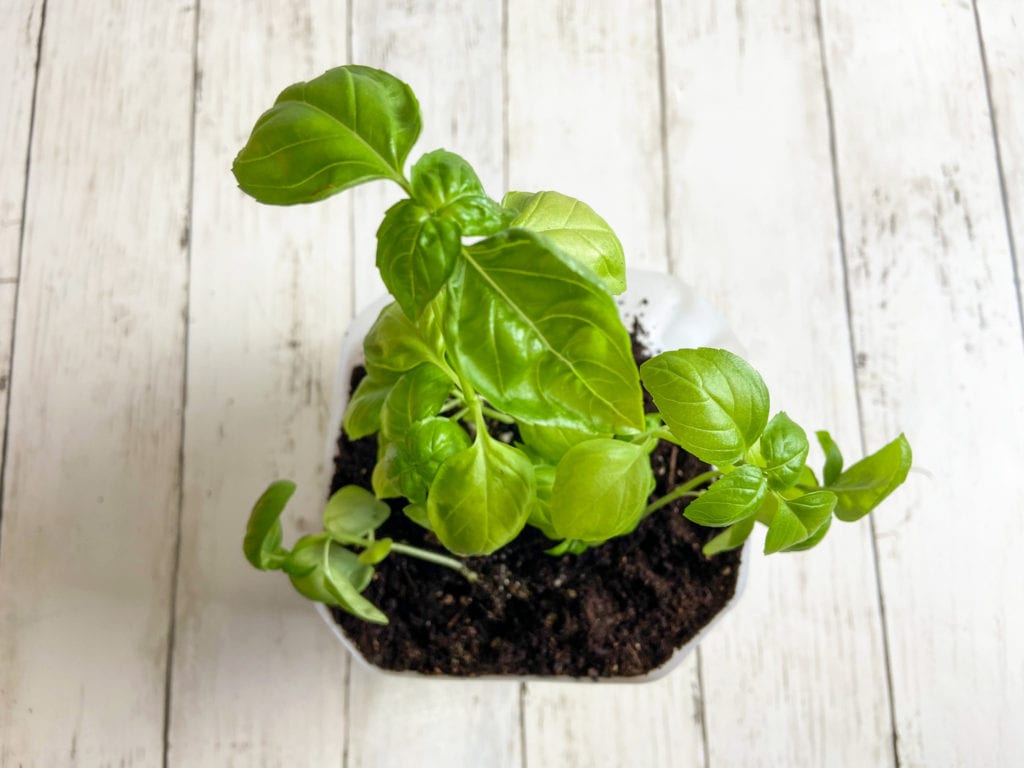
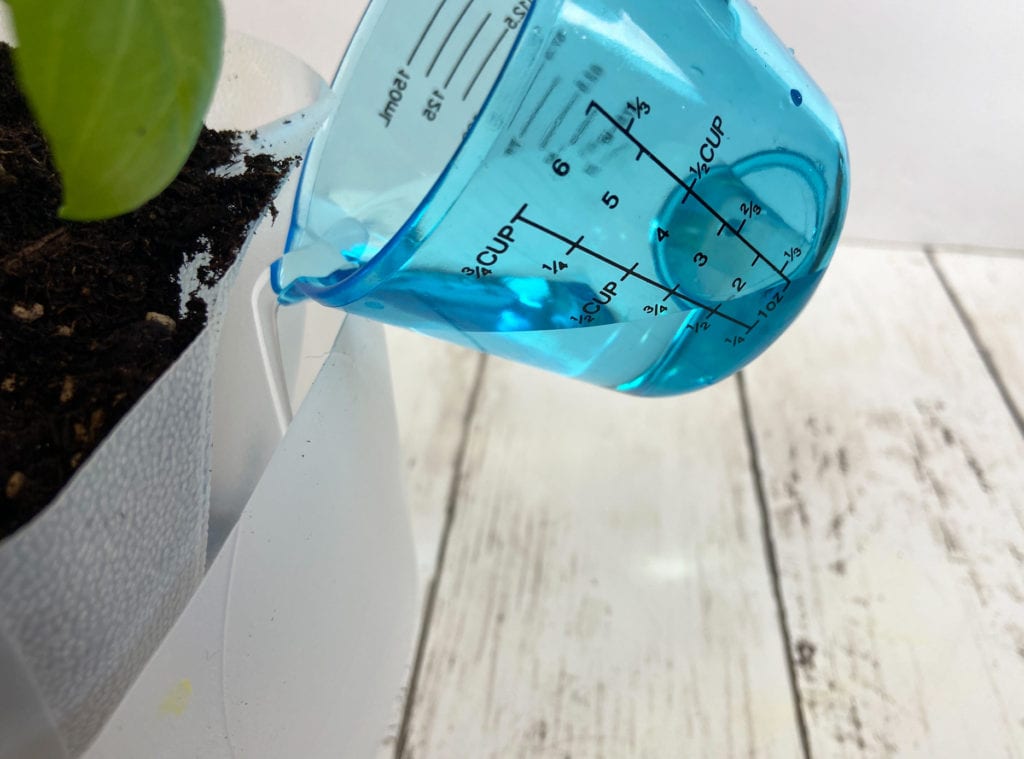
Step 4: Insert the top part of the milk jug, spout side down, into the bottom half of the jug. Make sure the cap is off. Then, fill it with soil and add your plant. Add water to the outer jug (not the part with the soil), and your plant will drink the water as needed!
Try these other upcycled crafts!
- Easy Fruit Scraps Bird Feeder for Earth Day
- Upcycled Milk Jug Suncatchers Kids Craft + Free Printable
- Upcycled Easter Eggs Koinobori Craft for Boys Day
- Kids’ Upcycled Stamping Craft for Earth Day
As always, sharing is caring! Please click on the buttons below to share this post with your friends!