As an Amazon Associate, I earn from qualifying purchases. This post may contain affiliate links. Read my disclosure policy.
If you love fall flavors, these pumpkin scones are for you! They’re buttery, flaky, and tender and topped with a rich brown butter glaze.
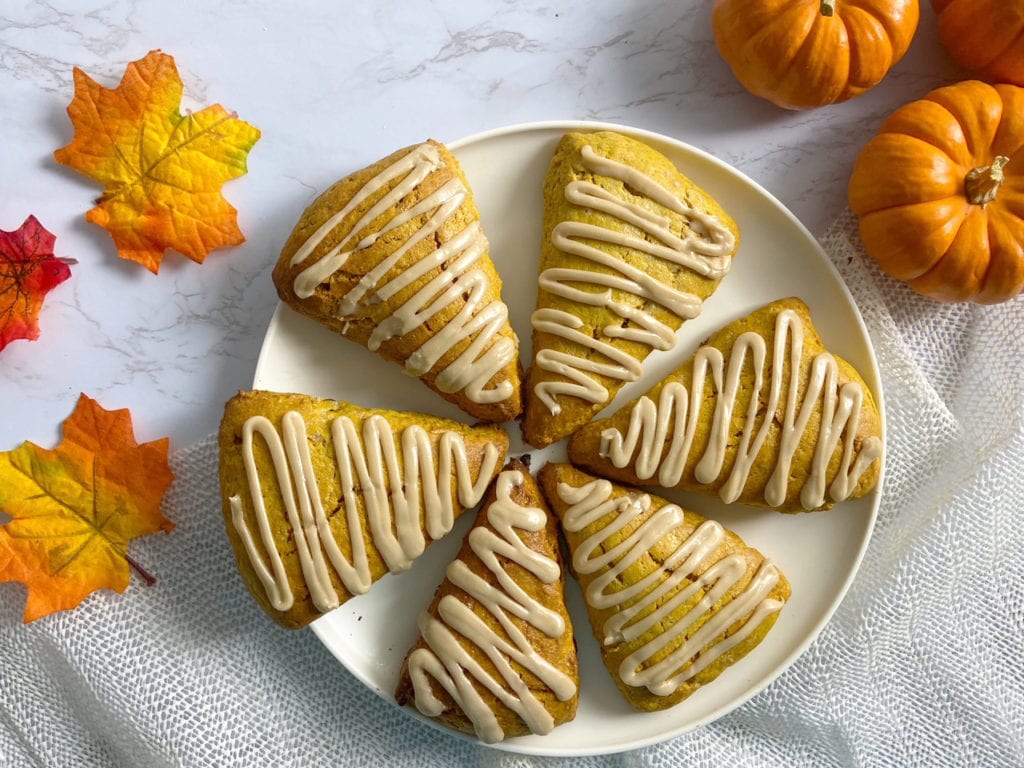
Pumpkin scones are a must during pumpkin season! They taste and smell like fall. Is there anything better than that?
I like to make them for my family for a “treat” breakfast, but they’re also great as a snack or dessert! Have one with a cup of coffee or tea, and you’ll be in heaven.
What is the secret to making good scones?
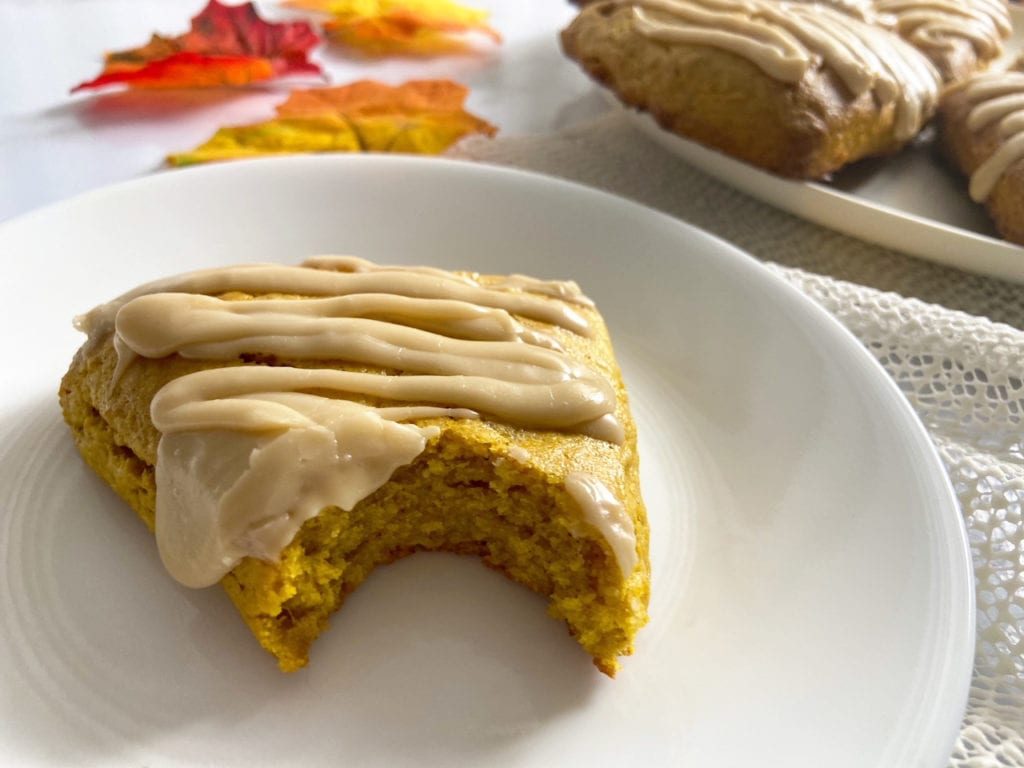
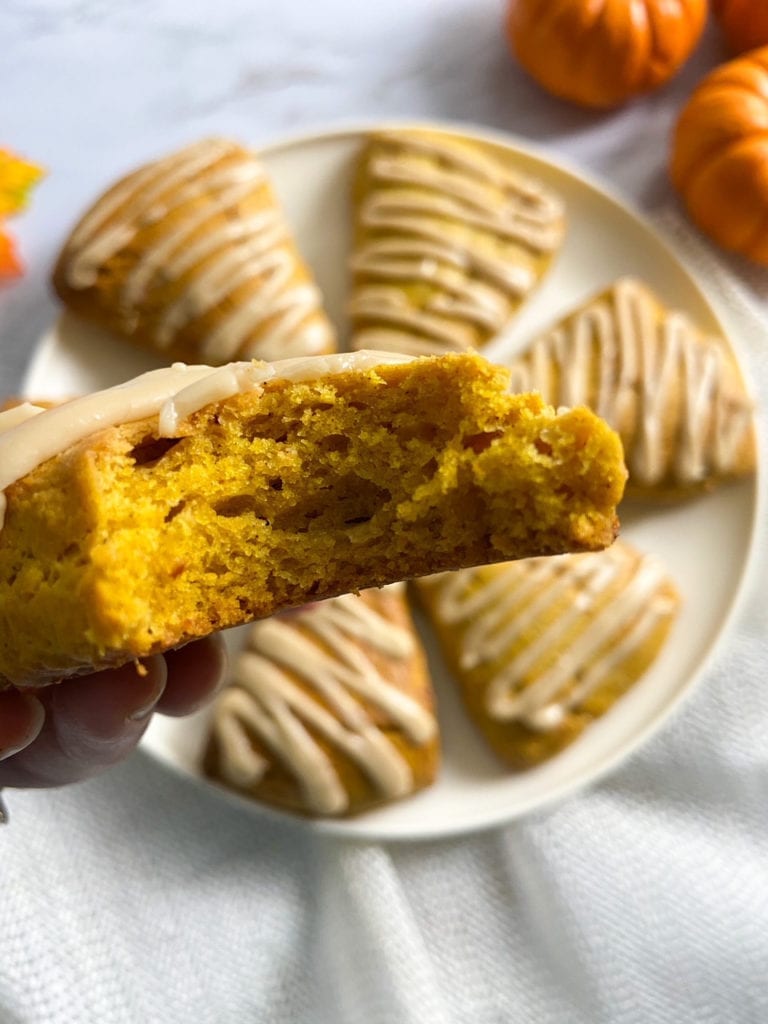
A good scone is crisp on the outside and buttery, moist and flaky on the inside. So what’s the secret to achieving this texture? Here are a few tips:
- Use really cold ingredients – the cream, egg, and butter should be used straight out of the fridge.
- Work quickly – taking too long to make and shape the scones will warm the dough up. Work quickly to keep it cold.
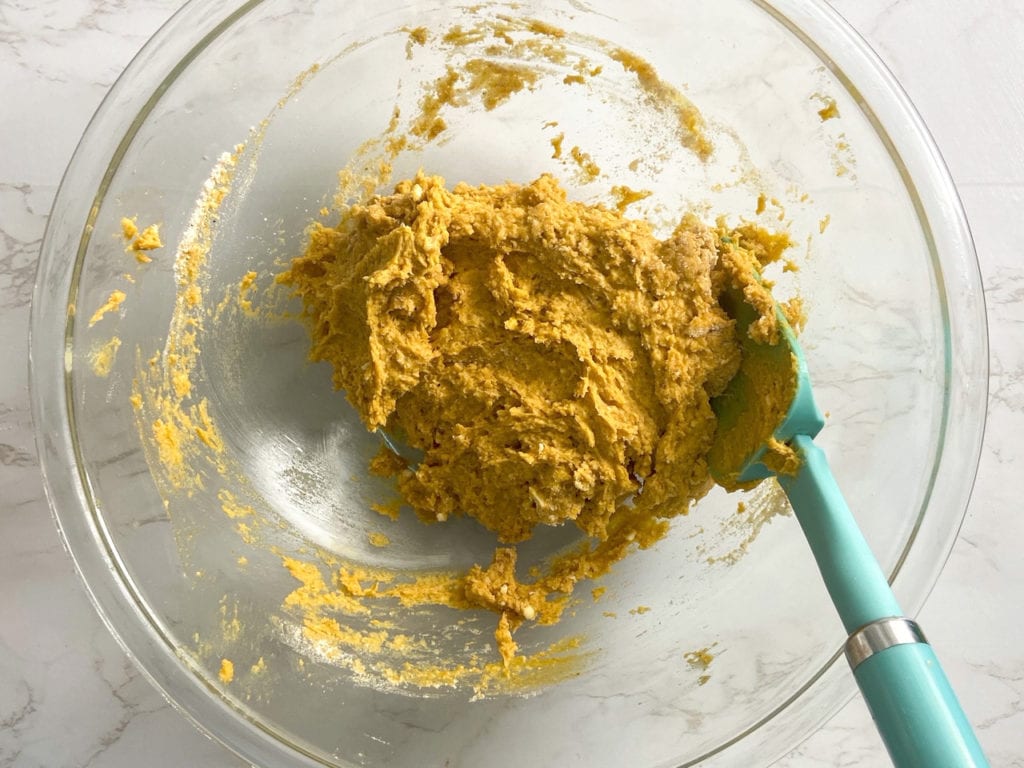
- Don’t over mix it – the dough should just come together, and a few lumps are fine! Over mixing it will warm the dough up and cause the final product to be tough.
- Chill the scones before baking – this ensures the scones go into the oven cold, and the butter can do its job in creating flaky layers.
What is the best way to store scones?
Scones are best eaten freshly baked and warm, hands down.
If you have to store them, they will keep up to 48 hours at room temperature. Store them in an air tight container, lined with a paper towel. The paper towel will absorb any extra moisture, which will help to keep the scone’s texture.
If you want to store scones for longer than 48 hours, the best thing to do is to freeze the unbaked dough.
Place the triangles on a baking sheet lined with parchment paper, and place them in the freezer until they’re frozen solid. Transfer them to a freezer bag and bake them fresh when you’re ready to eat them. They will keep in the freezer up to 3 months.
To store extra glaze in the freezer, pour it in an ice cube tray (1/4 or 1/2 full so you can take a little out at a time). Once the cubes are frozen solid, transfer them to a freezer bag. Defrost the glaze in the microwave, then drizzle over freshly baked scones.
If you don’t already have them, silicone freezer bags like these are a great, eco-friendly alternative to plastic freezer bags. You’ll save money in the long run, and help the environment at the same time!
Can I make my own Pumpkin Spice?
These scones are flavored with pumpkin spice. While you can buy pumpkin spice in the store, you can also make it yourself. I actually find that it’s cheaper to make it yourself (plus, you can control what goes in it)!
Pumpkin spice varies from brand to brand, recipe to recipe. The recipe I like to use is from All Recipes, by PENILU:
- ¼ cup ground cinnamon
- 4 teaspoons ground nutmeg
- 4 teaspoons ground ginger
- 1 tablespoon ground allspice
How do you make Pumpkin Scones with Brown Sugar Glaze?
Ingredients:
- 2 cups of all-purpose flour
- 2 1/2 teaspoons of baking powder
- 1 1/2 teaspoons of pumpkin spice
- 1/4 teaspoon of salt
- 1/2 cup of salted butter, cut into small cubes
- 1/3 cup of heavy cream, plus extra for brushing on the scones
- 1 large egg
- 1/2 cup of pumpkin puree
- 1/2 cup of brown sugar
- 1 teaspoon of vanilla extract
Brown Sugar Glaze:
- 2 tablespoons of salted butter
- 2 tablespoons of whole milk
- 1/4 cup of brown sugar
- 3/4 cups of powdered sugar, sifted
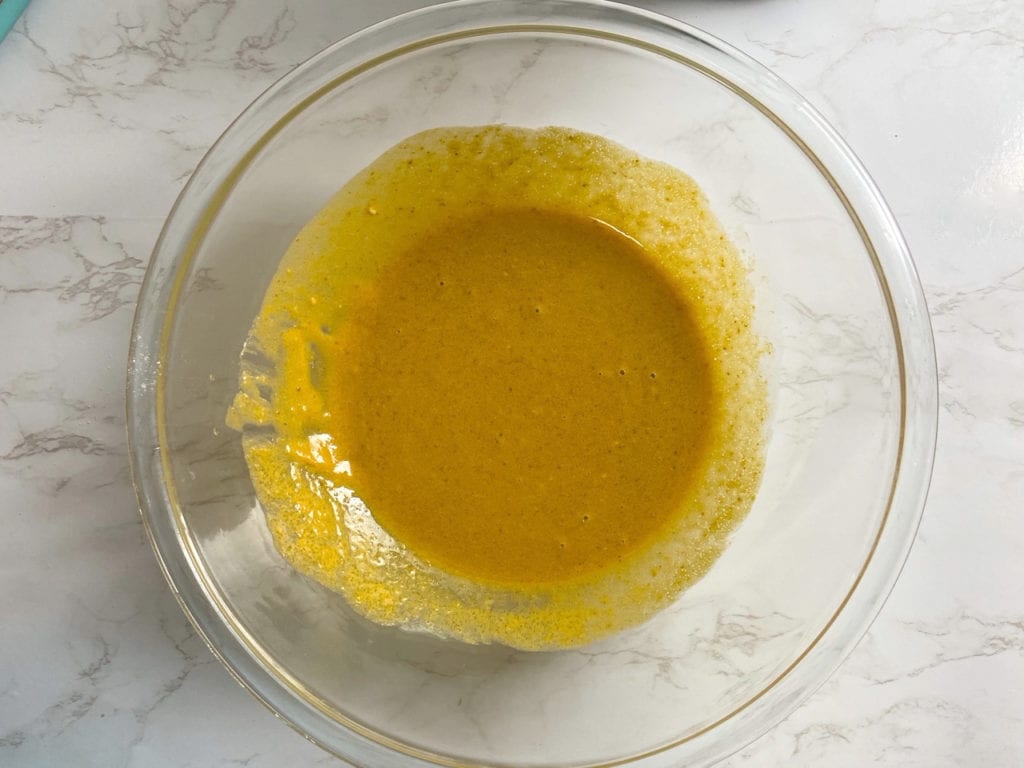
Step 1: In a large bowl, mix the egg, heavy cream, pumpkin puree, brown sugar, and vanilla together. Set it aside.
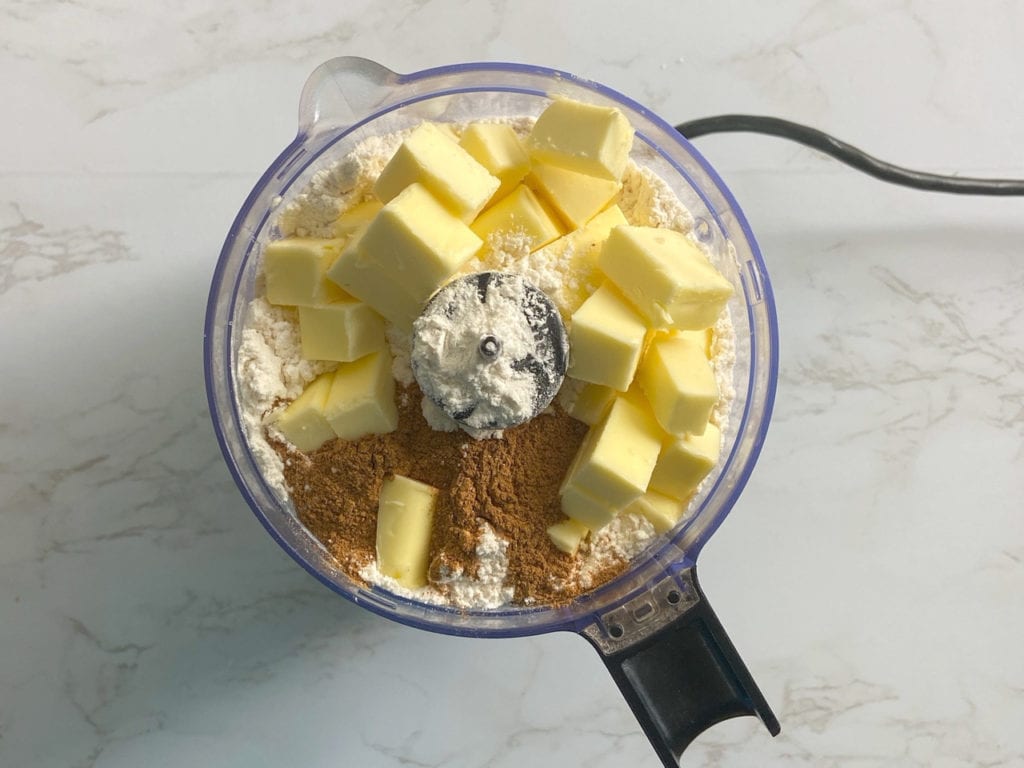
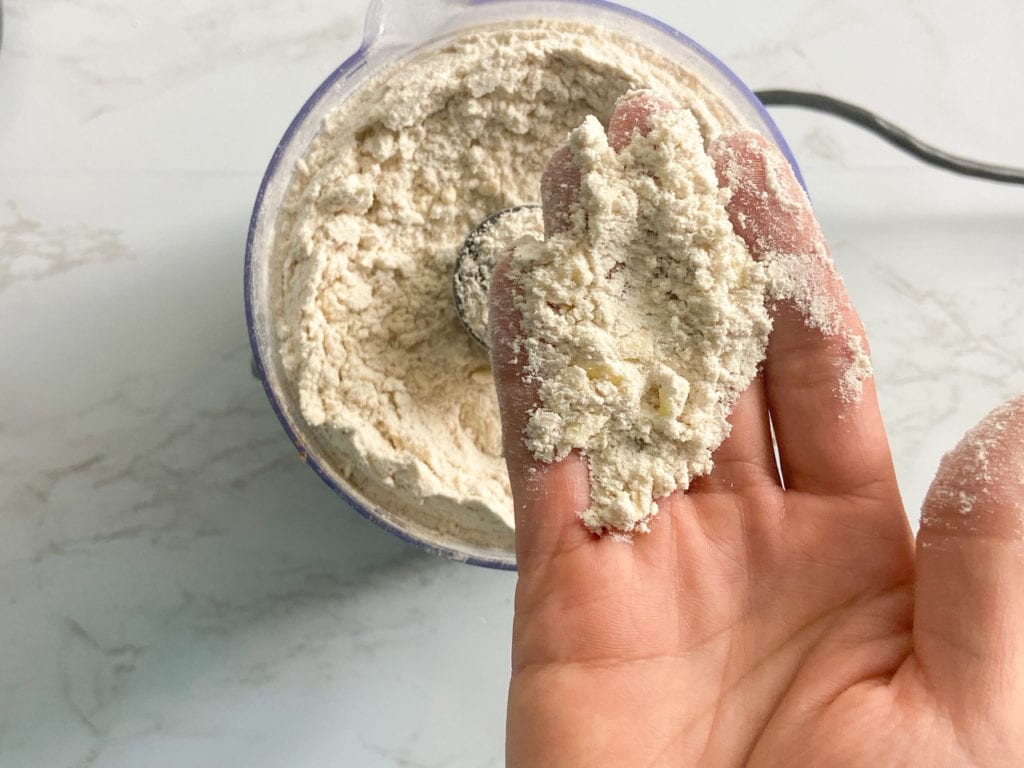
Step 2: Add the flour, baking powder, salt, pumpkin spice and butter to a food processor. Pulse until the butter is incorporated into the flour. Make sure there are still small chunks of butter, no larger than the size of a pea. These butter “chunks” are what make the scones flaky.
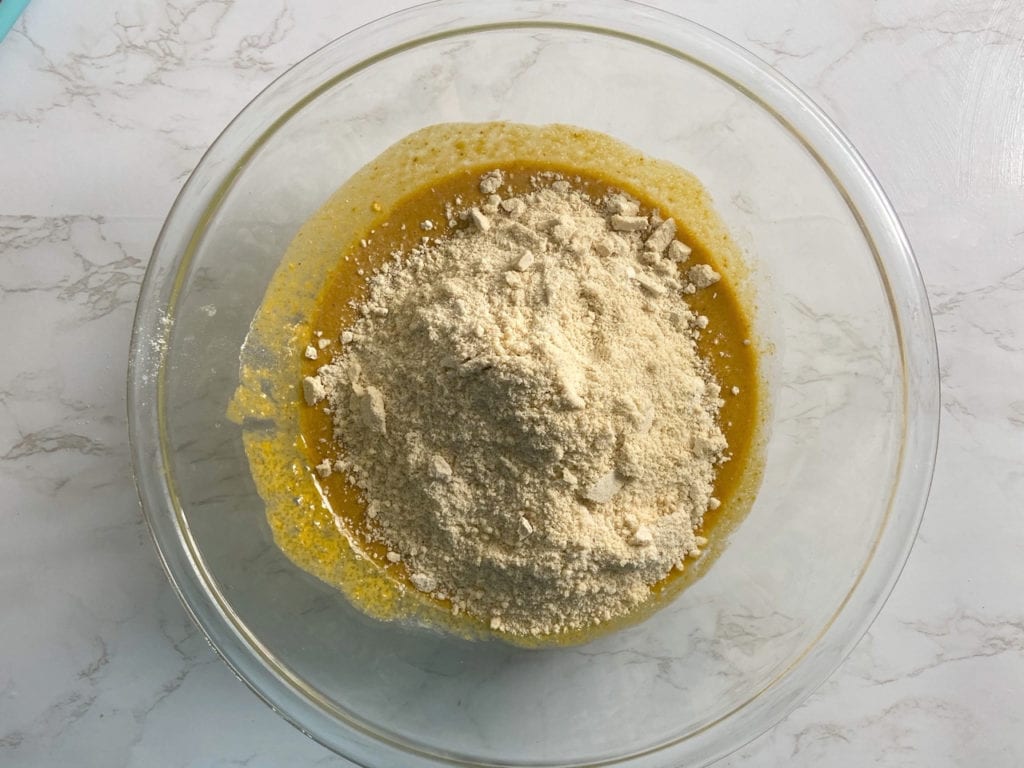
Step 3: Add the flour mixture to the bowl with the wet ingredients and mix until just combined. A few lumps are fine, don’t over mix.
Step 4: Put the dough on a lightly floured surface, and shape it into an 8″ circle. Then, cut the dough into 8 pieces.
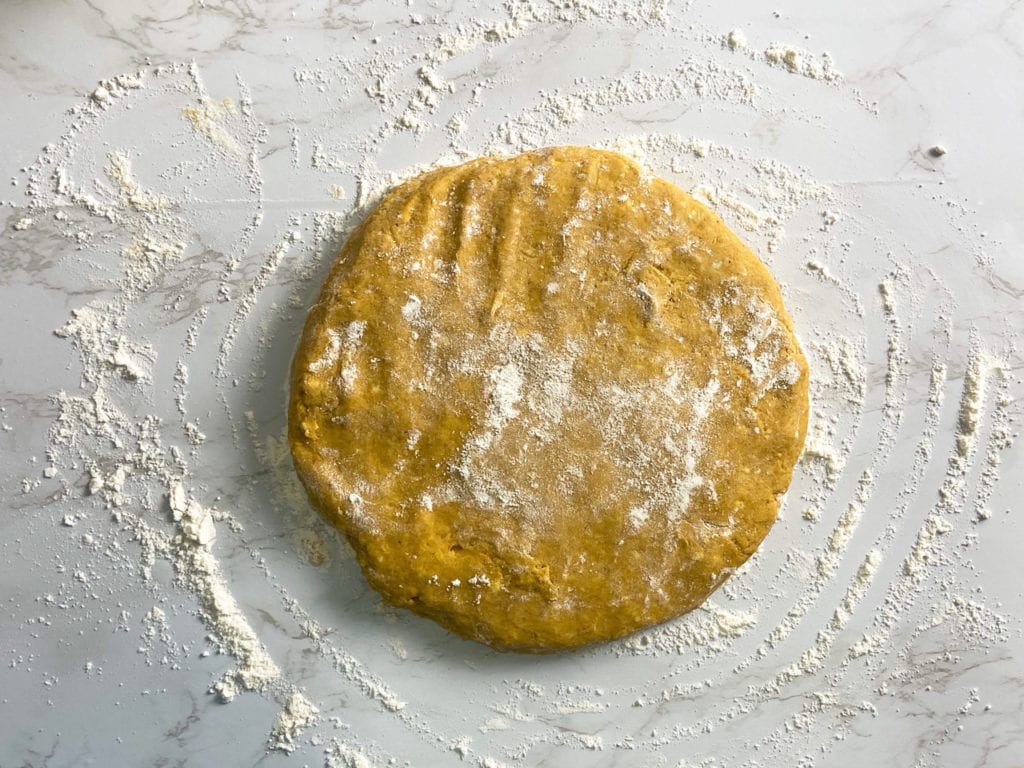
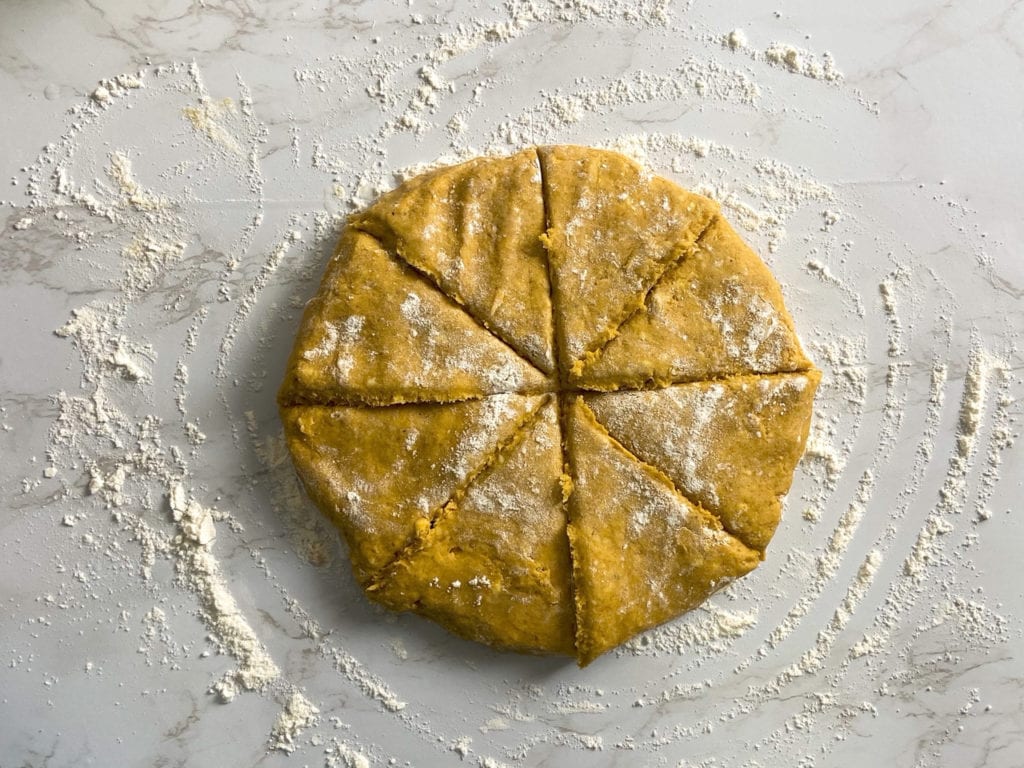
Step 5: Place the triangles onto a large baking sheet lined with parchment paper. Make sure to leave at least an inch between each triangle. Place the baking sheet in the refrigerator for 30 minutes. While the scones are chilling, preheat the oven to 400º F.
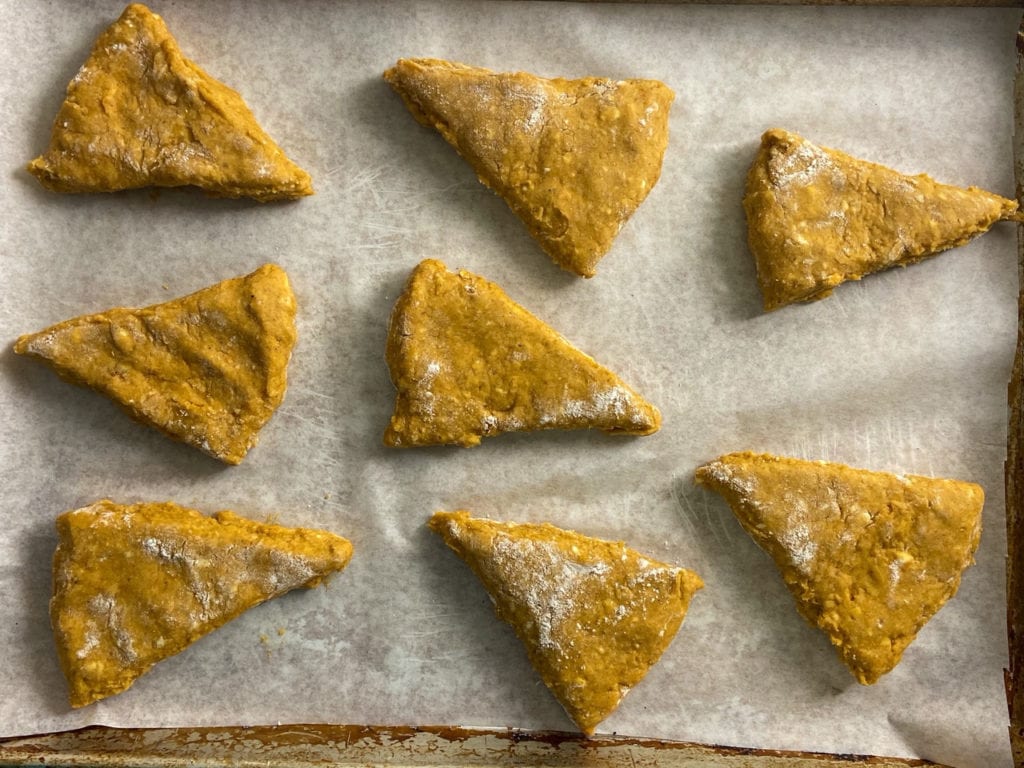
Step 6: Remove the scones from the fridge, and brush the tops with cream. Then, bake the scones for 20-25 minutes, until the edges are lightly browned.
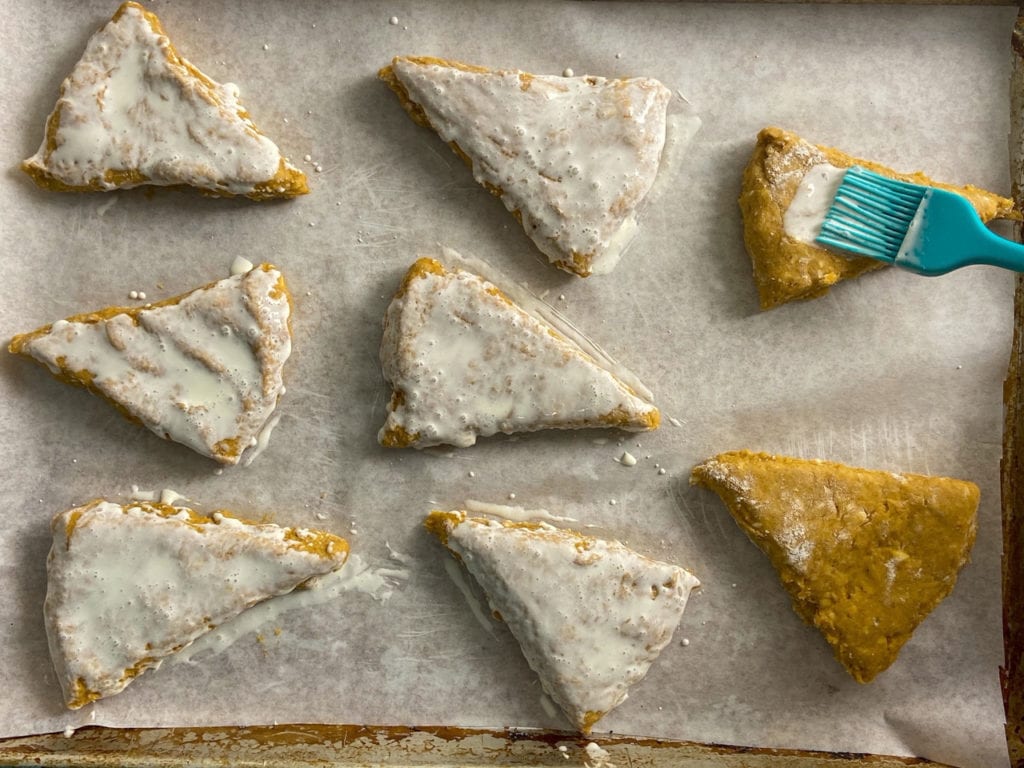
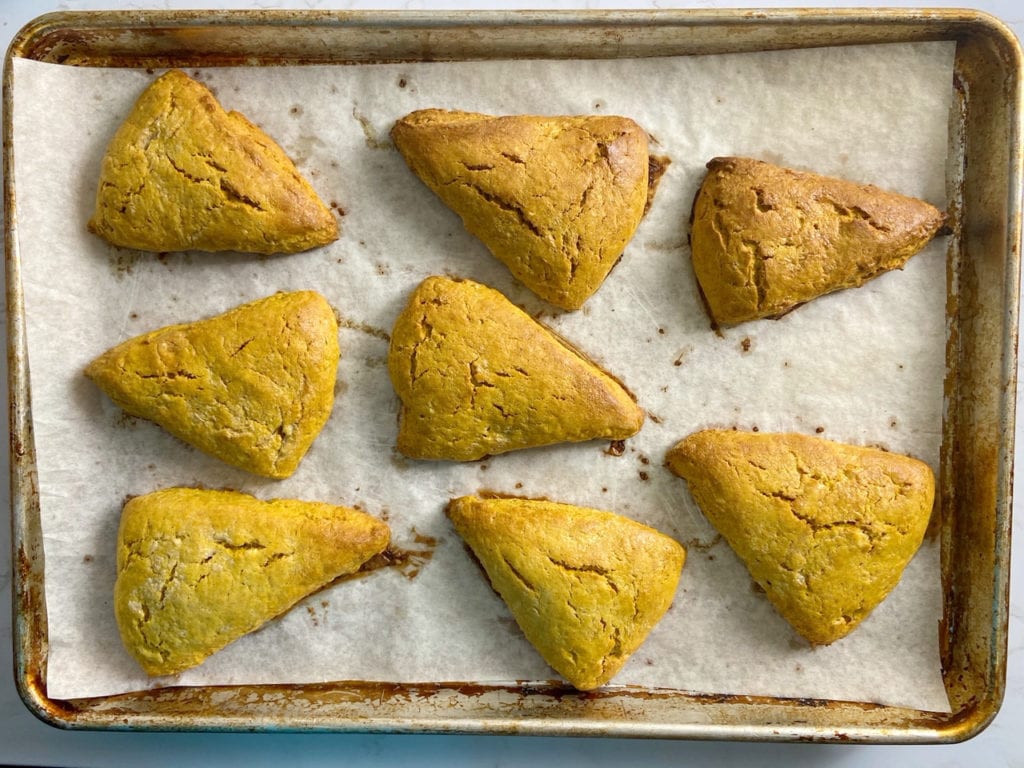
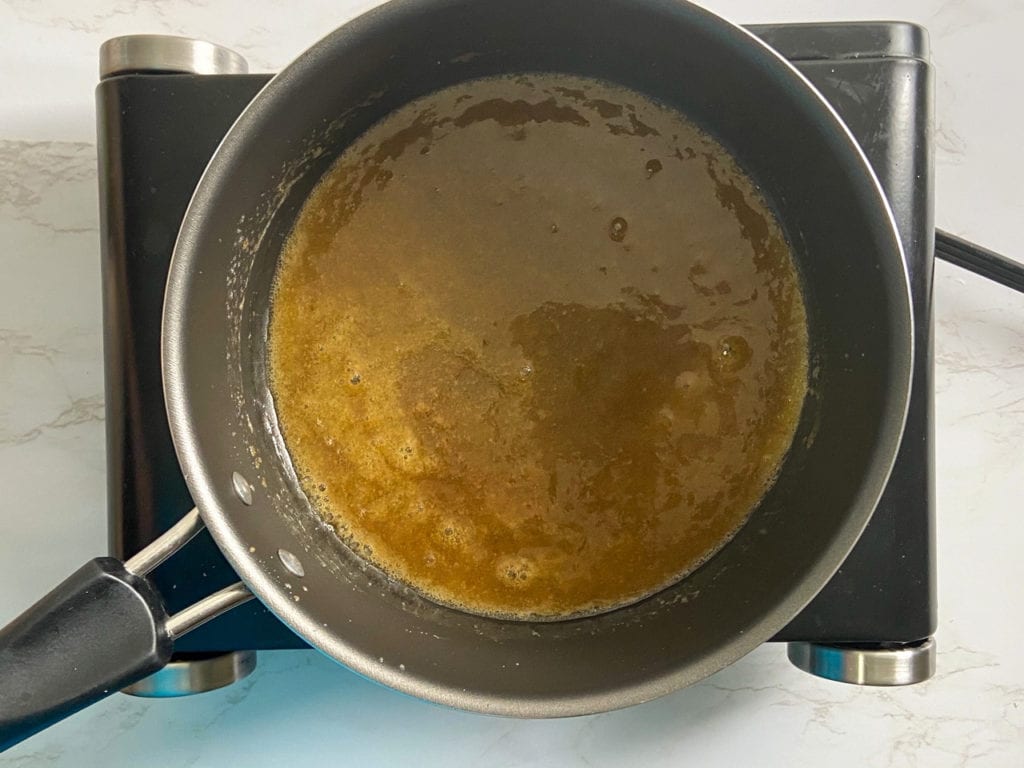
Step 6: While the scones are baking, you can prepare the brown sugar glaze. Heat the butter, milk and brown sugar in a small pot. Simmer on low for about 2 minutes, while stirring, until the sugar is dissolved. Remove from the heat and let it cool for a few minutes. Then, whisk in the powdered sugar, a little at a time, until you reach your desired consistency.
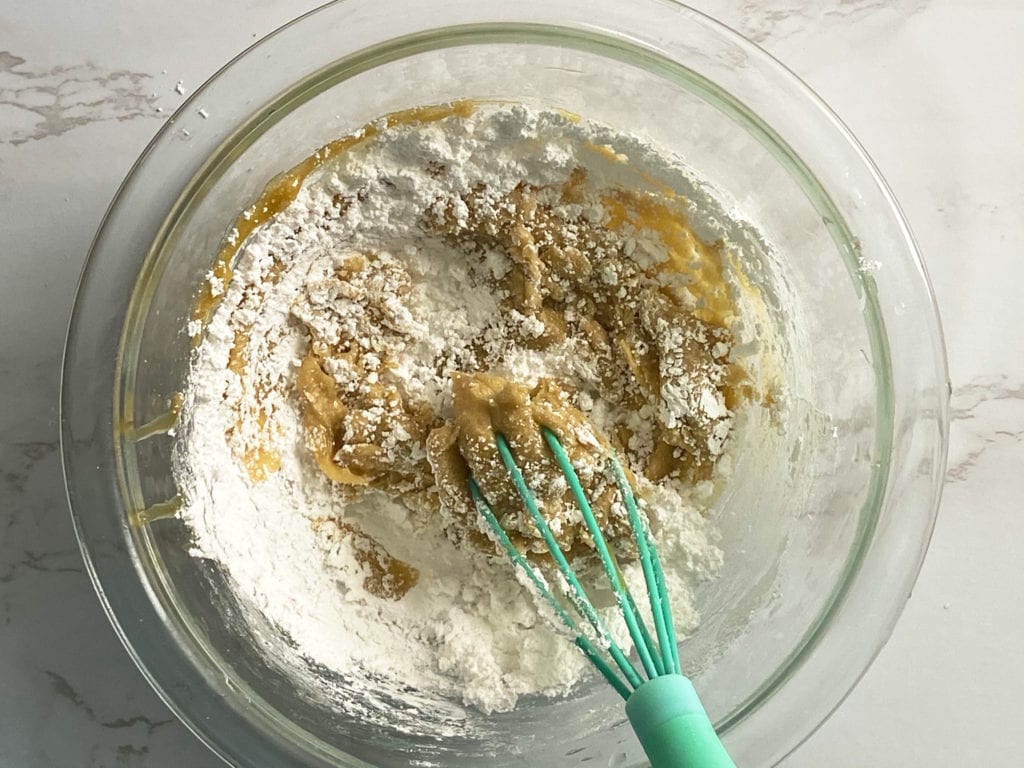
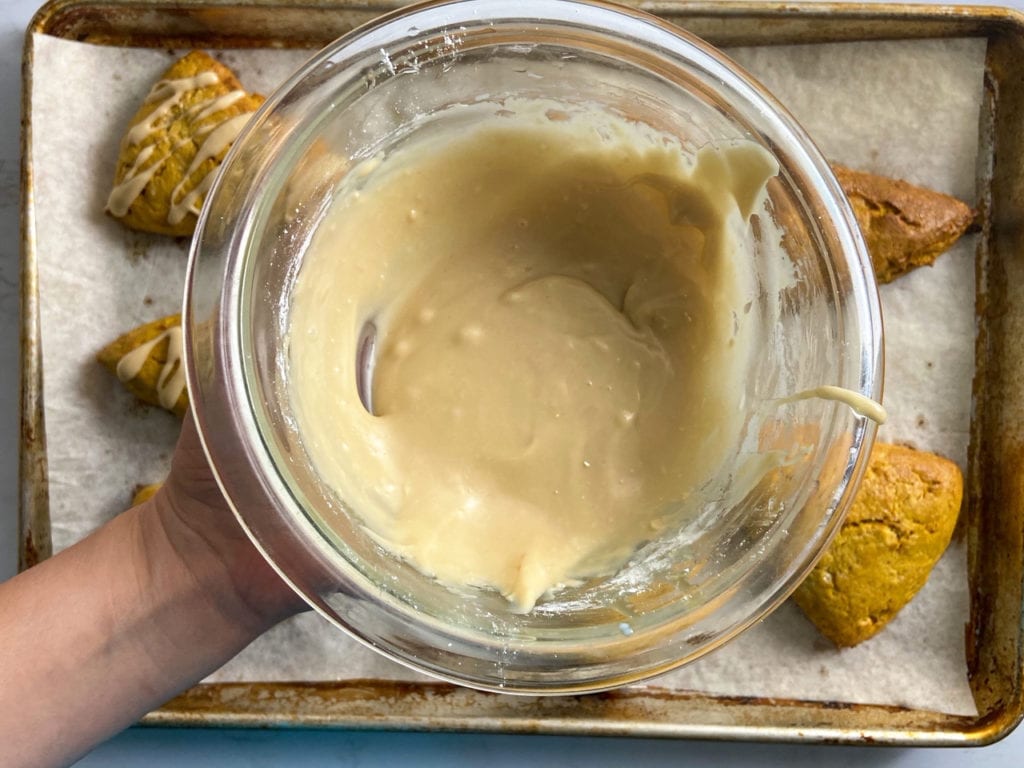
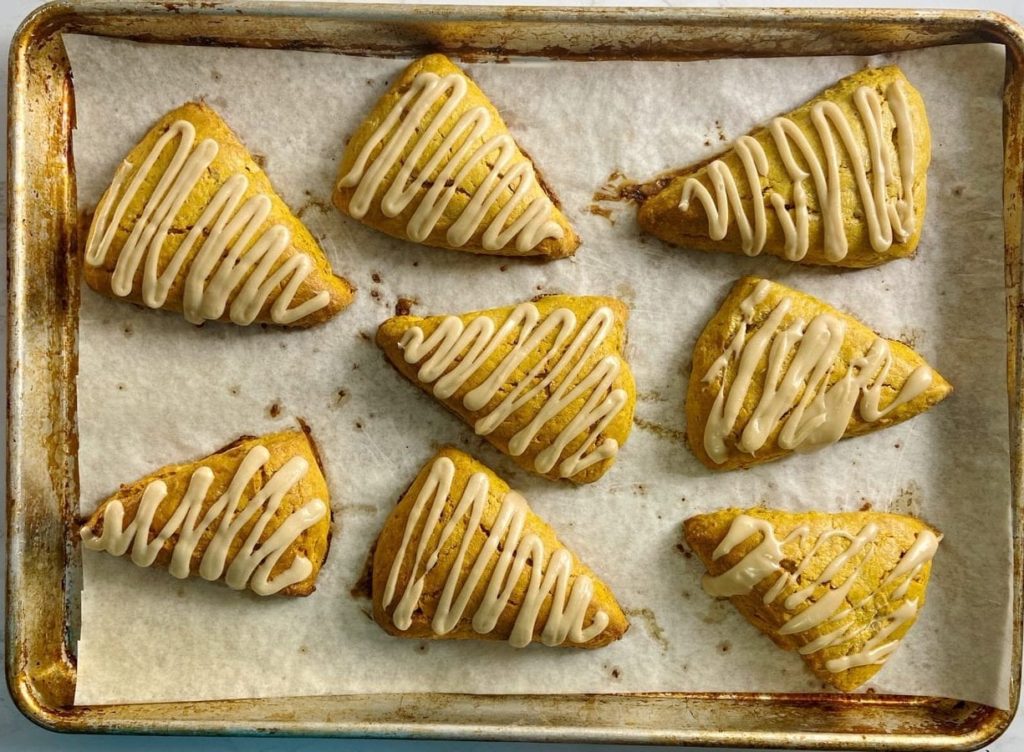
Step 7: Let the scones cool on the baking sheet for a few minutes. While they’re sill warm, drizzle the glaze over them. Enjoy!
This recipe is based on one from Sally’s Baking Addiction.
Try these other delicious pumpkin recipes!
Pumpkin Scones with Brown Sugar Glaze
Equipment
Ingredients
- 2 cups all-purpose flour
- 2 1/2 teaspoons baking powder
- 1 1/2 teaspoons pumpkin spice
- 1/4 teaspoon salt
- 1/2 cup salted butter cut into small cubes
- 1/3 cup heavy cream plus extra for brushing on scones
- 1 large egg
- 1/2 cup pumpkin puree
- 1/2 cup brown sugar
- 1 teaspoon vanilla
Brown Sugar Glaze
- 2 tablespoons whole milk
- 2 tablespoons salted butter
- 1/4 cup brown sugar
- 3/4 cup powdered sugar
Instructions
- In a large bowl, mix the egg, heavy cream, pumpkin puree, brown sugar, and vanilla together. Set it aside.
- Add the flour, baking powder, salt, pumpkin spice and butter to a food processor. Pulse until the butter is incorporated into the flour. Make sure there are still small chunks of butter, no larger than the size of a pea. These butter "chunks" are what make the scones flaky.
- Add the flour, baking powder, salt, pumpkin spice and butter to a food processor. Pulse until the butter is incorporated into the flour. Make sure there are still small chunks of butter, no larger than the size of a pea. These butter "chunks" are what make the scones flaky.
- Put the dough on a lightly floured surface, and shape it into an 8" circle. Then, cut the dough into 8 pieces.
- Place the triangles onto a large baking sheet lined with parchment paper. Make sure to leave at least an inch between each triangle. Place the baking sheet in the refrigerator for 30 minutes. While the scones are chilling, preheat the oven to 400º F.
- Remove the scones from the fridge, and brush the tops with cream. Then, bake the scones for 20-25 minutes, until the edges are lightly browned.
- While the scones are baking, you can prepare the brown sugar glaze. Heat the butter, milk and brown sugar in a small pot. Simmer on low for about 2 minutes, while stirring, until the sugar is dissolved. Remove from the heat and let it cool for a few minutes. Then, whisk in the powdered sugar, a little at a time, until you reach your desired consistency.
- Let the scones cool on the baking sheet for a few minutes. While they're sill warm, drizzle the glaze over them. Enjoy!
Notes
- Make sure all ingredients are cold (egg, cream, butter, pumpkin puree) and work quickly to ensure the dough stays cold.
- If you don’t have a food processor, you can cut the butter into the flour using a pastry cutter.
- The scones are best eaten warm, but can be stored in an airtight container lined with paper towel for up to 48 hours. You can also freeze the uncooked dough and bake them fresh as needed. For detailed instructions, please scroll up on this post.
- This recipe is based on one from Sally’s Baking Addiction.
As always, sharing is caring! Please click on the buttons below to share this post with your friends!

