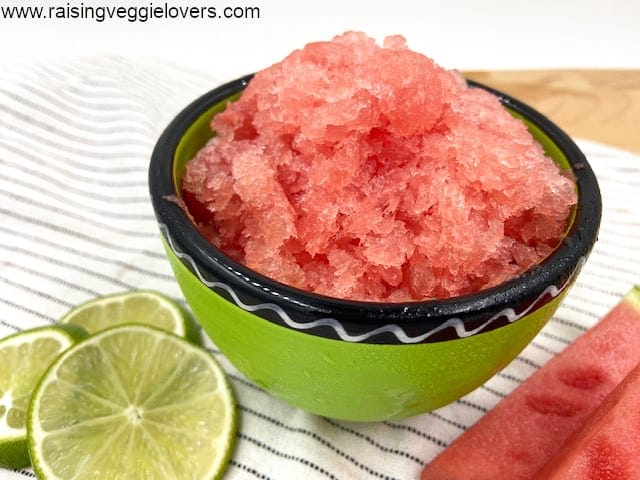
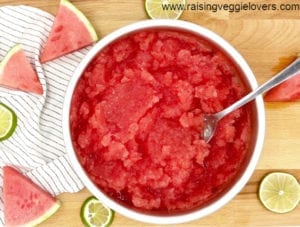
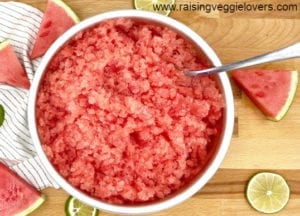
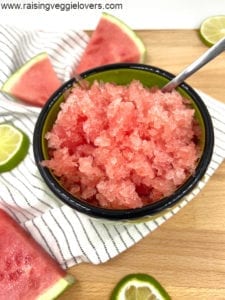
3 Ingredient Watermelon Granita
As an Amazon Associate, I earn from qualifying purchases. This post may contain affiliate links. Read my disclosure policy.
My family loves watermelon, especially on those hot summer days. There’s something about a cold slice of sweet, juicy watermelon that just hits the spot.
Every now and then, despite our efforts to pick the best watermelon, we get a dud. Sometimes it could be lacking in sweetness or flavor, or even worse, texture. Nothing is worse than a mushy watermelon. Ick.
When life gives you lemons, make lemonade, right? Well, when life gives you a junk watermelon, make watermelon granita! It’s so easy to make, and it’s so delicious and refreshing.
What is granita?
Granita is a frozen Italian dessert that’s made of water, sugar, and some type of flavoring (generally fruit).
It’s sweet and icy, sort of like a snow cone or a slushy. It is so delicious and refreshing, especially on a hot summer day!
How do I make watermelon granita?
You will need:
- 4 cups of seedless watermelon, cubed
- 4 tablespoons of sugar (can be adjusted to taste)
- 2 tablespoons of lime juice
Equipment:
- blender or food processor
- freezer-safe glass or metal pan
This recipe makes about 4 servings. It can easily be doubled or tripled!
Method:
- Add all ingredients to a blender or food processor and blend until smooth. Make sure there are no chunks of watermelon remaining.


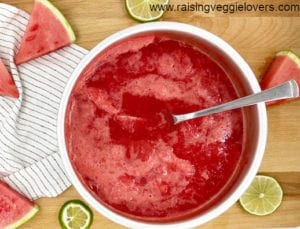
- Pour the mixture into a freezer-safe pan (glass or metal work well). Then, place it in the freezer for one hour.

- Remove the pan from the freezer. Using a spoon or a fork, gently stir the ice crystals that have formed, dislodging them from the edges and breaking up any large chunks. Return the pan to the freezer for another hour.


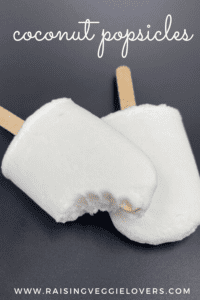
Try these other yummy frozen treats!
How do I store the watermelon granita?
You can store any remaining watermelon granita in an airtight container. When you’re ready to serve it again, remove it from the freezer and let it sit at room temperature for a few minutes. Then, take a fork and re-scrape the ice if needed.
I use these airtight glass containers to store my watermelon granita and other things in the freezer. They’re awesome because they’re also microwave, oven, and dishwasher safe.
Do I have to use seedless watermelon to make watermelon granita?
No, you don’t have to use seedless watermelon. If all you have on hand is regular watermelon with seeds, no problem! You can either pick out all of the black seeds before throwing them in the blender (yikes!) or to save time, blend the watermelon with the seeds, then strain the mixture before putting it in a pan.
I hope you like this recipe as much as my kids do!
Don’t forget to comment once you’ve tried this recipe to let me know how you liked it!

3 Ingredient Watermelon Granita
Equipment
Ingredients
- 4 cups seedless watermelon cubed
- 4 tablespoons sugar can be adjusted to taste
- 2 tablespoons lime juice
Instructions
- Add all ingredients to a blender or food processor and blend until smooth. Make sure there are no chunks of watermelon remaining.
- Pour the mixture into a freezer safe pan (glass or metal work well). Then, place it in the freezer for one hour.
- Remove the pan from the freezer. Using a spoon or a fork, gently stir the ice crystals that have formed, dislodging them from the edges and breaking up any large chunks. Return the pan to the freezer for another hour.
- Remove the pan, and scrape down the ice. This ice will start to become thicker and chunkier, so be sure to break down all of the chunks. Return the pan to the freezer for one more hour.
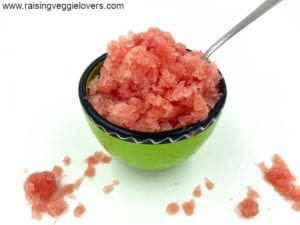
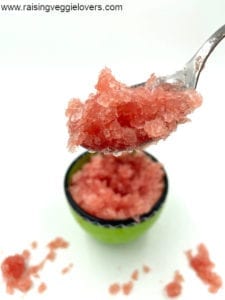
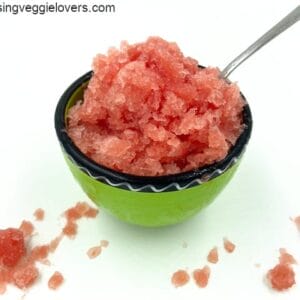
- Remove the pan and scrape the ice again. This time, use a fork to scrape the ice into small pieces, almost like you’re “shredding” the ice. The ice should be fluffy, with a snow cone like consistency.
Notes
As always, sharing is caring. Please click on the buttons below to share this recipe with your friends!