As an Amazon Associate, I earn from qualifying purchases. This post may contain affiliate links. Read my disclosure policy.
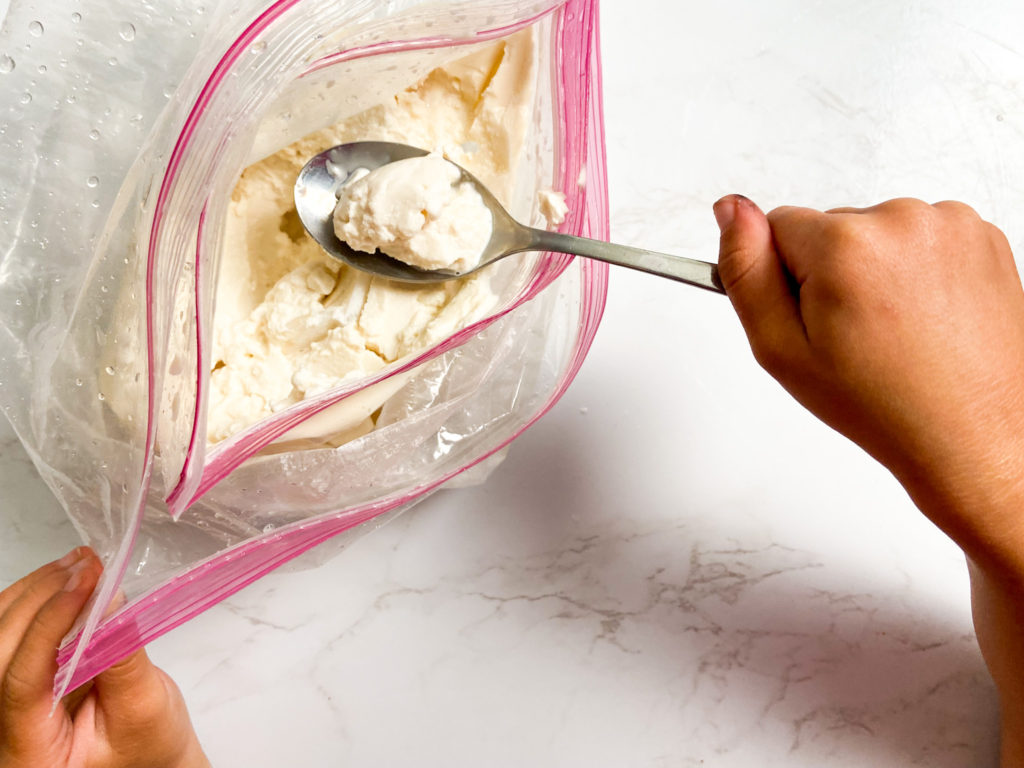
Ice cream is the best treat on those scorching hot summer days! Although it’s fun to take your kids out for a scoop of their favorite creamy treat, why not make some at home? Making homemade ice cream in a bag is a fun, budget friendly, and educational way to get your ice cream fix!
Before you get started…
Get the gears in your kids’ brains to start turning before you start this fun food science activity. Ask them the following questions:
- What ingredients do you need to make ice cream?
- What happens to those ingredients? (They freeze/go through a physical change.)
- What are some different ways to chill the ingredients to turn them into ice cream?
How do you make ice cream in a bag?
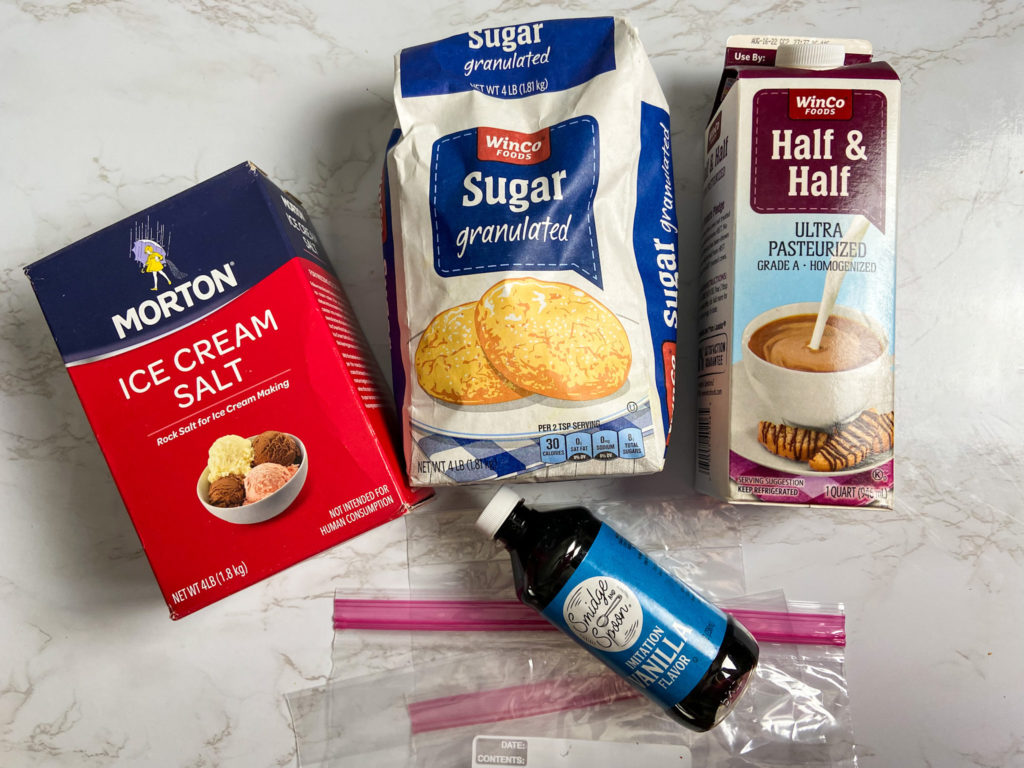
You’ll Need:
- 1 cup of half and half
- 2 tablespoons of sugar (more or less to taste)
- 1/2 teaspoon of vanilla extract
- 1 gallon ziploc bag and 1 quart ziploc bag
- ice to fill up half of the ziploc bag
- 1/3 cup of ice cream salt
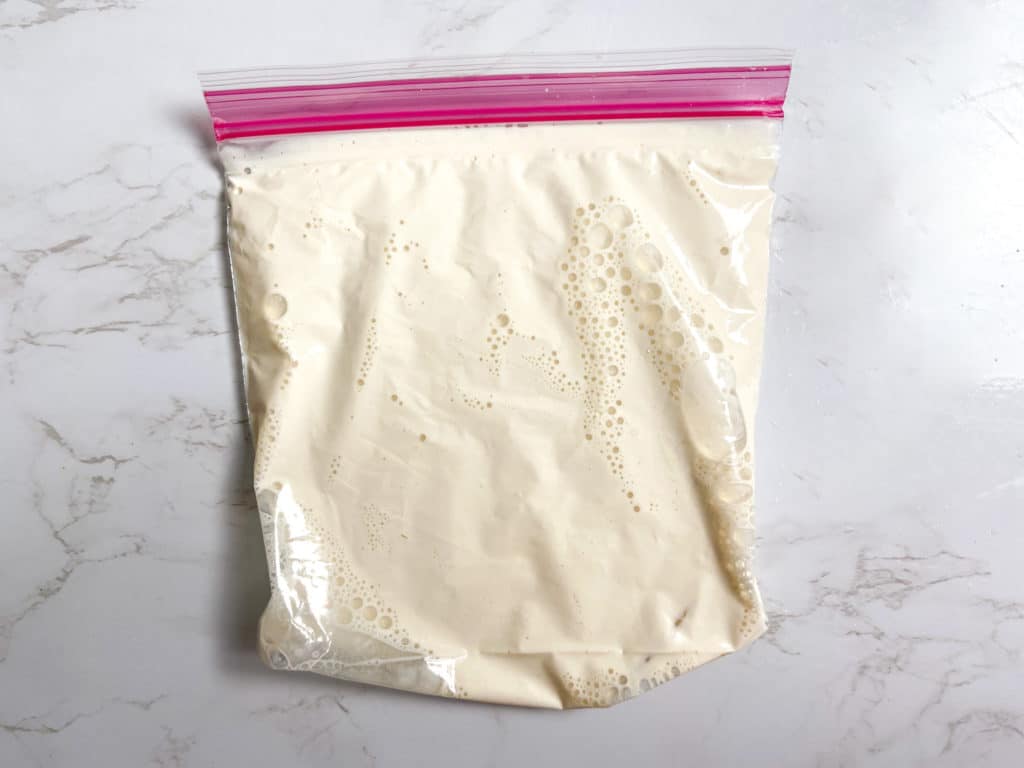
Step 1: Add the half and half, sugar and vanilla extract to a quart-size ziploc bag. Squeeze the excess air out of the bag before sealing it tight. Use your hands to squeeze the bag mix to the ingredients together.
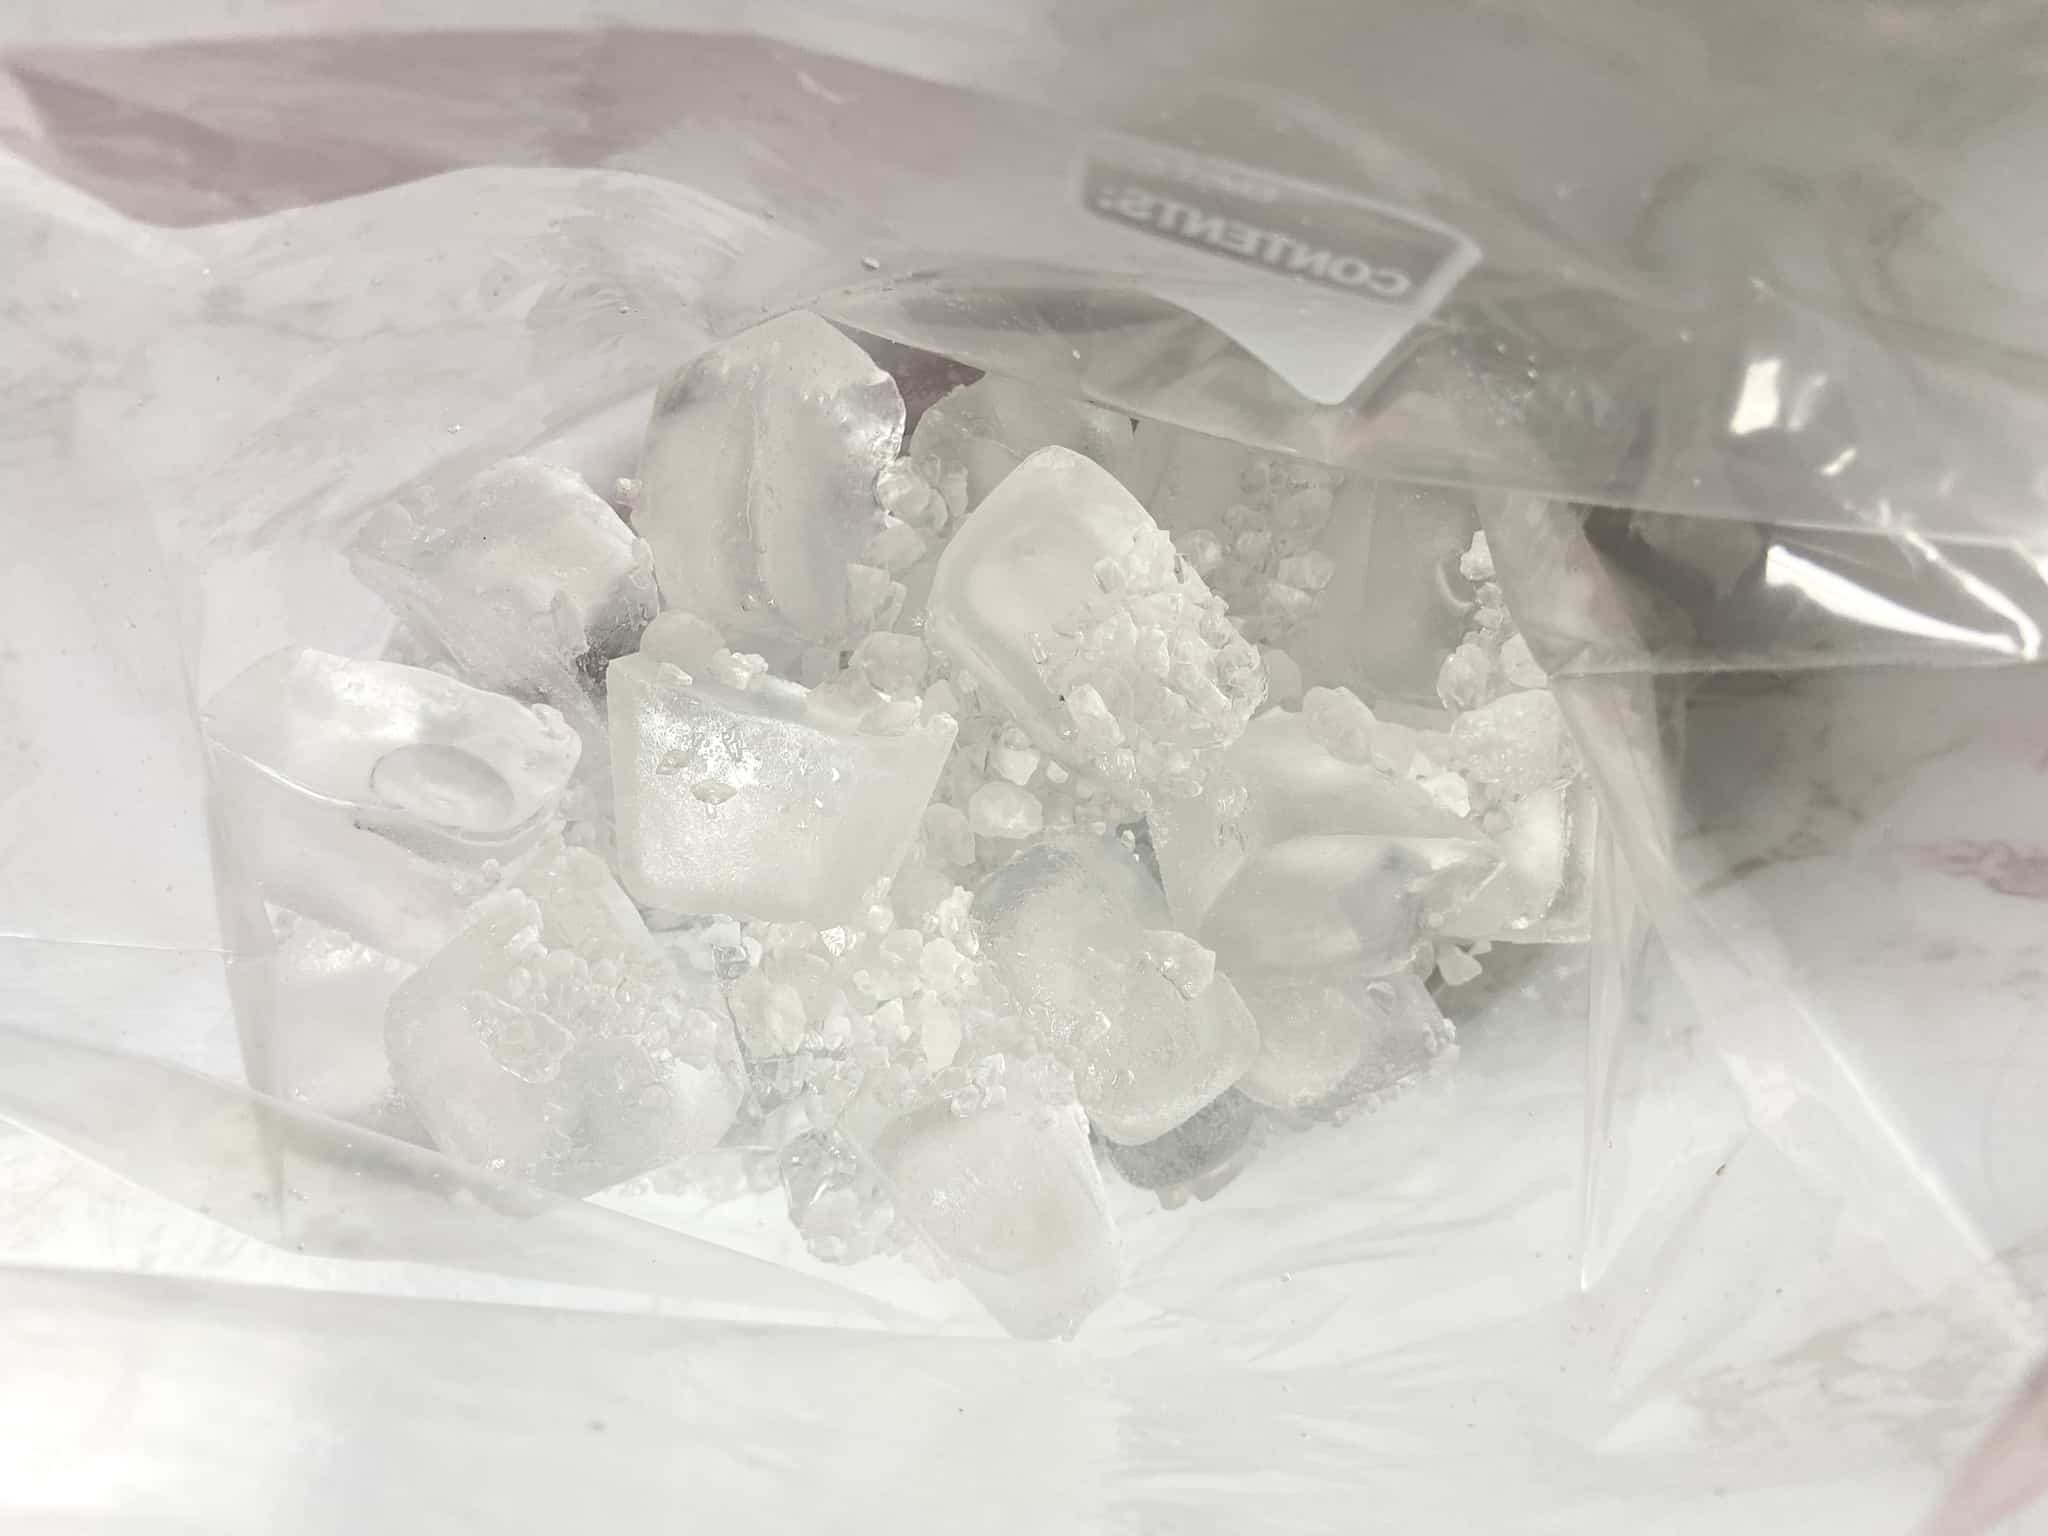
Step 2: Fill the gallon ziploc bag about half way up with ice and sprinkle it with salt. Place the quart ziploc bag over the ice, then seal up the gallon bag.
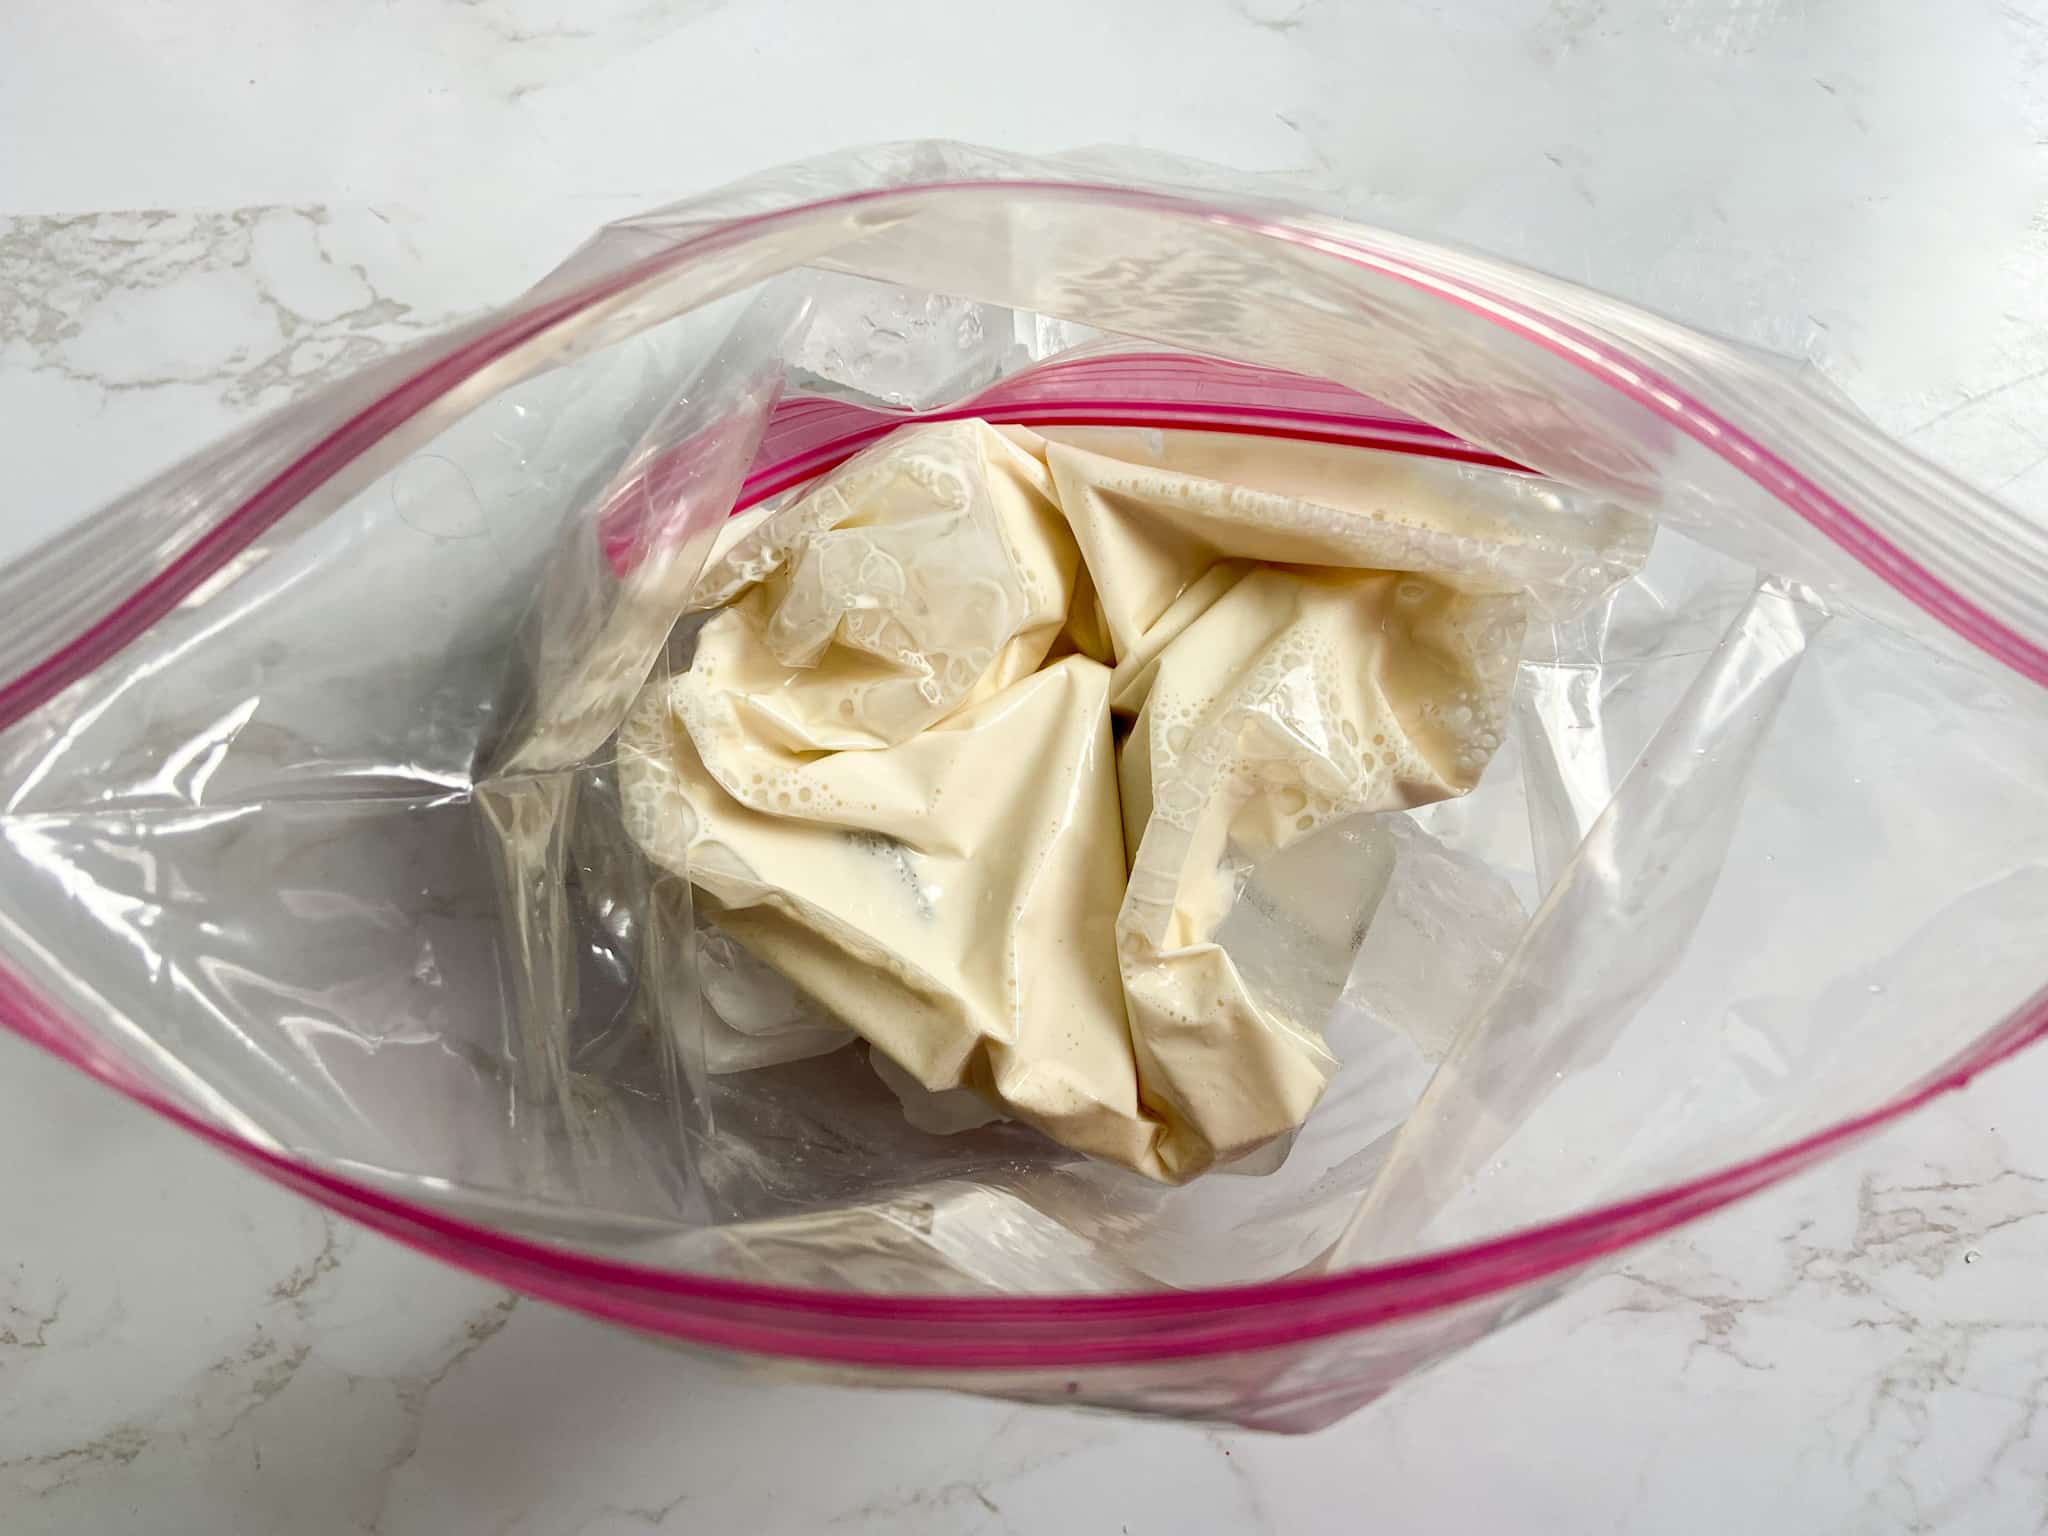
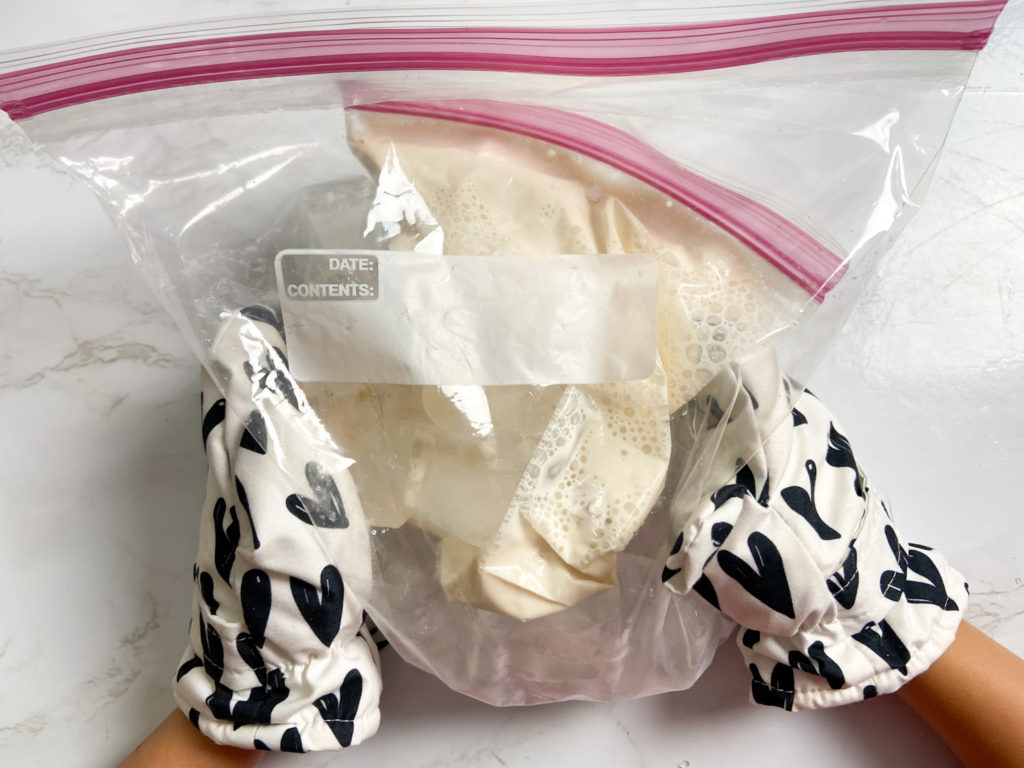
Step 3: Shake the bag continuously, until the half and half mixture freezes and turns into ice cream! This could take about 5 minutes or more. Pro tip: use gloves to keep your hands warm!
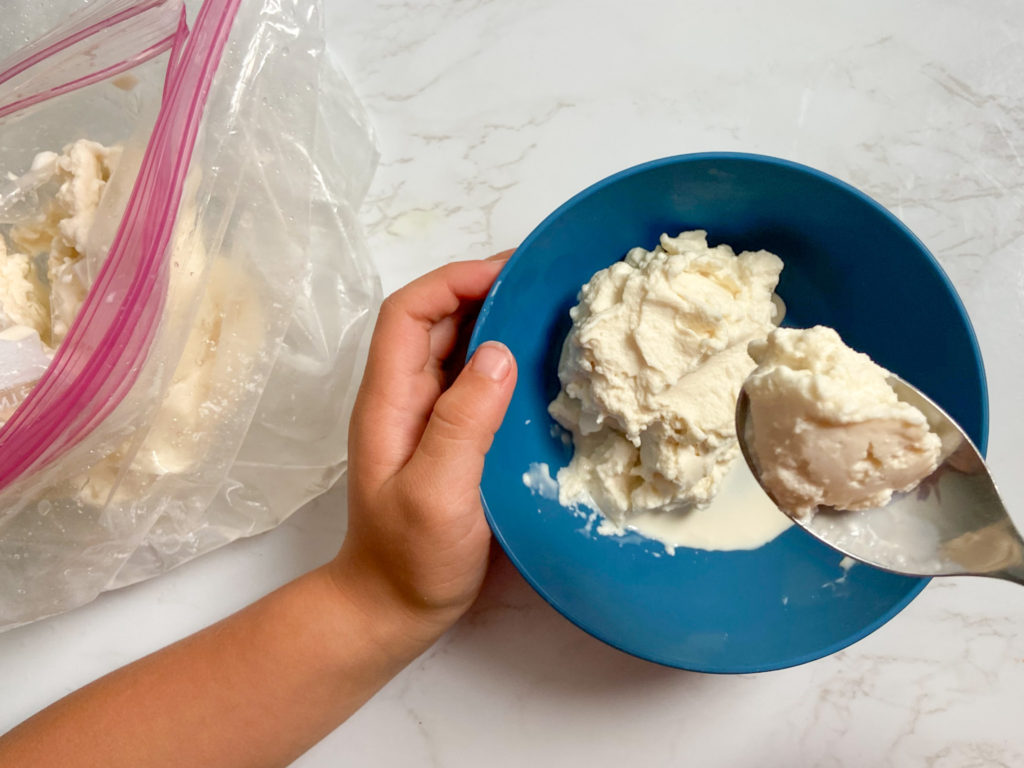
Step 4: Remove the bag of ice cream and quickly rinse it off to get any salt off of the bag. You don’t want salty ice cream! Then, open the bag and enjoy!
How does ice cream in a bag work?
Salt lowers the freezing temperature, so when it is added to the bag of ice, it causes the ice to melt. When things melt, they take away heat from their surroundings. In this case, the melting ice is taking the heat away from the half and half, which causes it to freeze! This is also why it’s a good idea to use gloves when making this, because the ice will pull heat away from your hands as well…causing it to feel EXTRA cold! Brrr!
Is there a substitute for ice cream salt?
I use ice cream salt in this activity because it is the most effective. Ice cream salt, also known as rock salt, is just very coarse salt. If you prefer you can also use coarse kosher salt. Coarser salt works best because it is evenly distributed throughout the ice.
Try these other kid science activities!
- Food Science Experiment for Kids: Homemade Butter
- Kids Science Experiment: Do Grapes Sink or Float?
- Rain Cloud In A Jar: Fun Kids Science Experiment
- Kid Science: Grow Beans in a Bag with Free Printable
Ice Cream in a Bag
Equipment
- 1 gallon ziploc bag
- 1 quart ziploc bag
Ingredients
- 1 cup half and half
- 2 tablespoons sugar more or less to taste
- 1/2 teaspoon vanilla extract
- 1/3 cup ice cream salt
- ice enough to fill half a gallon ziploc bag
Instructions
- Add the half and half, sugar and vanilla extract to a quart-size ziploc bag. Squeeze the excess air out of the bag before sealing it tight. Use your hands to squeeze the bag to mix the ingredients together.
- Fill the gallon ziploc bag about half way up with ice and sprinkle it with salt. Place the quart ziploc bag over the ice, then seal up the gallon bag.
- Shake the bag continuously, until the half and half mixture freezes and turns into ice cream! This could take about 5 minutes or more. Pro tip: use gloves to keep your hands warm!
- Remove the bag of ice cream and quickly rinse it off to get any salt off of the bag. You don’t want salty ice cream! Then, open the bag and enjoy!
Notes
As always, sharing is caring! Please click on the buttons below to share this post with your friends!
