

Ice Cream in a Bag – Easy Food Science Experiment for Kids
As an Amazon Associate, I earn from qualifying purchases. This post may contain affiliate links. Read my disclosure policy.
Making ice cream in a bag is a fun hands-on science experiment that also ends with a delicious treat!
With just a few simple ingredients, kids can watch a liquid mixture turn into ice cream while learning about freezing points, physical changes and how salt affects ice.
This easy food science activity is perfect for summer learning, homeschool science or anytime you want a simple experiment that kids can actually eat when they’re finished.
Before You Start the Ice Cream Science Experiment
Before making the ice cream, ask your kids a few questions to get them thinking about what might happen:
- What ingredients do you think are needed to make ice cream?
- What has to happen to those ingredients for them to become ice cream?
- Is freezing a physical change or a chemical change?
- What are some ways we can make something colder?
- What do you think will happen when we add salt to the ice?
Have your kids make a prediction before you begin, then compare it with what actually happens during the experiment.
What Kids Learn From This Experiment
This simple activity introduces kids to several science concepts, including:
- Freezing and melting
- Physical changes
- Temperature
- Heat transfer
- Freezing-point depression
Younger kids can simply observe how the ingredients change, while older kids can talk about why adding salt allows the ice cream mixture to freeze.
How to Make Ice Cream in a Bag
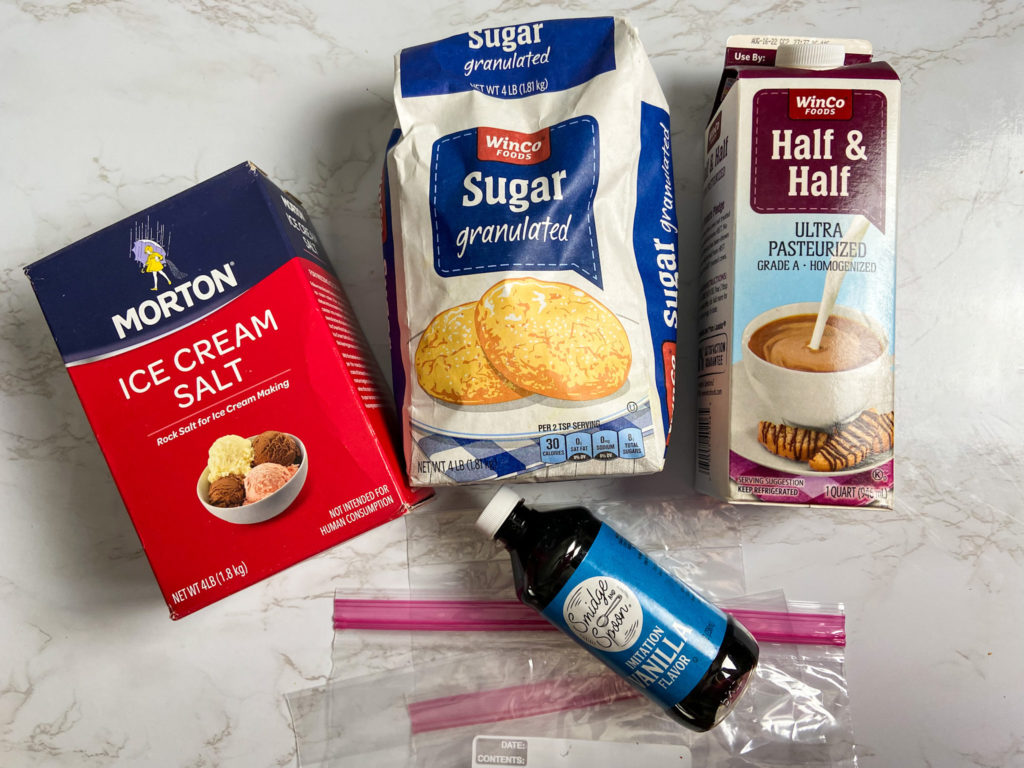
You’ll Need:
- 1 cup half and half
- 2 tablespoons sugar, or more or less to taste
- 1/2 teaspoon of vanilla extract
- 1 gallon ziploc bag and 1 quart ziploc bag
- Ice, enough to fill the gallon bag about halfway
- 1/3 cup of ice cream salt
1. Make the ice cream mixture.
Add the half-and-half, sugar and vanilla extract to the quart-size zip-top bag. Press out as much excess air as possible, then seal the bag tightly. Gently squeeze the bag a few times to help mix the ingredients together.
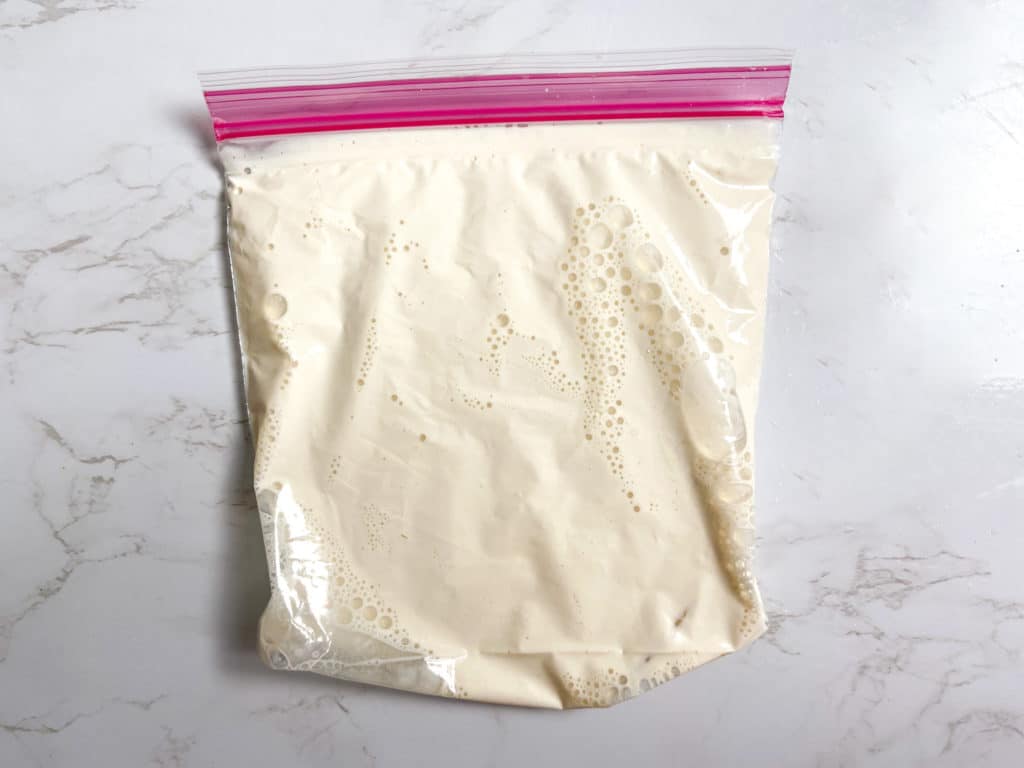
2. Prepare the ice bath.
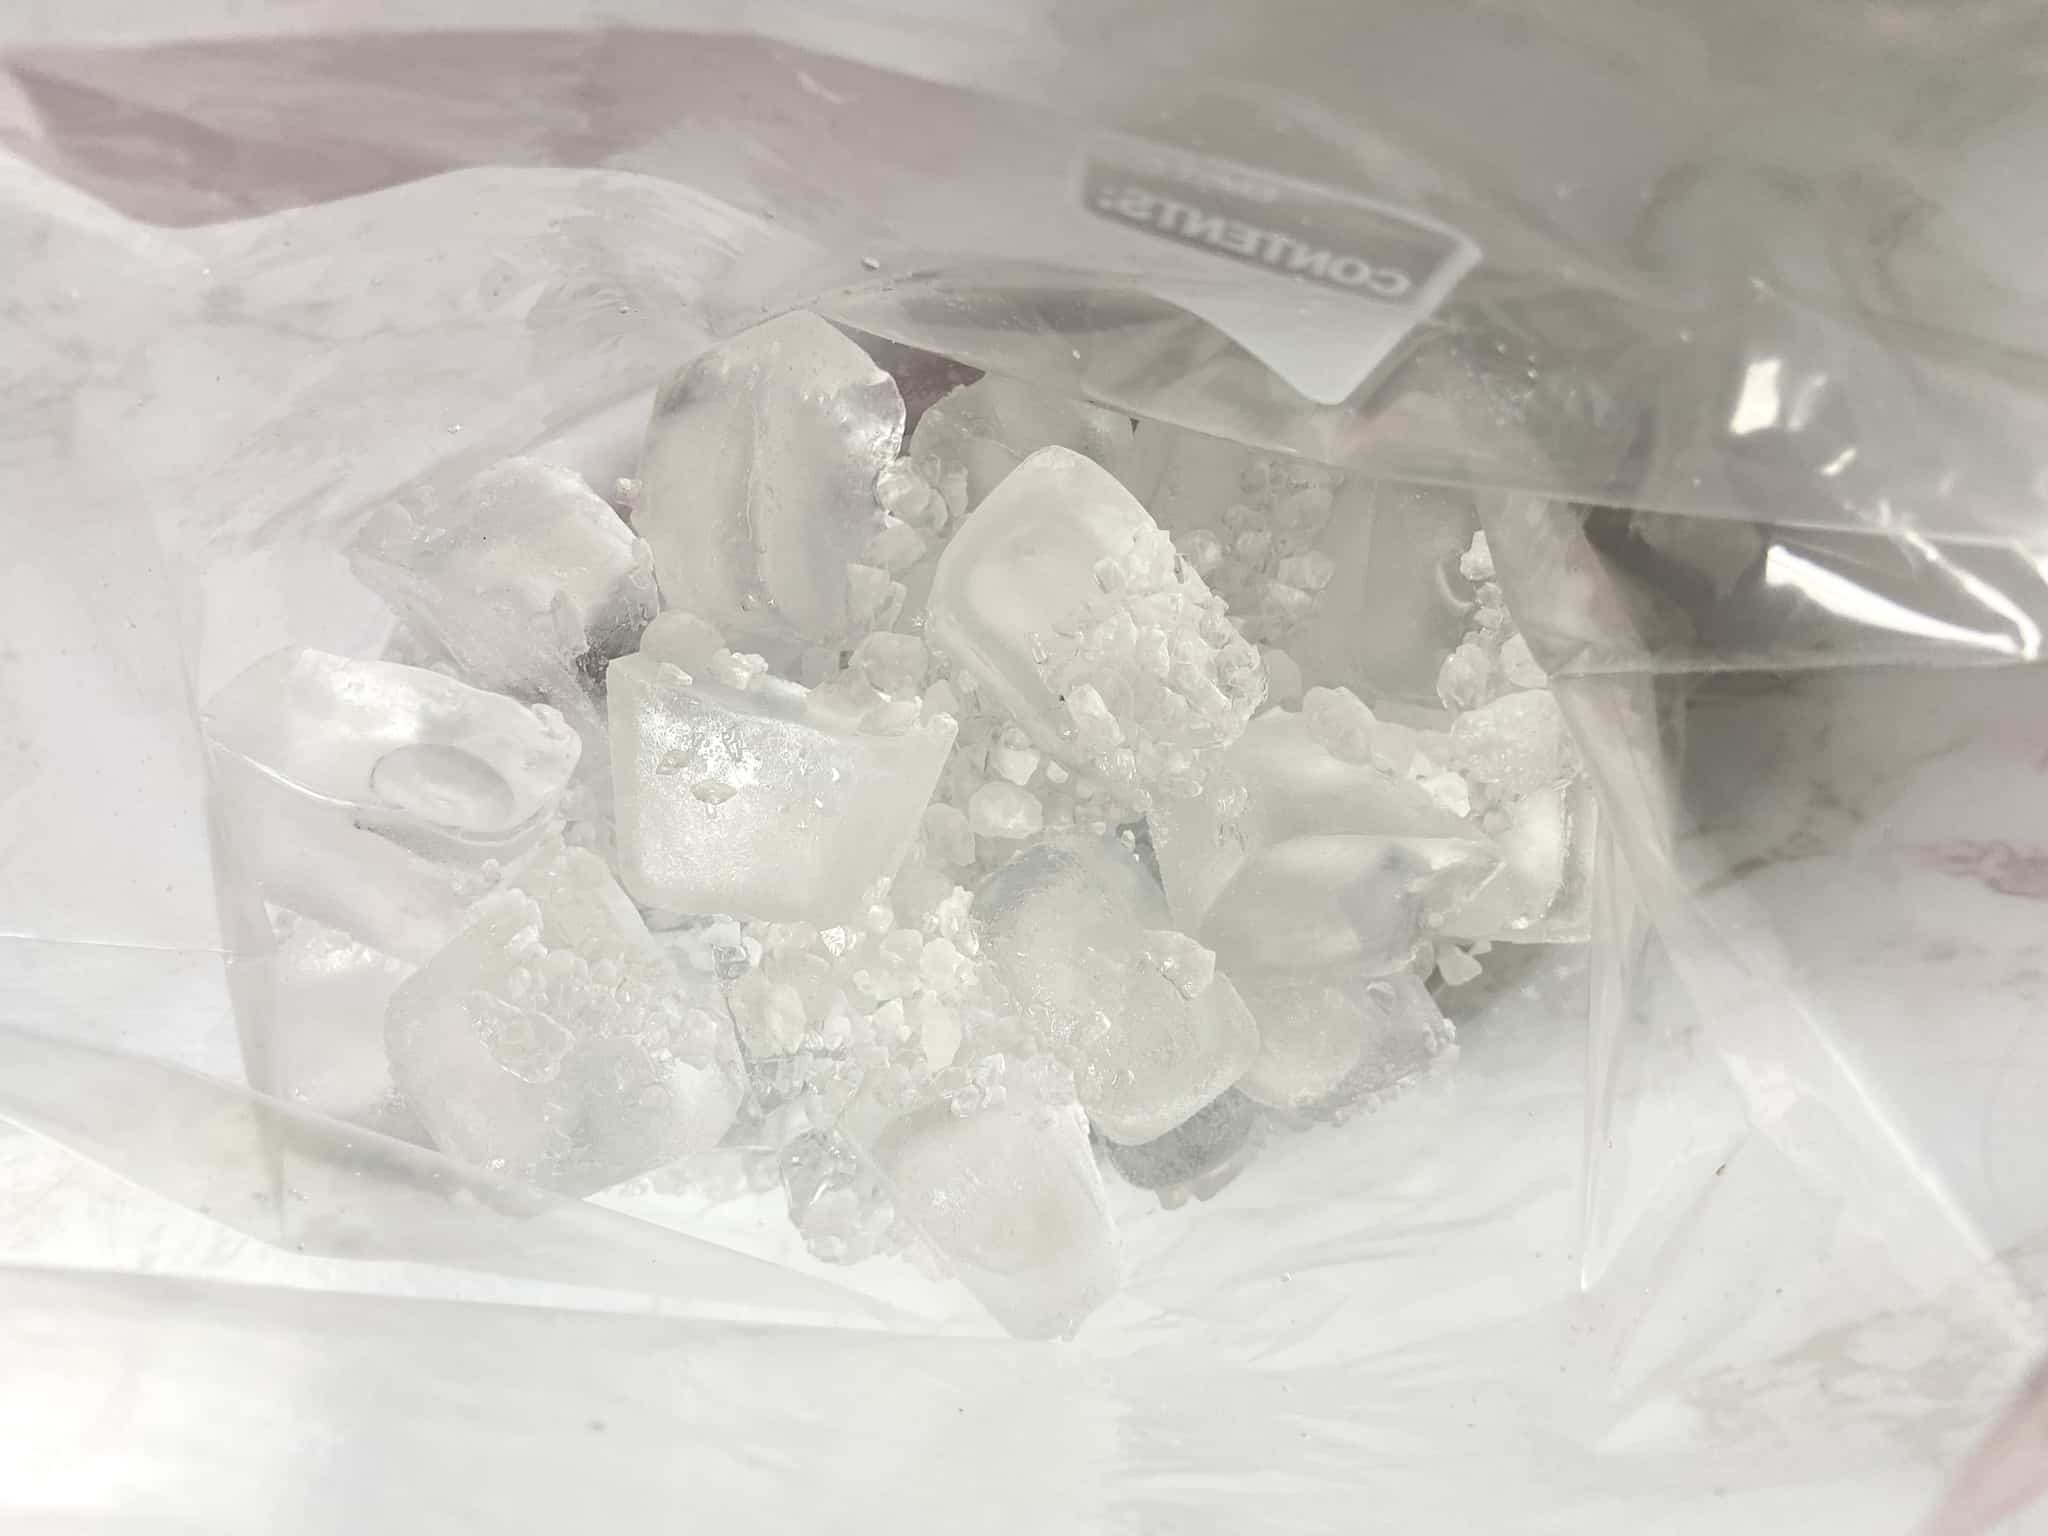
Fill the gallon-size bag about halfway with ice. Sprinkle the ice cream salt evenly over the ice.
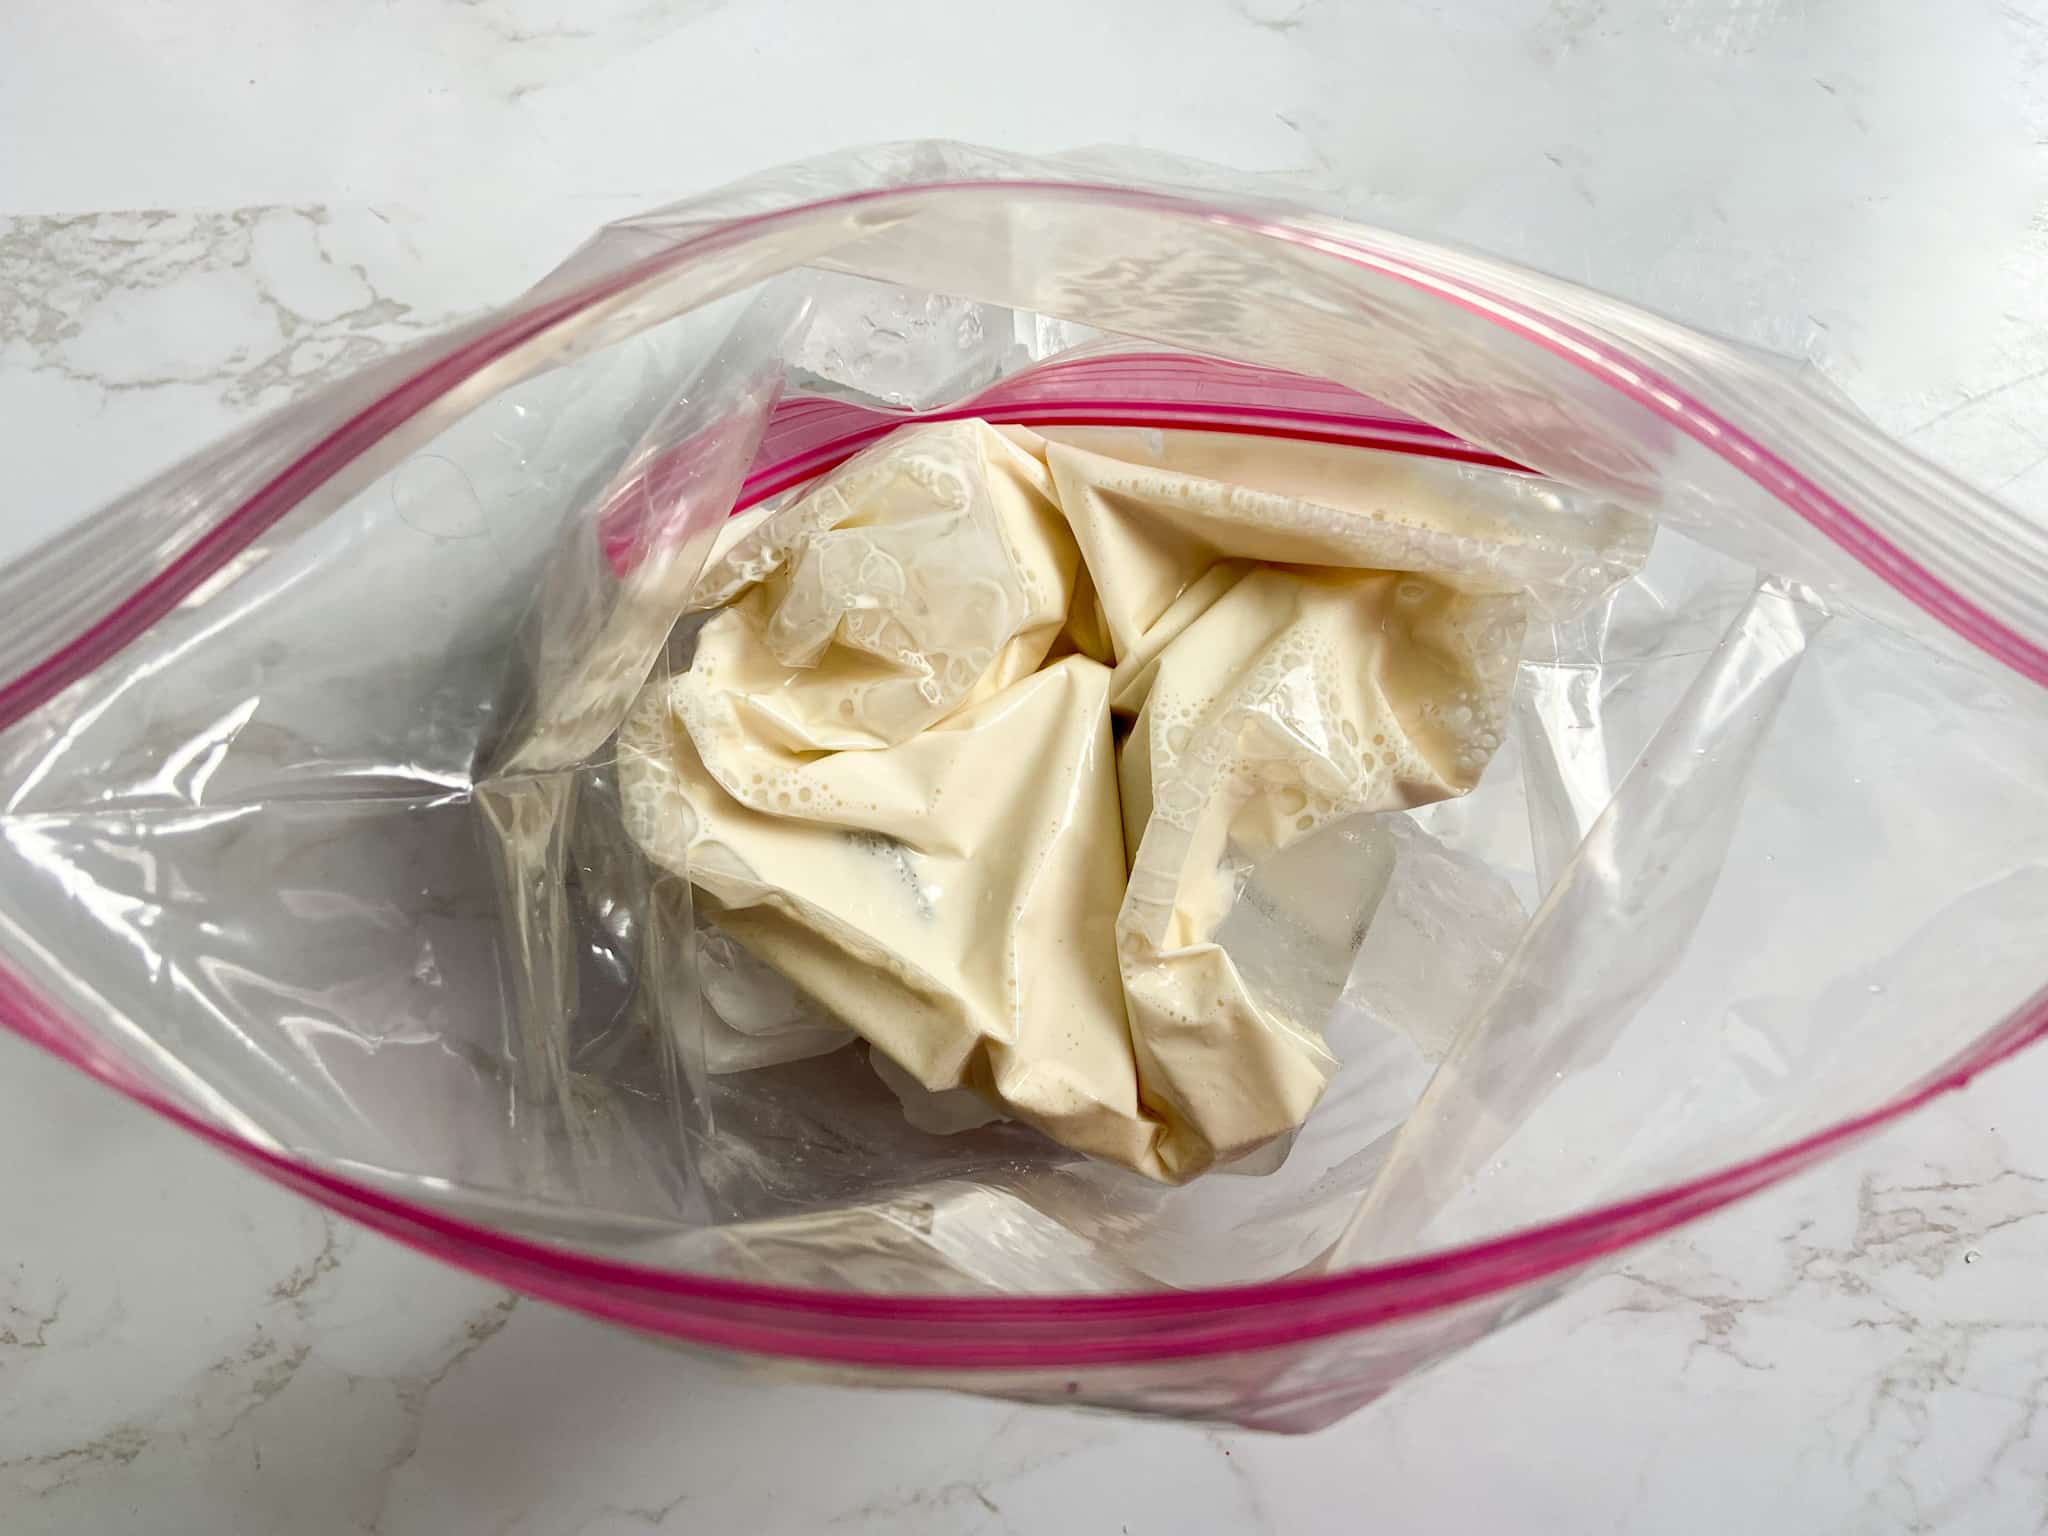
3. Add the smaller bag.
Place the sealed quart-size bag inside the gallon bag, making sure it is surrounded by the ice and salt mixture. Seal the gallon bag tightly.
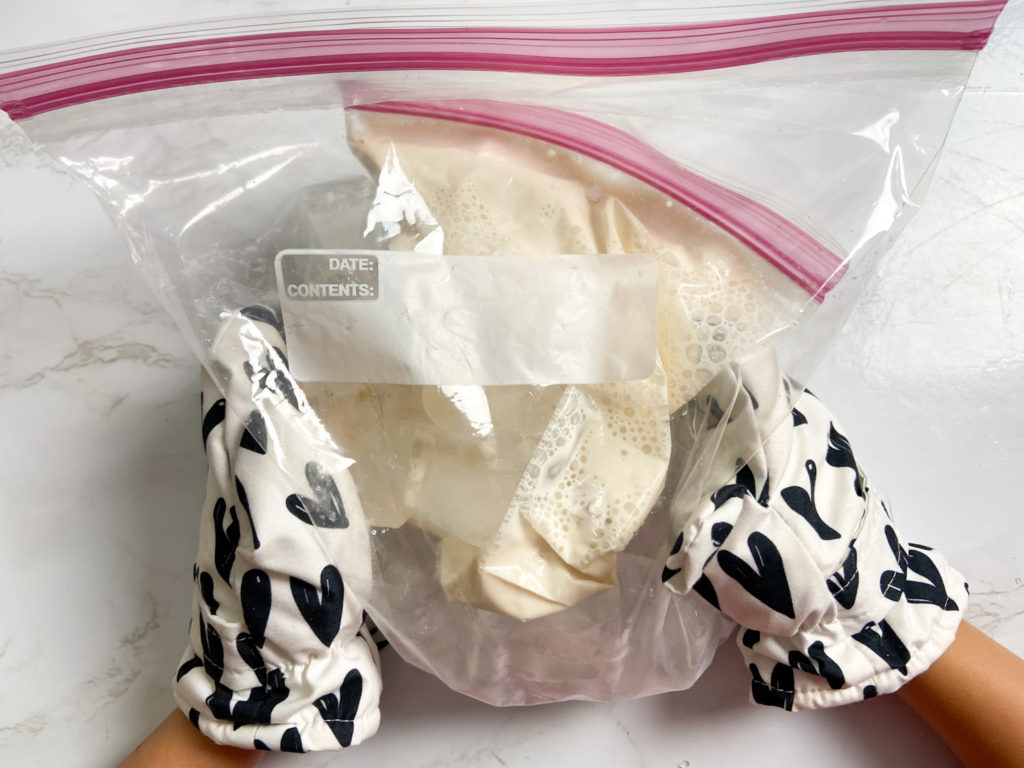
4. Shake until the ice cream freezes.
Shake the bag continuously for about 5–10 minutes, or until the half-and-half mixture thickens and reaches an ice cream consistency.
The outside bag will get very cold, so kids may want to wear gloves or wrap the bag in a kitchen towel while shaking.
5. Rinse and serve.
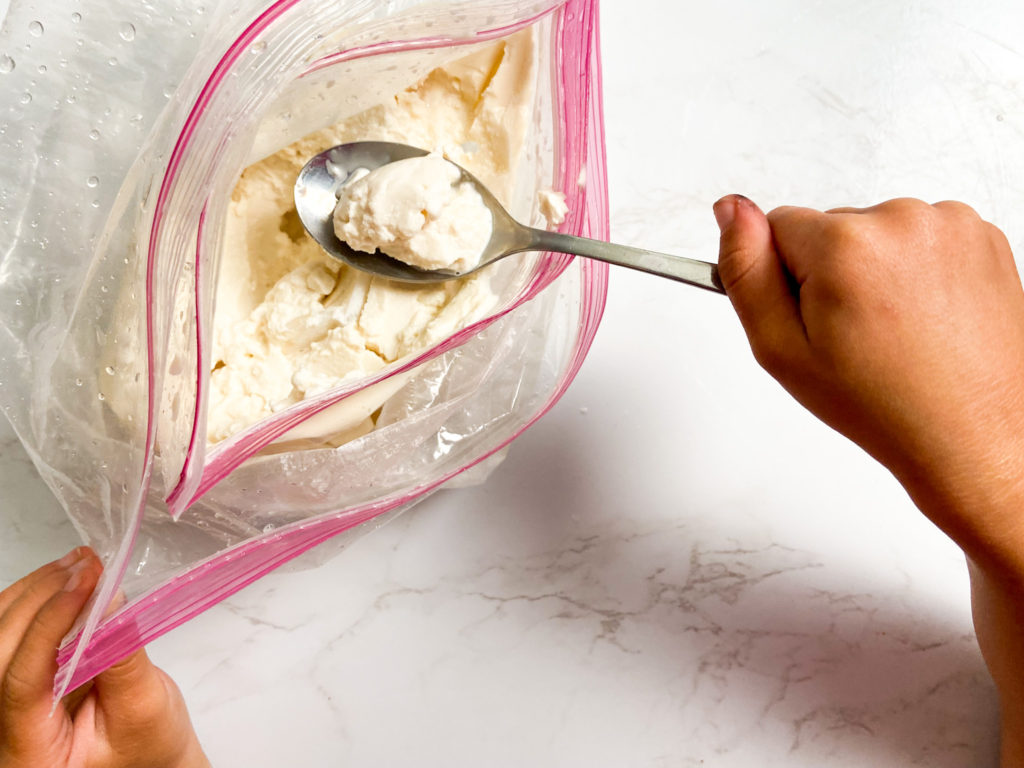
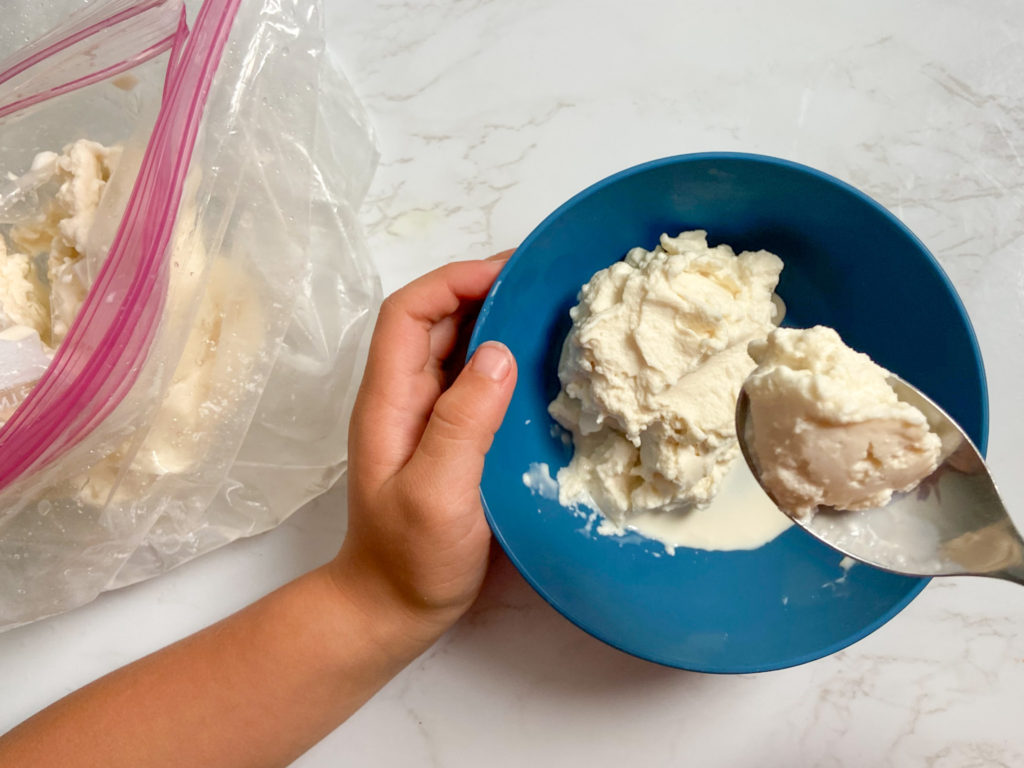
Remove the smaller bag from the ice mixture and quickly rinse or wipe off the outside to remove any salt. Open the bag, grab a spoon and enjoy your homemade ice cream!
How Does Ice Cream in a Bag Work?
Salt lowers the freezing point of water. When salt is added to the ice, some of the ice begins to melt and creates a very cold mixture of ice, salt and water.
As the ice melts, it absorbs heat from its surroundings — including the bag containing the half-and-half mixture.
That causes the ice cream mixture to lose heat and freeze.
This process is called freezing-point depression, and it allows the temperature around the ice cream mixture to drop below the normal freezing point of water.
That’s also why the outside bag feels extremely cold, so wearing gloves or wrapping the bag in a kitchen towel can make the experiment more comfortable for kids.
Can You Make Ice Cream in a Bag Without Rock Salt?
Yes. Rock salt, sometimes called ice cream salt, works especially well because its large crystals mix easily with the ice.
If you don’t have rock salt, coarse kosher salt can also work. Regular table salt may work too, but a coarse salt is usually easier to distribute throughout the ice.
Try these other kid science activities!
- Food Science Experiment for Kids: Homemade Butter
- Kids Science Experiment: Do Grapes Sink or Float?
- Rain Cloud In A Jar: Fun Kids Science Experiment
- Kid Science: Grow Beans in a Bag with Free Printable

Easy Ice Cream in a Bag
Ingredients
Equipment
Method
- Add the half-and-half, sugar and vanilla extract to the quart-size zip-top bag. Press out as much excess air as possible, then seal the bag tightly. Gently squeeze the bag a few times to help mix the ingredients together.
- Fill the gallon-size bag about halfway with ice. Sprinkle the ice cream salt evenly over the ice.
- Place the sealed quart-size bag inside the gallon bag, making sure it is surrounded by the ice and salt mixture. Seal the gallon bag tightly.
- Shake the bag continuously for about 5–10 minutes, or until the half-and-half mixture thickens and reaches an ice cream consistency.
- The outside bag will get very cold, so kids may want to wear gloves or wrap the bag in a kitchen towel while shaking.
- Remove the smaller bag from the ice mixture and quickly rinse or wipe off the outside to remove any salt. Open the bag, grab a spoon and enjoy your homemade ice cream!
Notes
As always, sharing is caring! Please click on the buttons below to share this post with your friends!