Paper Plate Bunny Kids Craft with Free Template
As an Amazon Associate, I earn from qualifying purchases. This post may contain affiliate links. Read my disclosure policy.
My kids love making paper plate crafts, and this one was no exception. We made these cute bunnies for the upcoming Easter holiday, although it would be fun to make anytime!
Make this paper plate bunny craft with your toddler or preschooler. It’s a great activity for practicing creativity, fine motor skills and cutting skills.
Fun Facts About Rabbits:
- The word “bunny” usually refers to a cute, baby rabbit but the correct term for a baby rabbit is “kit.”
- They live in groups in underground tunnels and rooms.
- A rabbit’s teeth never stop growing! But don’t worry, their teeth won’t ever get too long, because they are constantly being worn down from gnawing on plants.
- Rabbits can turn their ears 180º to listen for approaching predators.
For more fun facts about rabbits, check out National Geographic Kids.
Bunny books for kids!
I always try to supplement my kids’ activities with books. Here are a couple of great bunny books:

Peek-a-boo! Join Bunny on a playful adventure of hide-and-seek. With bright illustrations and interactive flaps, this charming board book is perfect for engaging young readers in joyful exploration.

Meet P.J. Funnybunny, who’s finding out that being a bunny isn’t all carrots and cuddles! In this whimsical tale, follow P.J. on a journey of self-discovery as he explores life outside the bunny burrow. With Dr. Seuss’s signature rhymes and playful illustrations, this heartwarming story reminds us that being yourself is always an adventure worth hopping into!
Try these other Easter crafts and recipes!
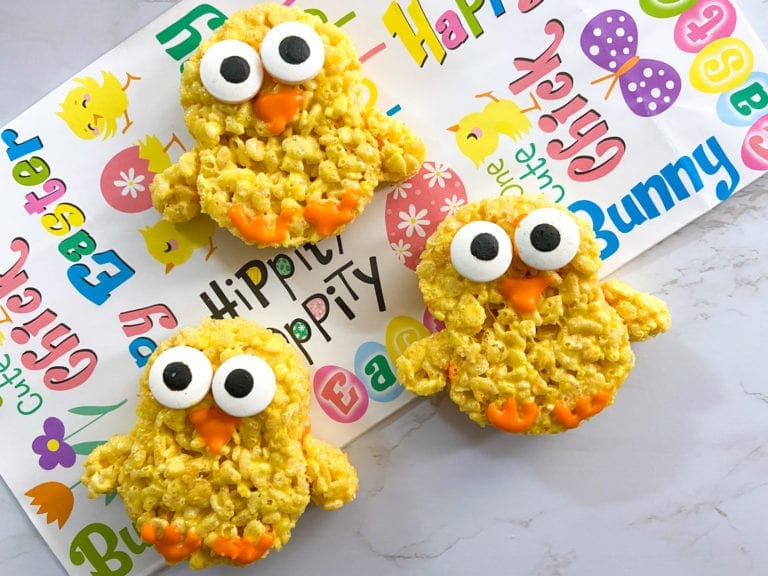
- Cute and Easy Easter Chicks Rice Krispies Treats
- Easter Pudding Cups
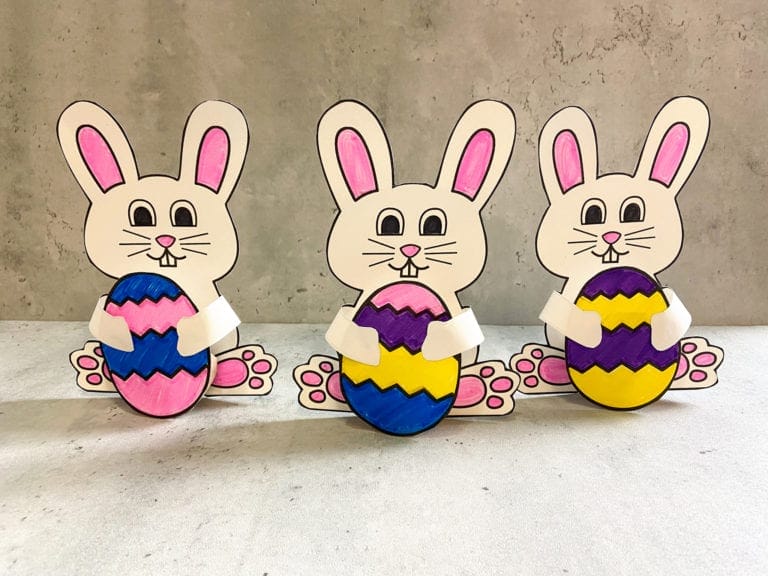
- Easter Bunny Toilet Paper Roll Craft with Free Template
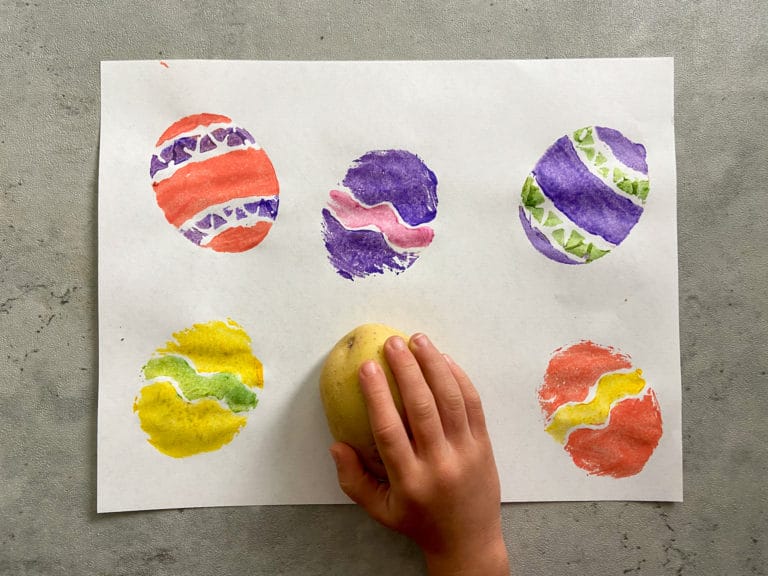
- Magic Easter Eggs Coloring Activity with Free Printable
- Cute and Easy Easter Fruit Skewers for Kids
How do you make this paper plate bunny craft?
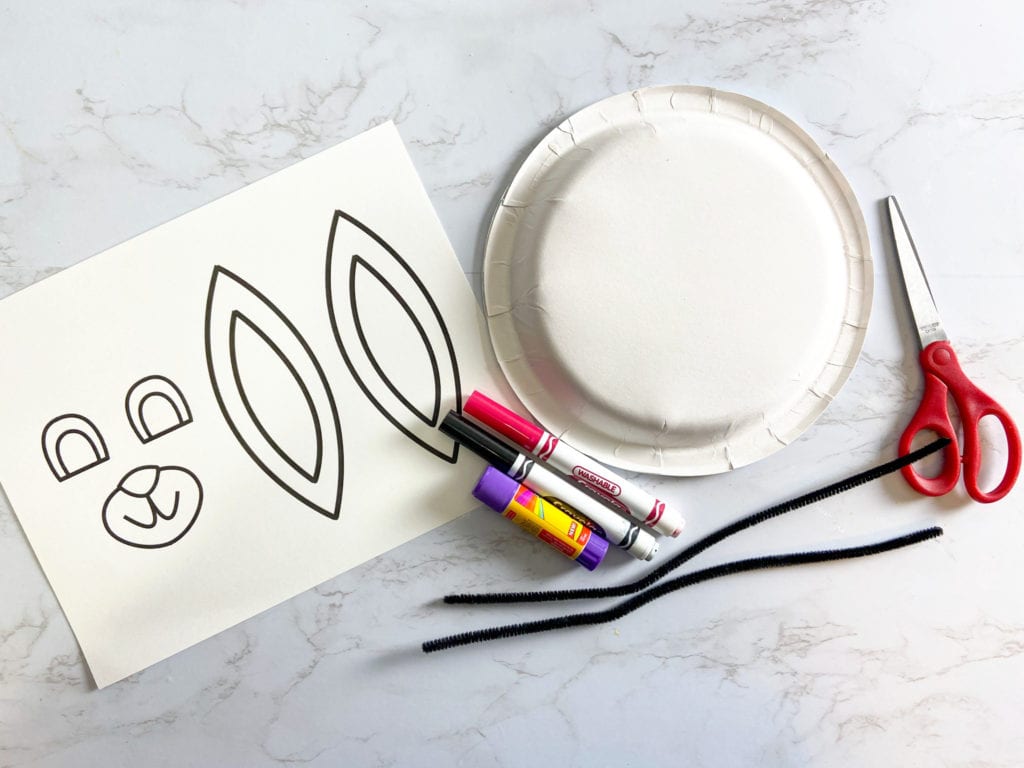
Supplies:
- white paper plate (1)
- white card stock (1 piece)
- free printable
- markers, crayons, or colored pencils
- glue or glue stick
- scissors
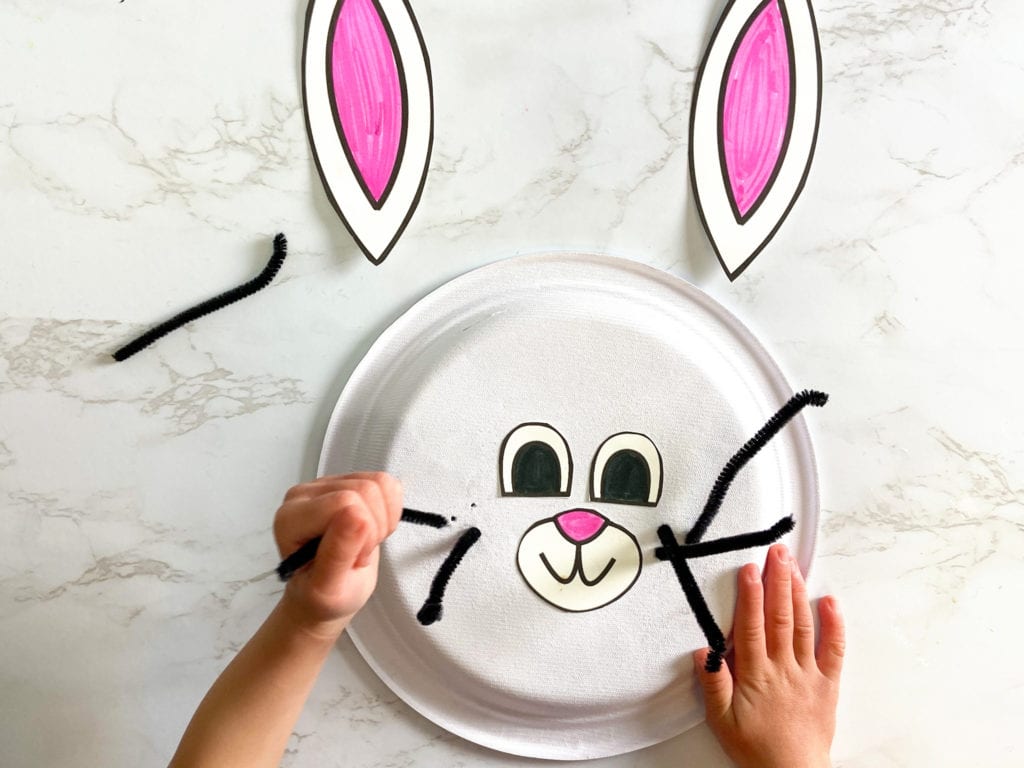
- black pipe cleaners (2)
- a skewer (or anything else to punch small holes with)
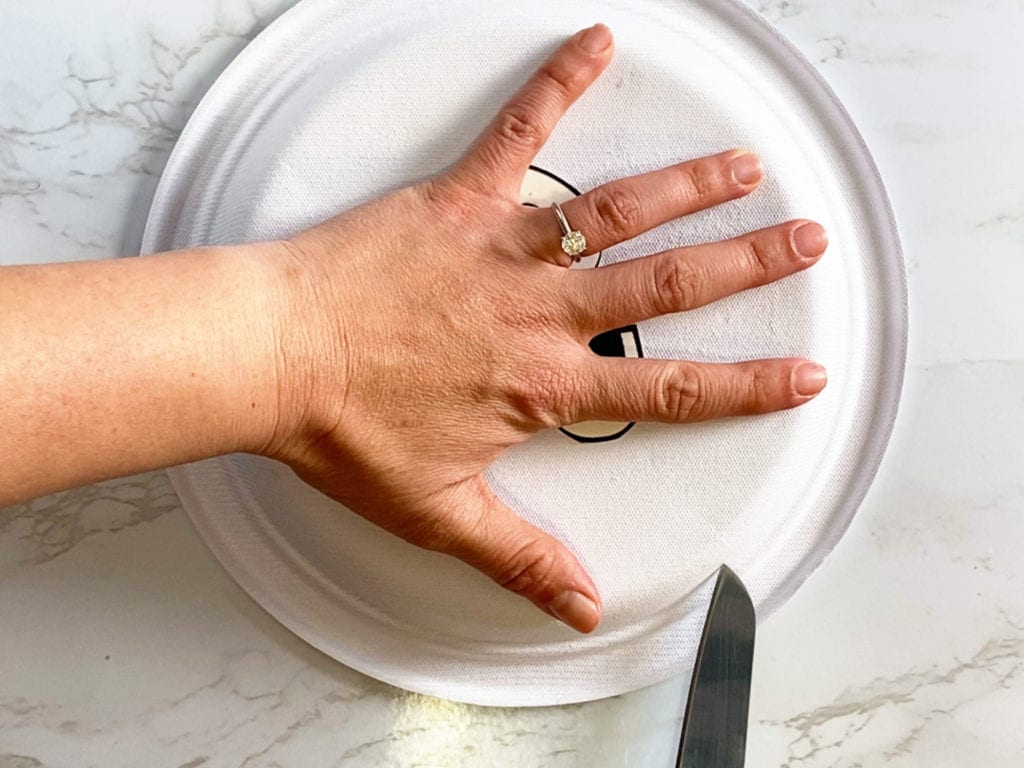
- a knife or blade (to cut slits in the plate)
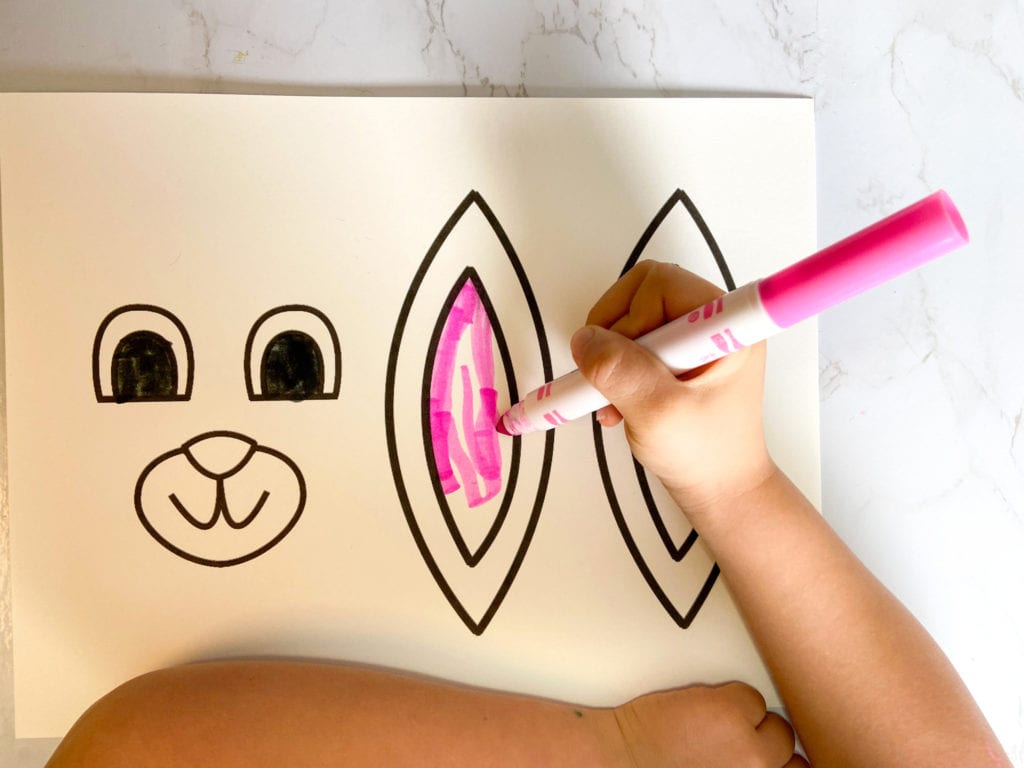
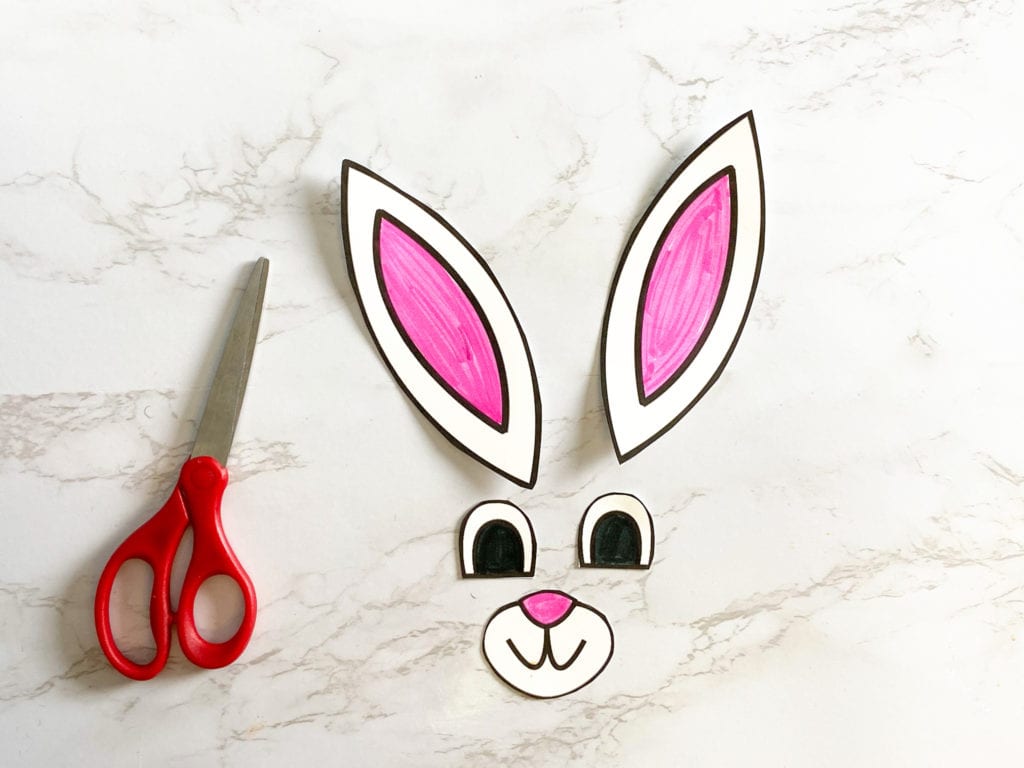
Step 1: Print the free template on white card stock. Then, color in the bunny’s ears, eyes, and nose.
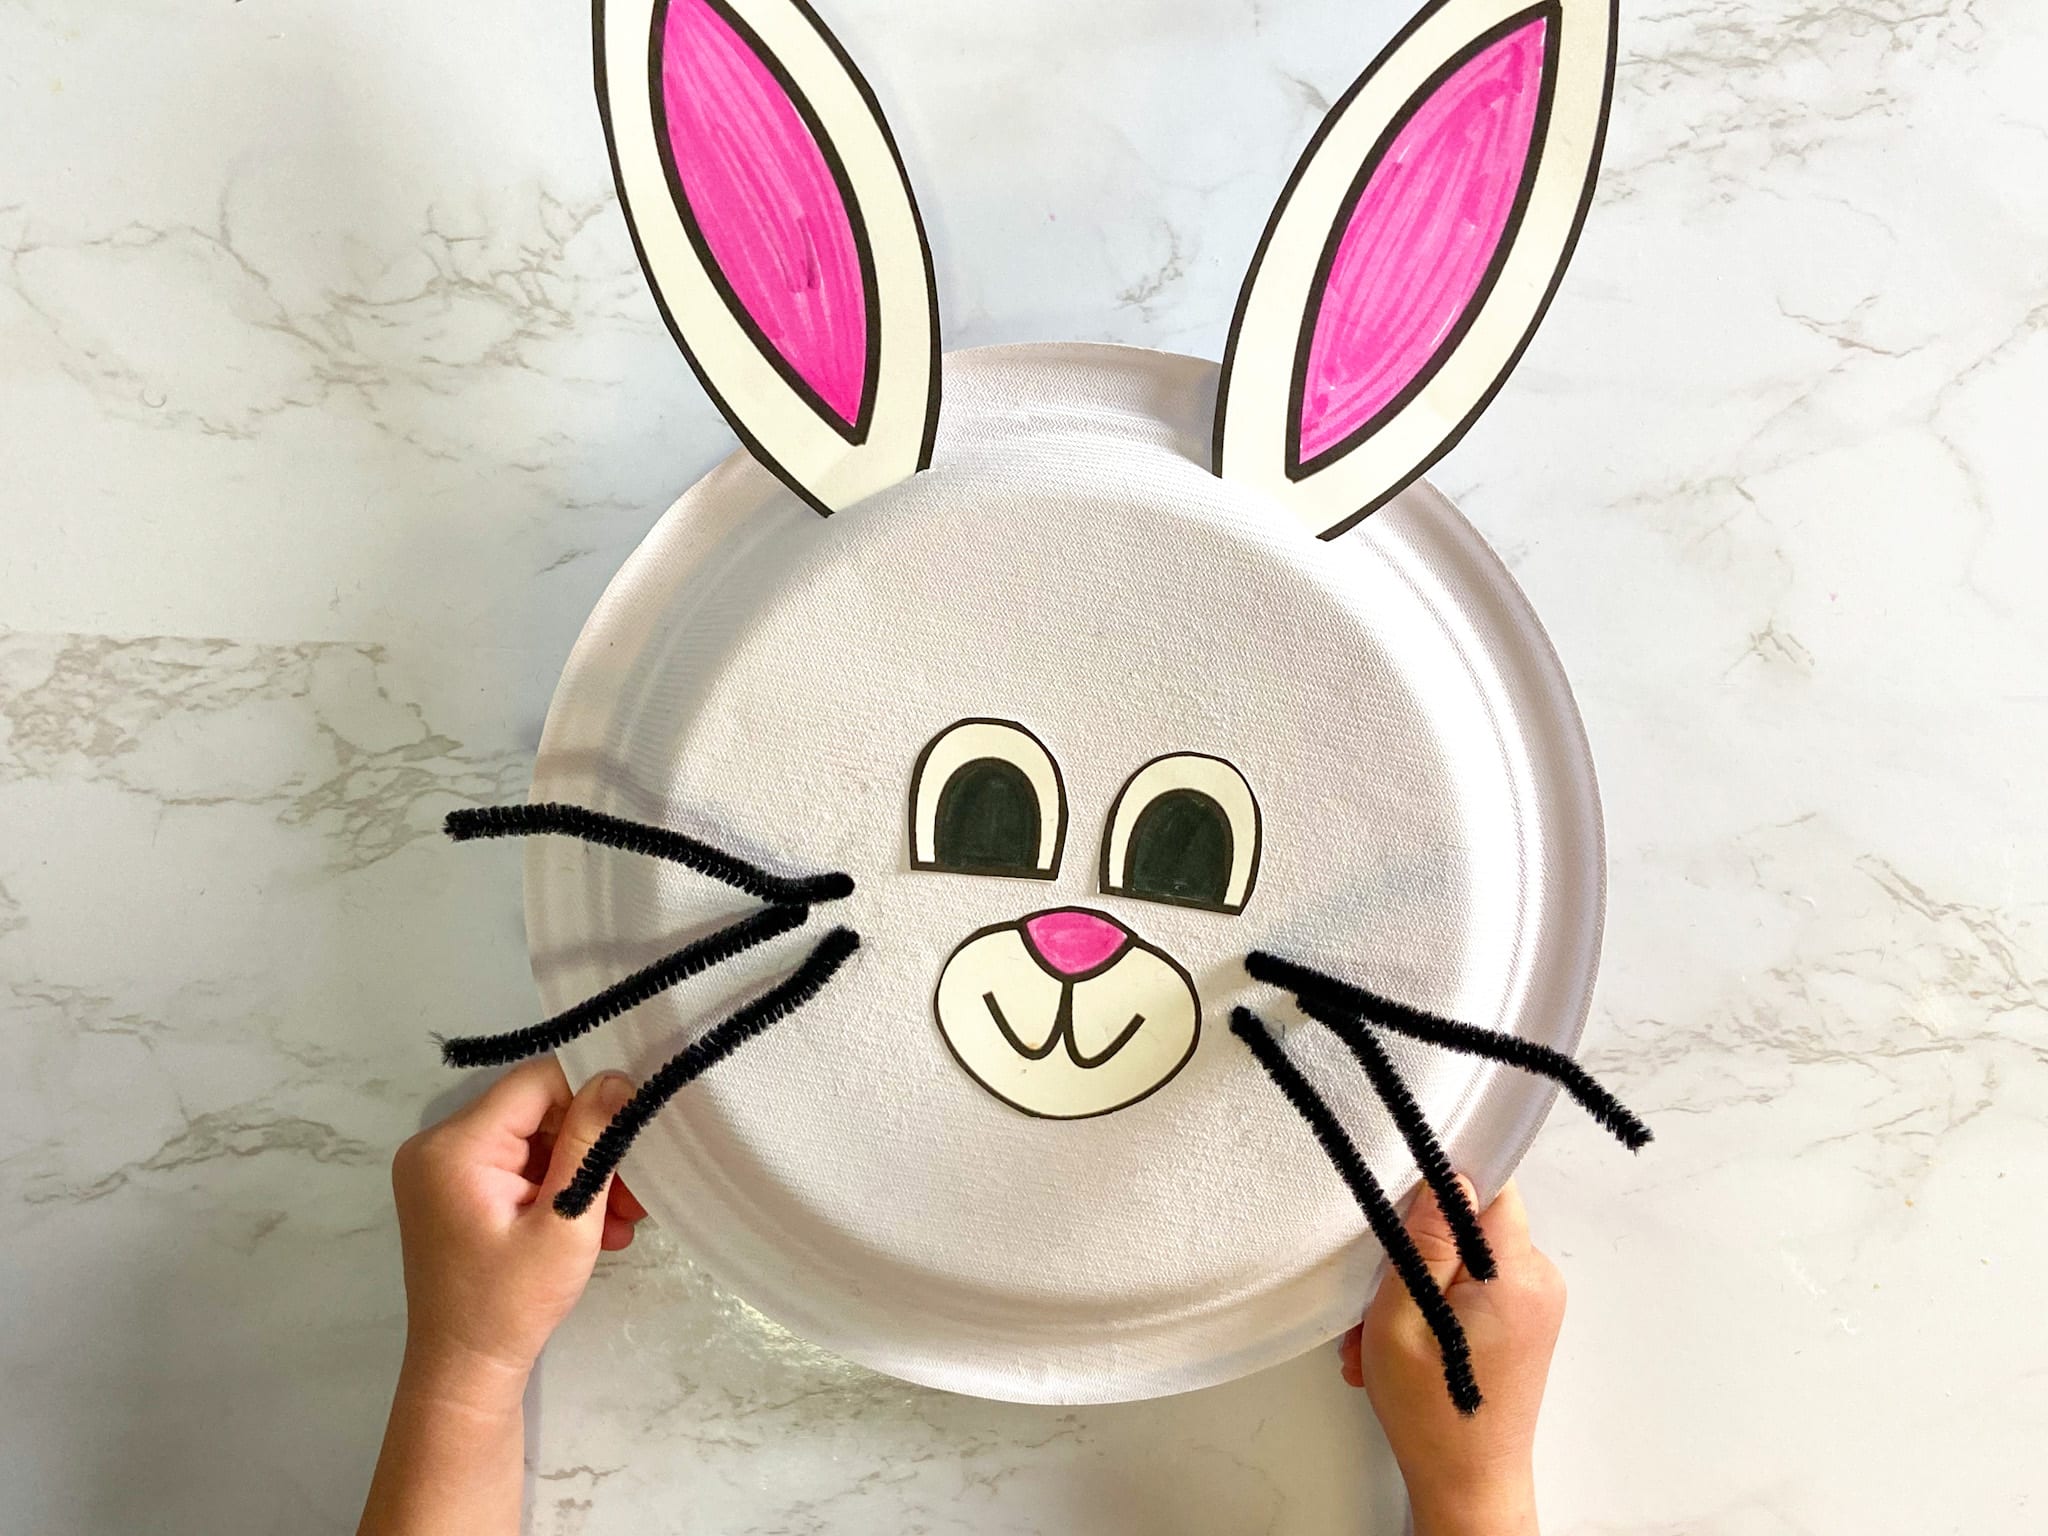
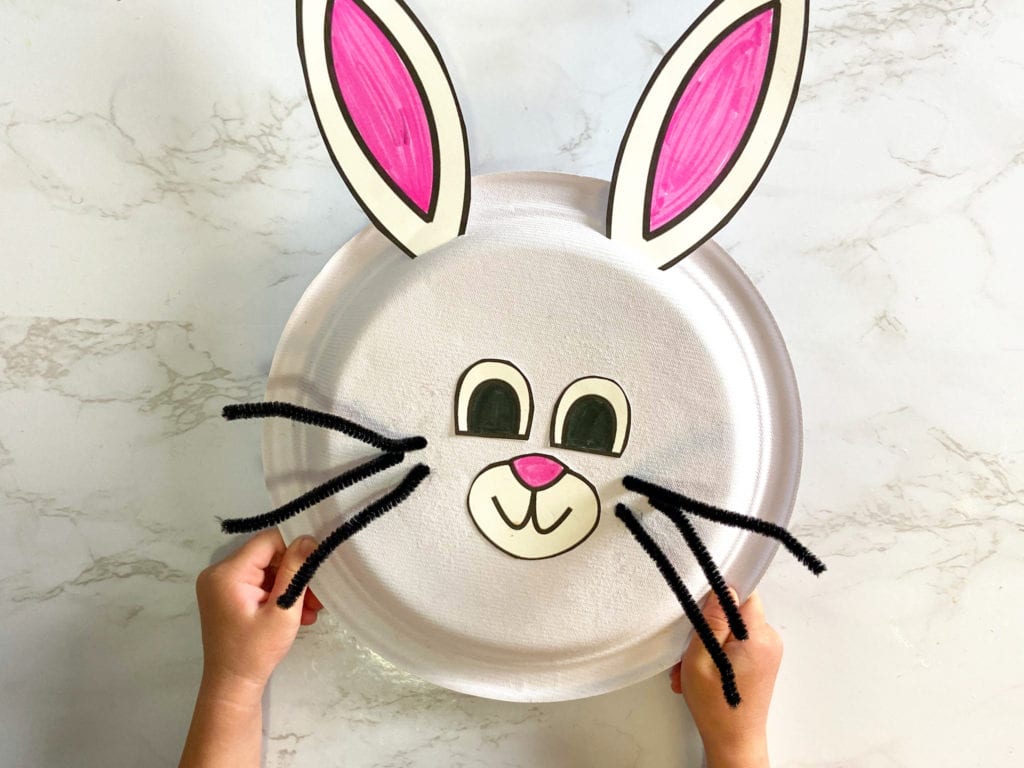
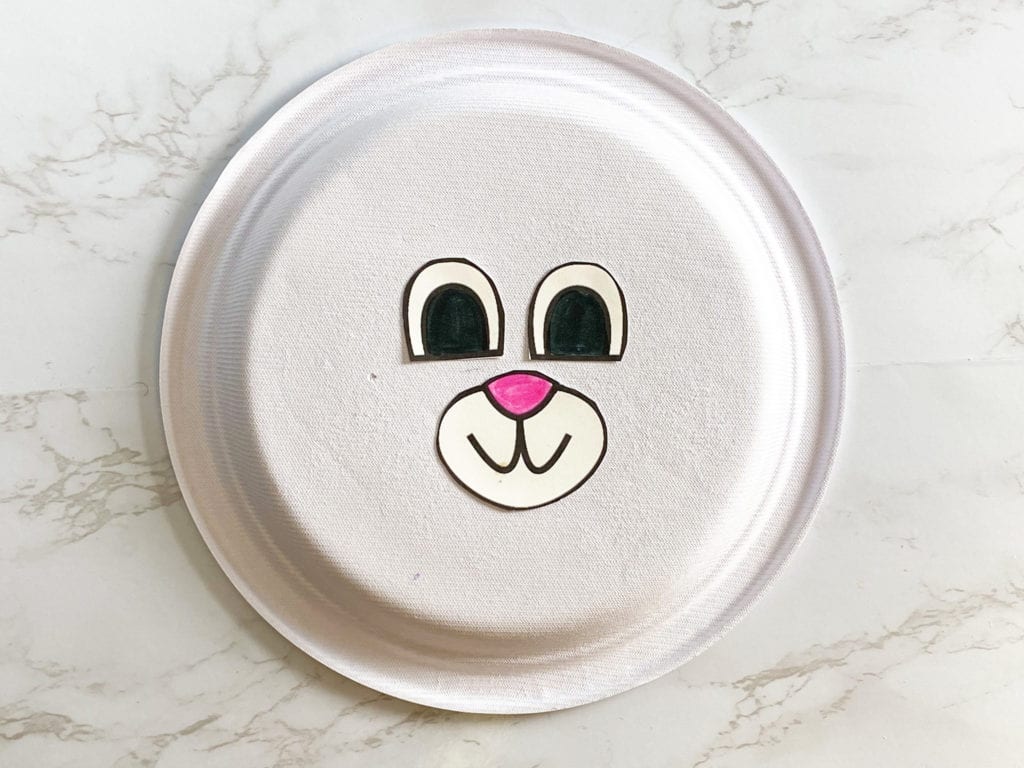
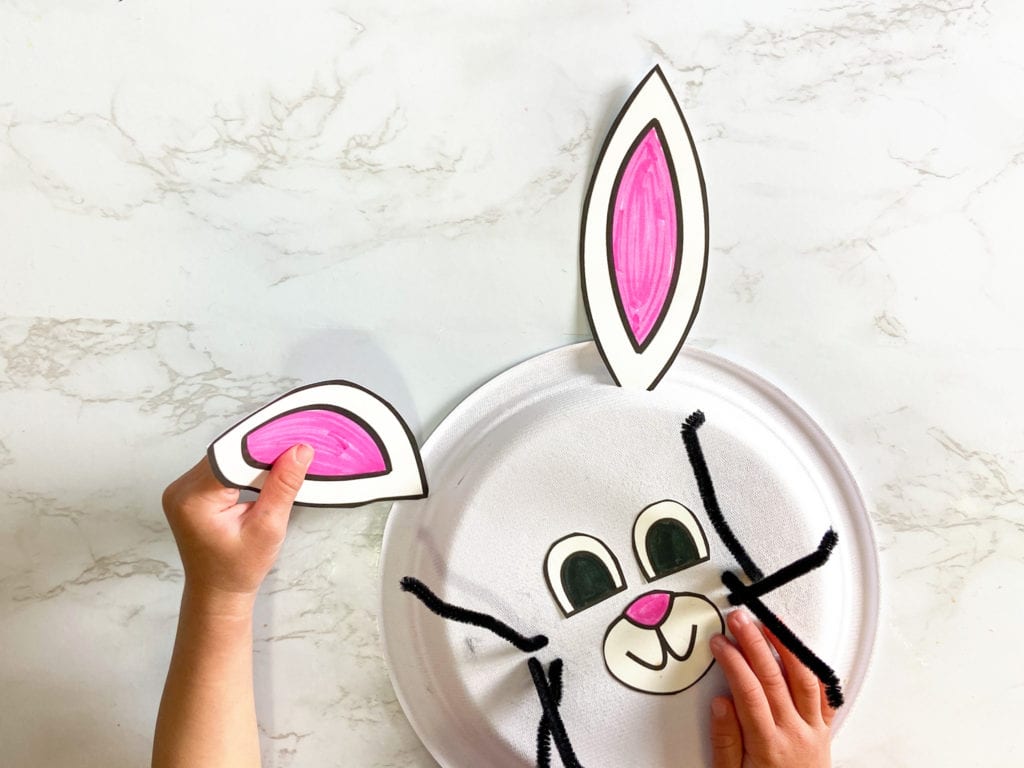
Step 2: Cut out the bunny’s ears, eyes and nose. Then, glue the eyes and nose onto the paper plate.
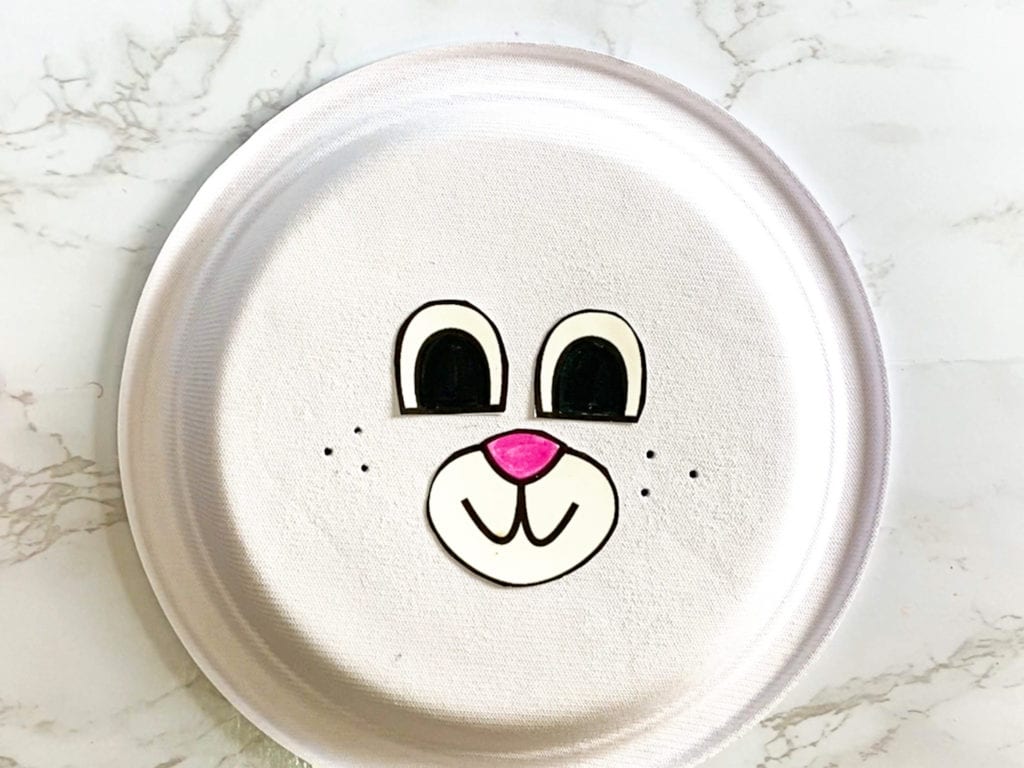
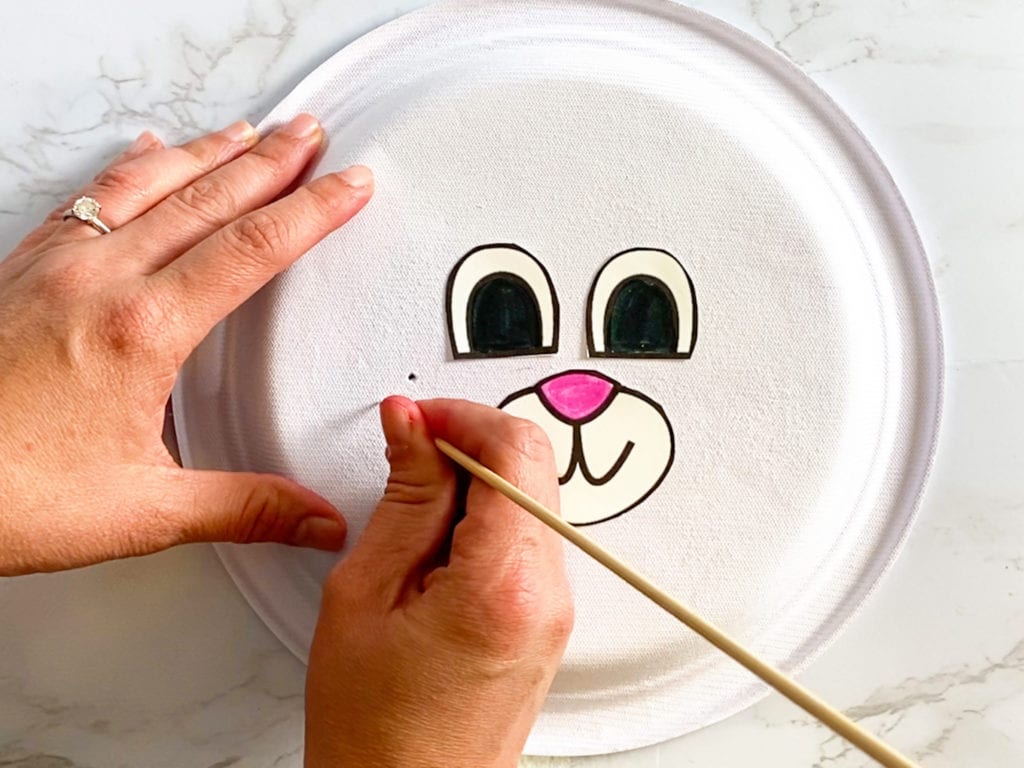
Step 3: This part requires the help of an adult. Use a skewer (or anything else you have) to puncture three small holes on each side of the bunny’s nose. These will be for the bunny’s whiskers. Then, using a knife or blade, make two slits on the top of the paper plate for its ears.
Step 4: Cut each pipe cleaner into 3 equal pieces, then insert them into the holes next to the bunny’s nose. You can either bend one end of the pipe cleaner before inserting it, or bend it down after inserting it to make sure it doesn’t fall out. Then, insert the ears at the top of the plate.
My 22 month old daughter had a blast doing this, and kept taking the pieces out and putting them back in (like a puzzle)! This is excellent for fine motor skills practice.
Download your free bunny template!
Simply print out this sheet on white card stock and follow the steps above to make your paper plate bunny.
Check out these other paper plate crafts!
As always, sharing is caring! Please click on the buttons below to share this post with your friends!