Cute and Easy Easter Chicks Rice Krispies Treats
As an Amazon Associate, I earn from qualifying purchases. This post may contain affiliate links. Read my disclosure policy.
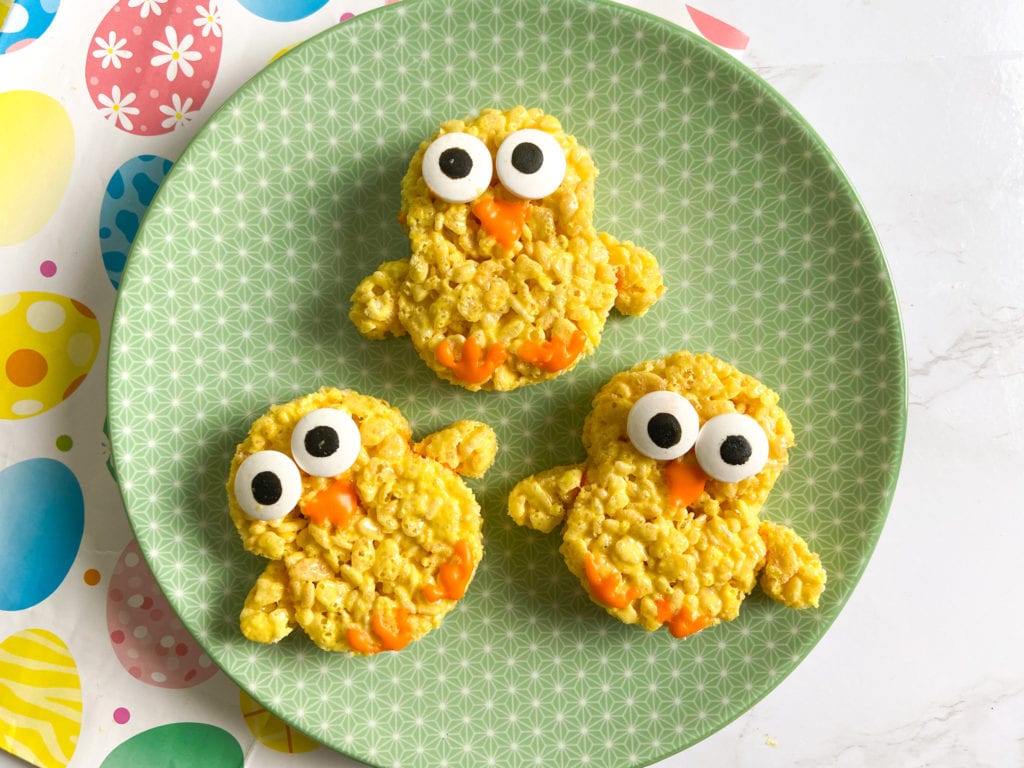
Try these cute and easy Easter Chicks Rice Krispies Treats…your kids are sure to love them!
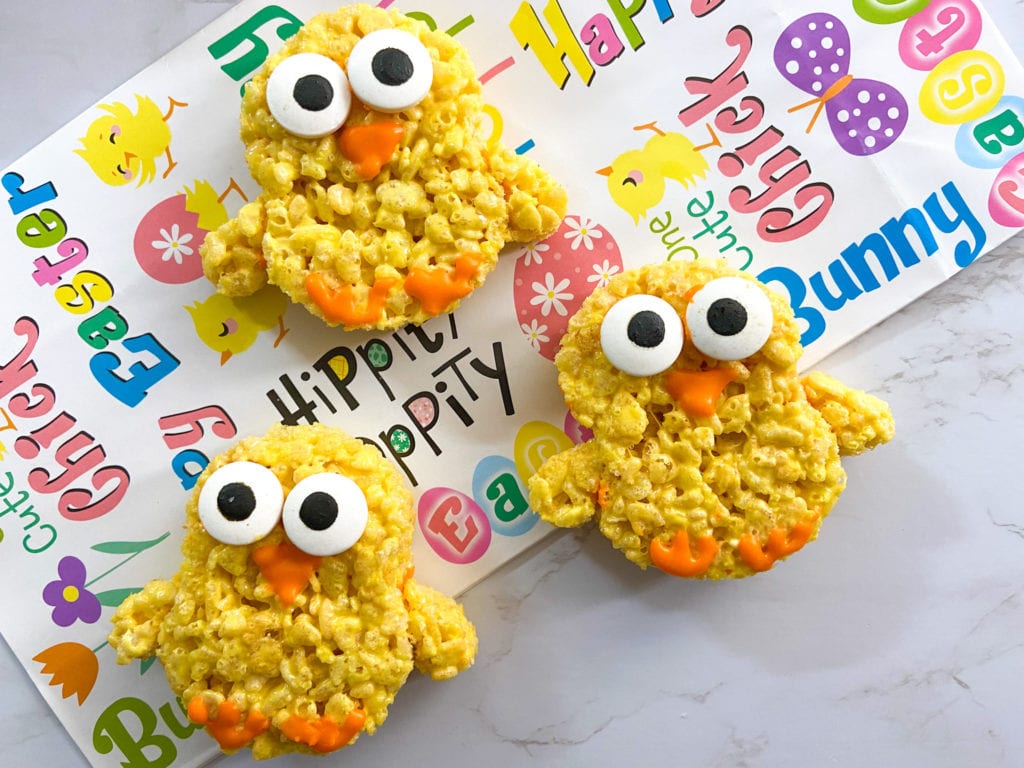
The stores are full of Easter eggs, chocolate bunnies and Peeps, so I guess it’s time to start thinking about Easter! Aside from the typical Easter crafts, I thought I’d do some fun Easter treats this year as well. These cute Easter Chicks Rice Krispies Treats are something everyone can enjoy!
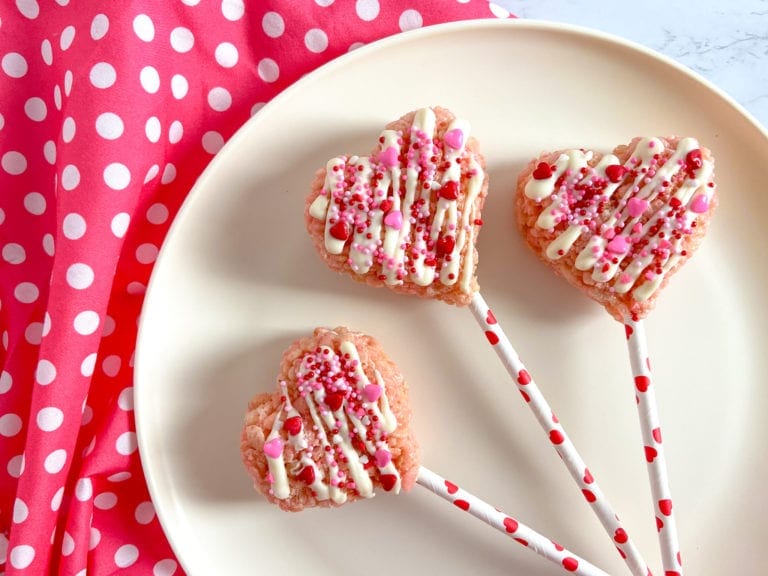
Rice Krispies treats have been a go-to holiday treat for me lately (Christmas Tree Rice Krispies Treats, Valentine’s Day Rice Krispies Pops) because they’re easy to make, budget friendly, and everyone LOVES them!
Easter Chicks Rice Krispies Treats are:
- fun
- easy to make
- great for kids to decorate
- gluten free
- delicious
- great to gift as gifts
Are marshmallows vegetarian?
No, marshmallows are not vegetarian because they are made with gelatin.
If you’re vegetarian, you can still make these s’more pops! Trader Joe’s sells excellent vegan marshmallows. If you don’t live near a Trader Joe’s you can purchase vegan marshmallows here.
For tips on using vegan marshmallows in Rice Krispies treats, check out this post on How to Make Cereal Treats.
Can I use my own recipe for these treats?
Yes, absolutely! It seems like everyone has their own ratio of marshmallow, butter and cereal that they prefer. Use what you love best.
I found that when coloring the Rice Krispies Treats, it’s better to use a little more marshmallows so that the color will really show through. The downside is that the treats are slightly more sticky.
How do you make Easter Chicks Rice Krispies Treats?
Ingredients:
- 6 cups of Rice Krispies Cereal
- 8 cups of mini marshmallows (a 10 oz bag contains 6 cups of marshmallows)
- 3 tablespoons of butter
- yellow food coloring
Supplies for Decorating:
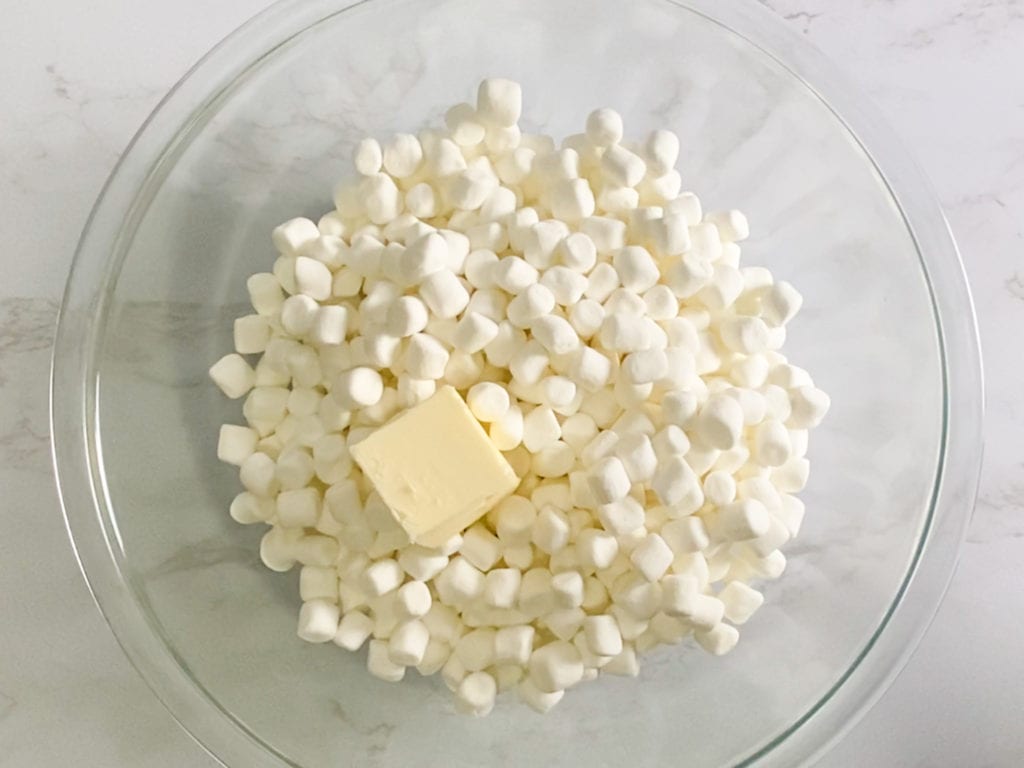
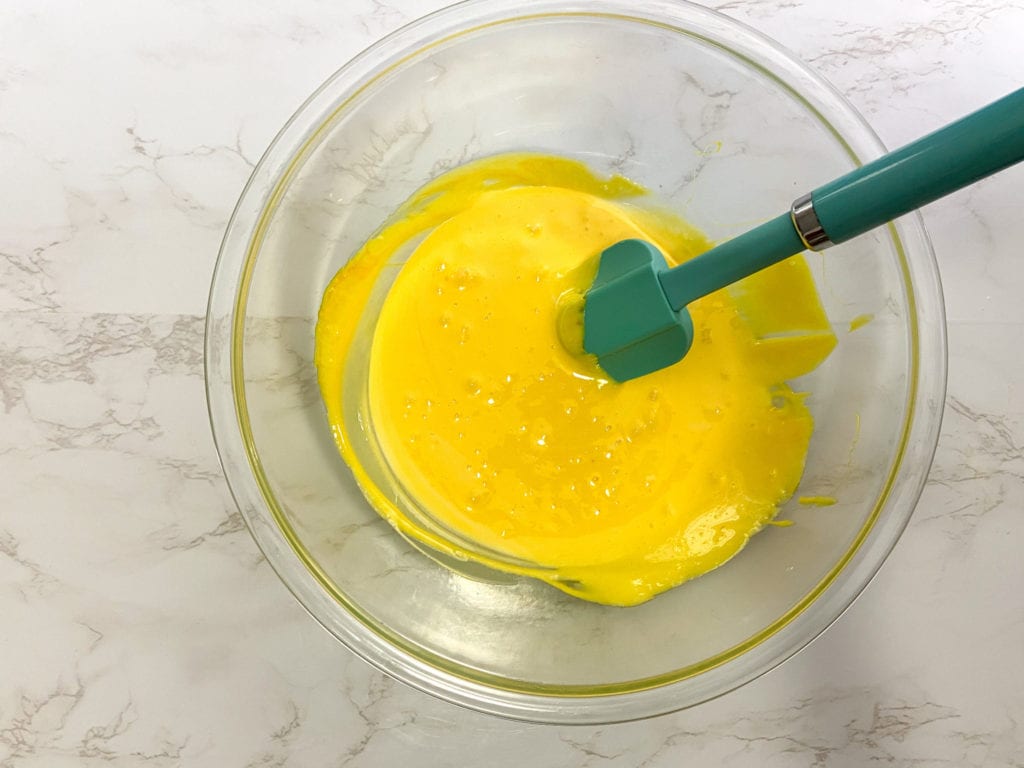
Step 1: Melt the marshmallows and butter together. You can either melt them on the stove over medium heat, or in the microwave on high for 3 minutes, stirring after 2 minutes. Then, add the food coloring until you reach your desired color.
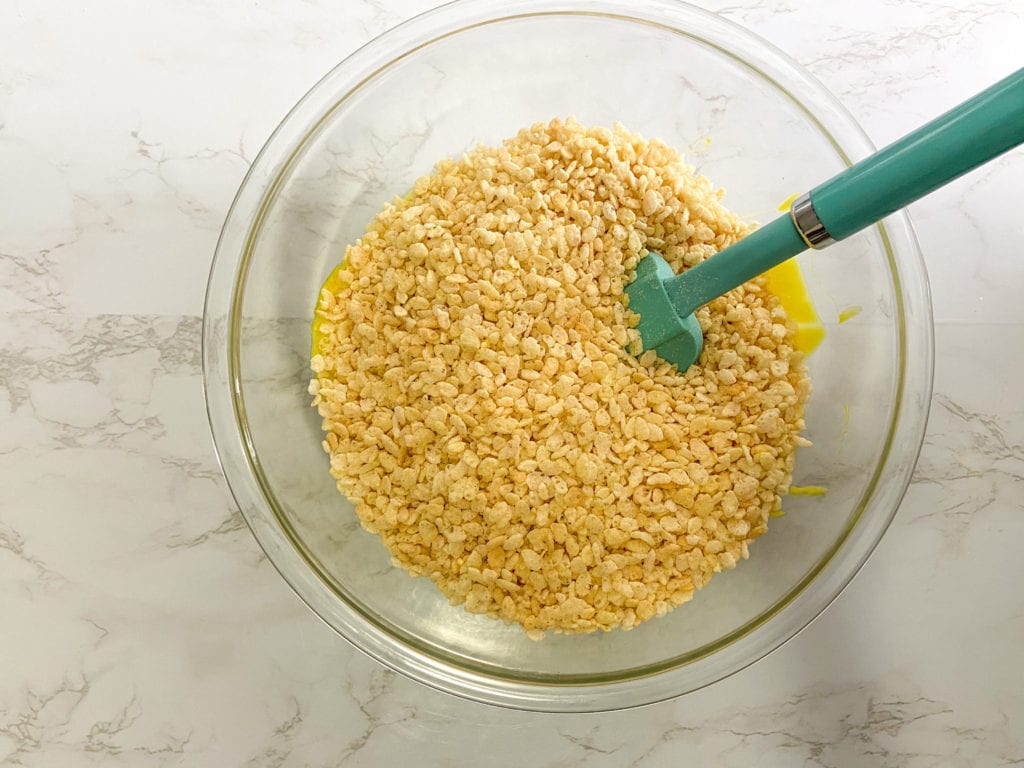
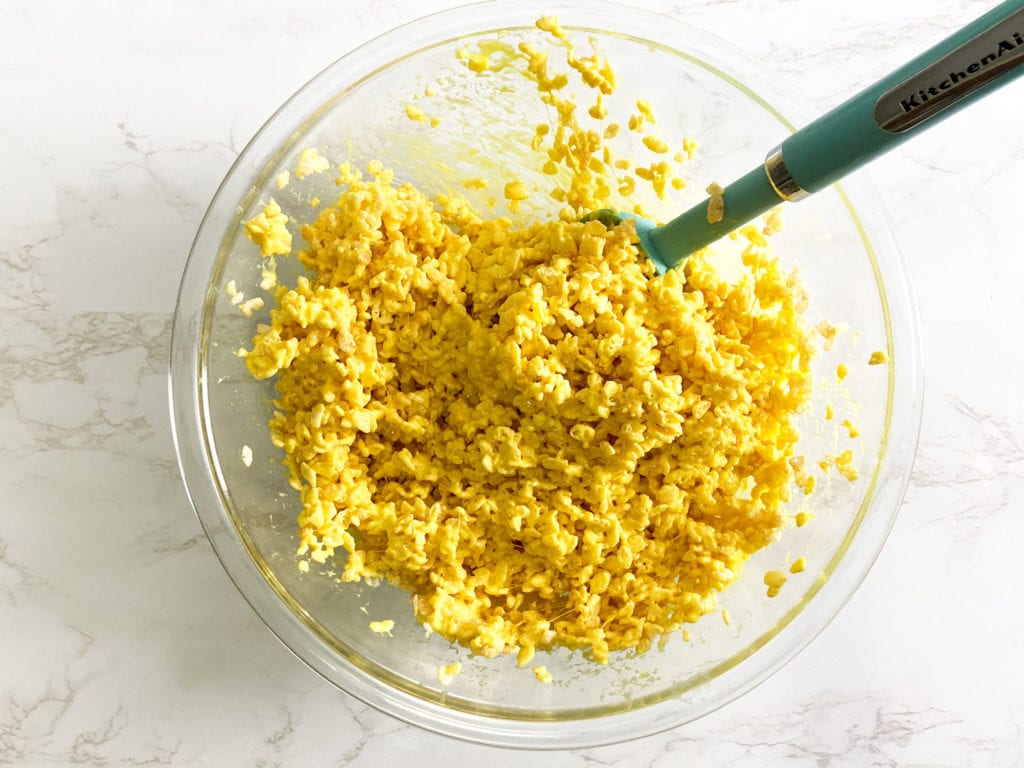
Step 2: Add the Rice Krispies and stir until evenly coated.
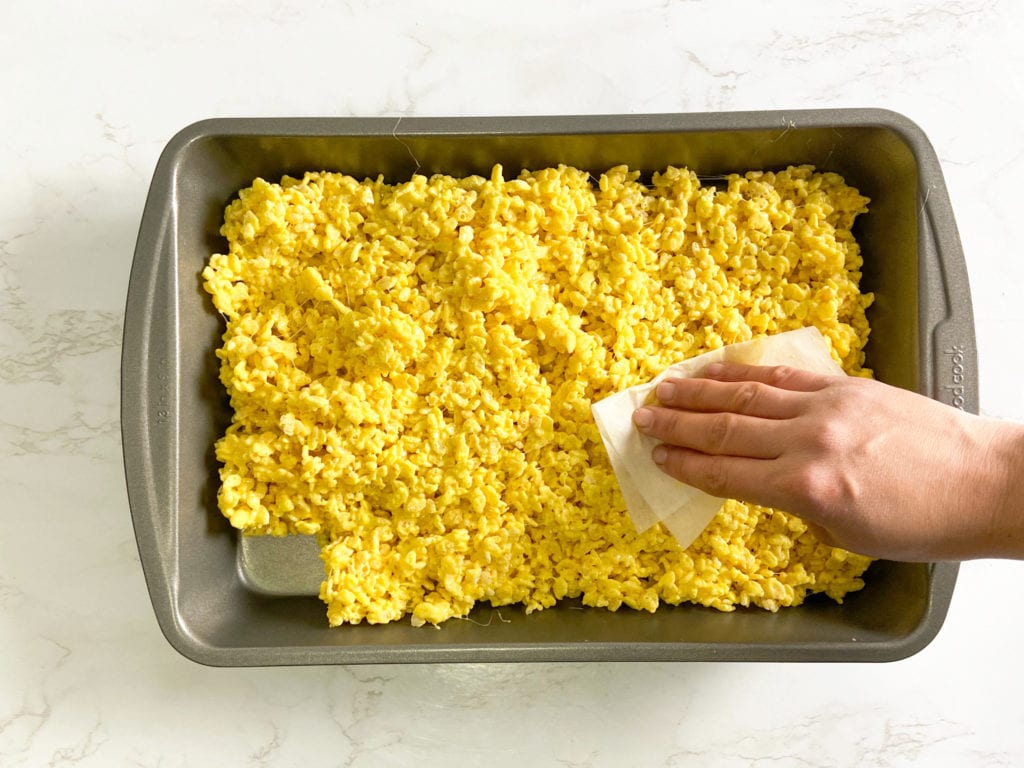
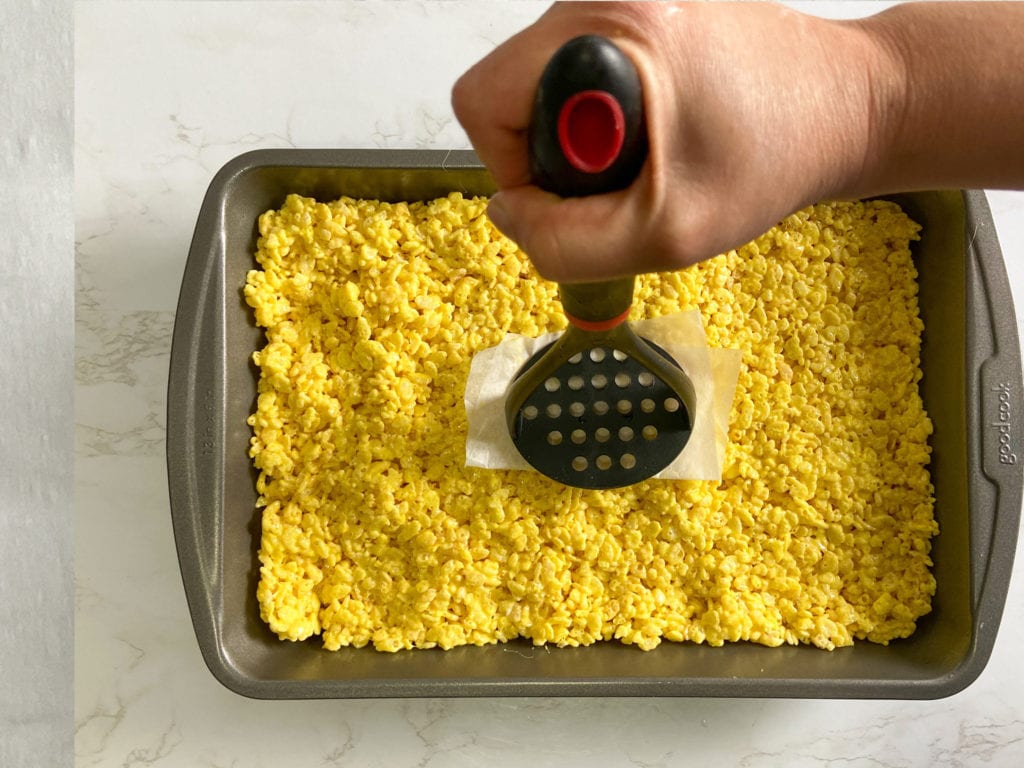
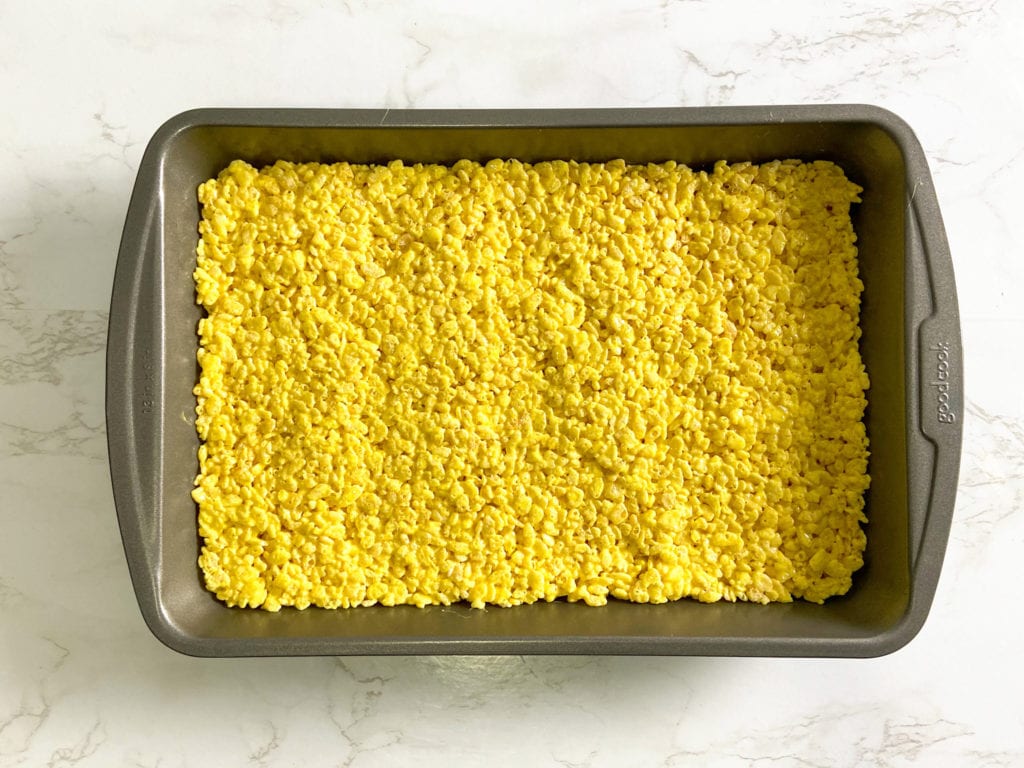
Step 3: Transfer the cereal mix to a greased 9″x13″ pan. Use a piece of parchment or wax paper to press the cereal down into the pan. Pack the cereal down as much as possible. I find that using a potato masher works well. Let it cool for about 30 minutes, or until it sets.
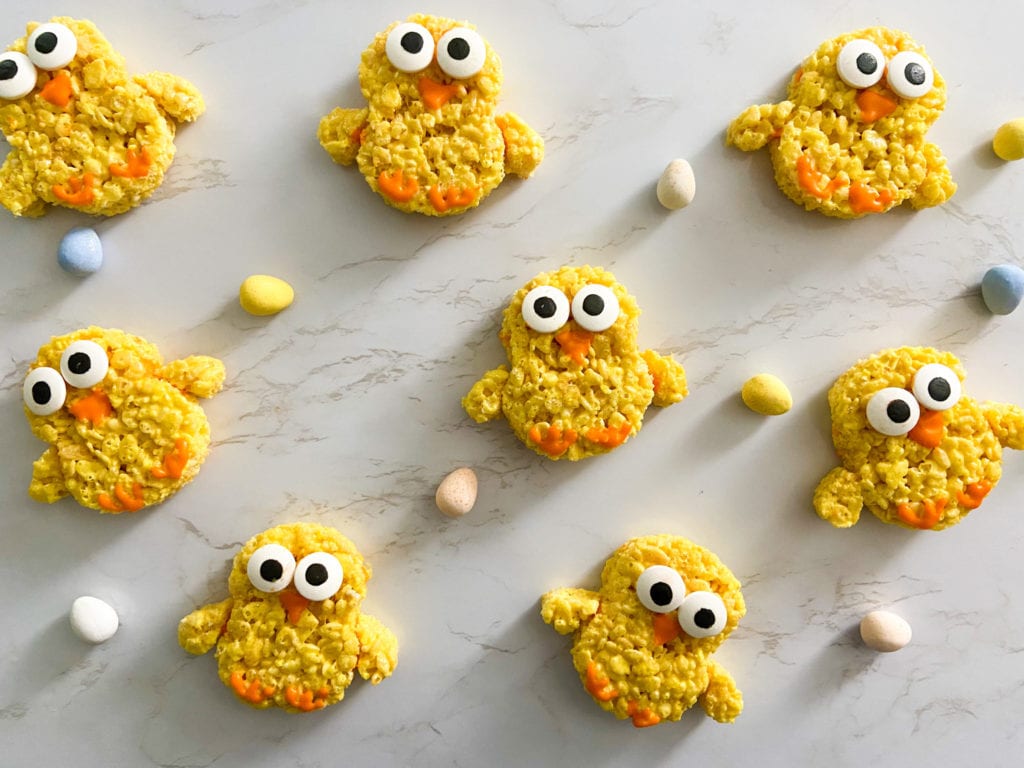
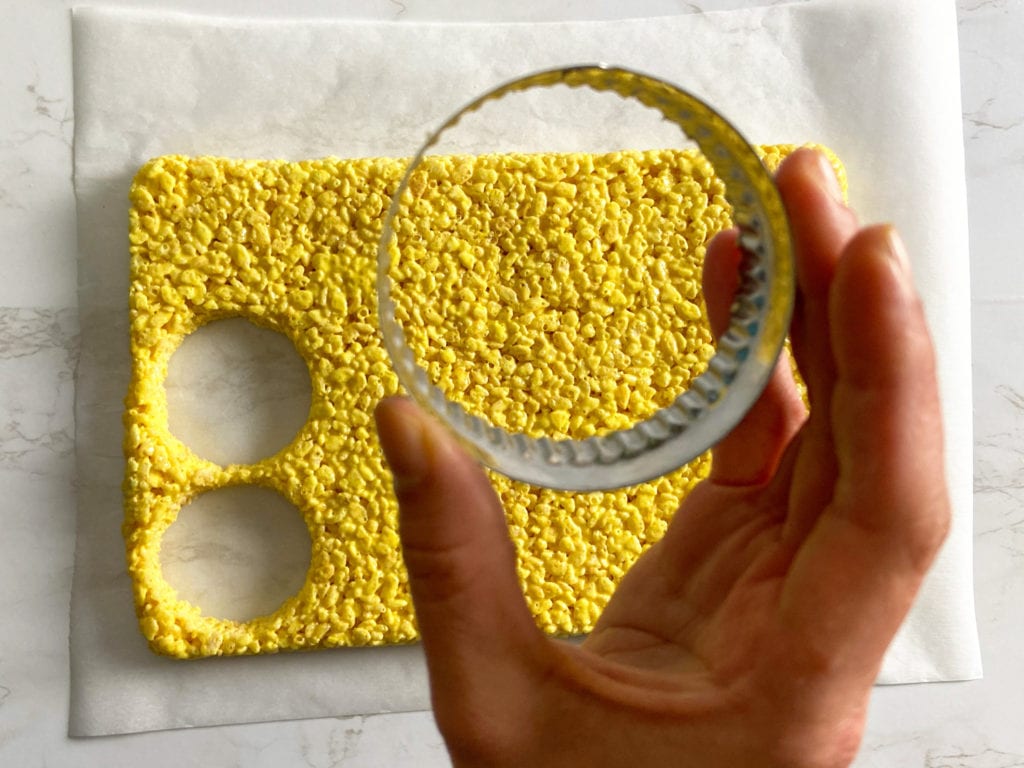
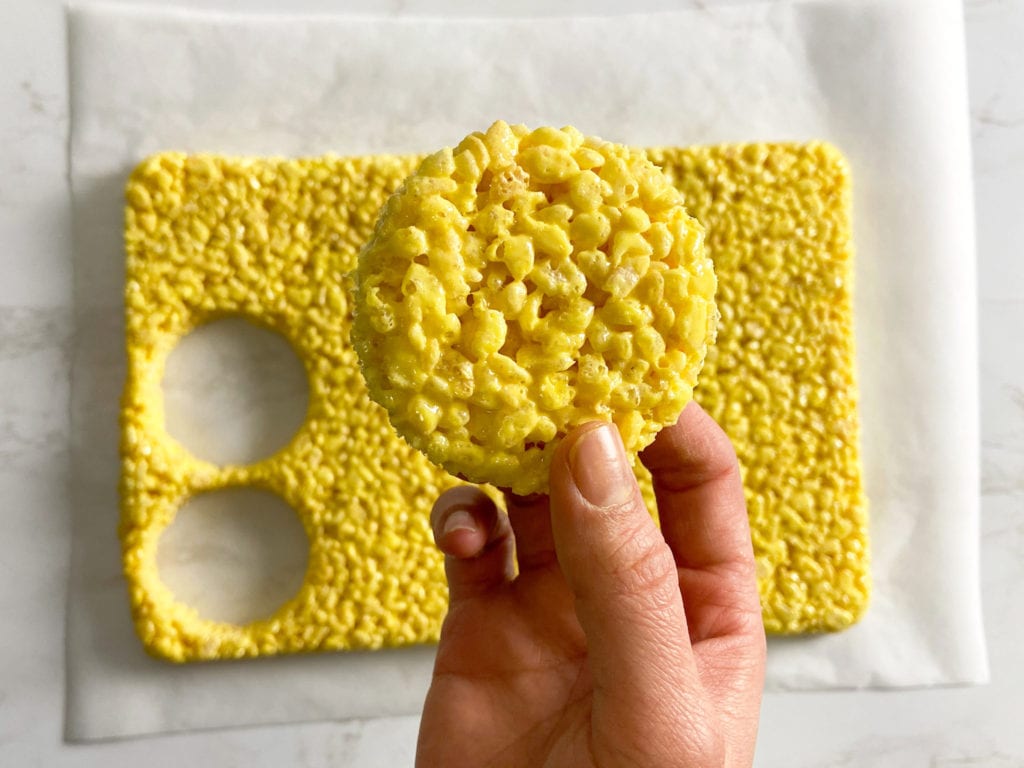
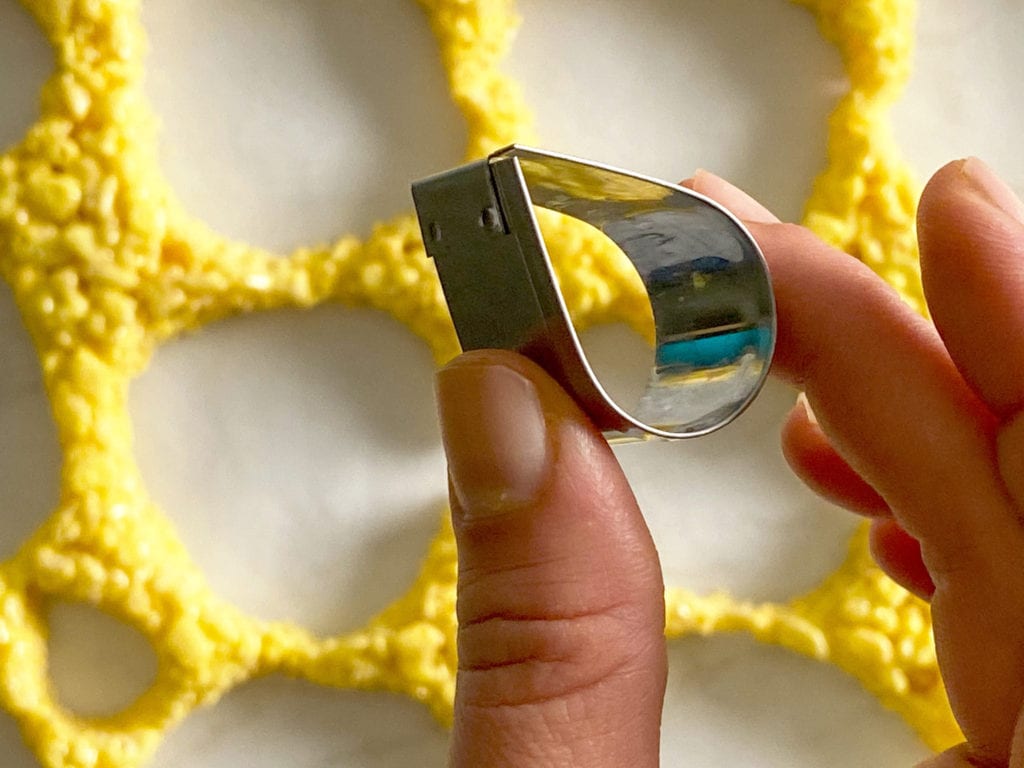
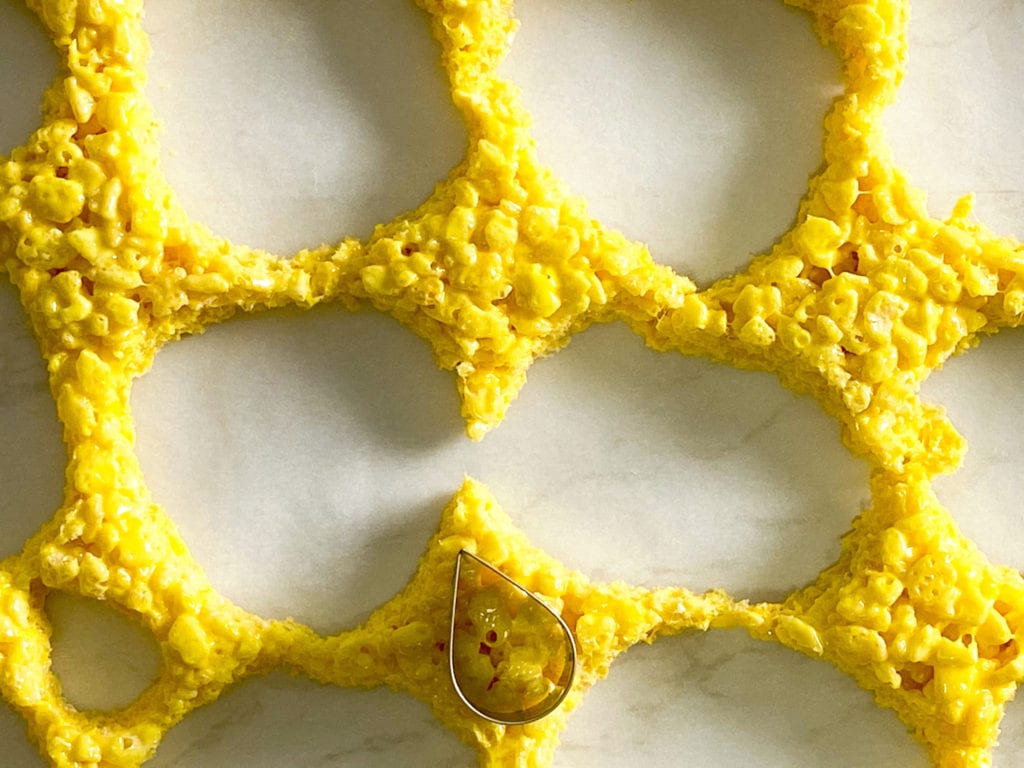
Step 4: Remove it from the pan and place it on a clean work surface. Using the circle cutter, cut out as many circles as you can. I was able to make 12 circles. Then, use the tear drop cutter to cut out tear drop shapes. You will need two tear drops per circle. I used as many scrap pieces as I could, then reshaped the remaining pieces to cut out the rest of the tear drops.
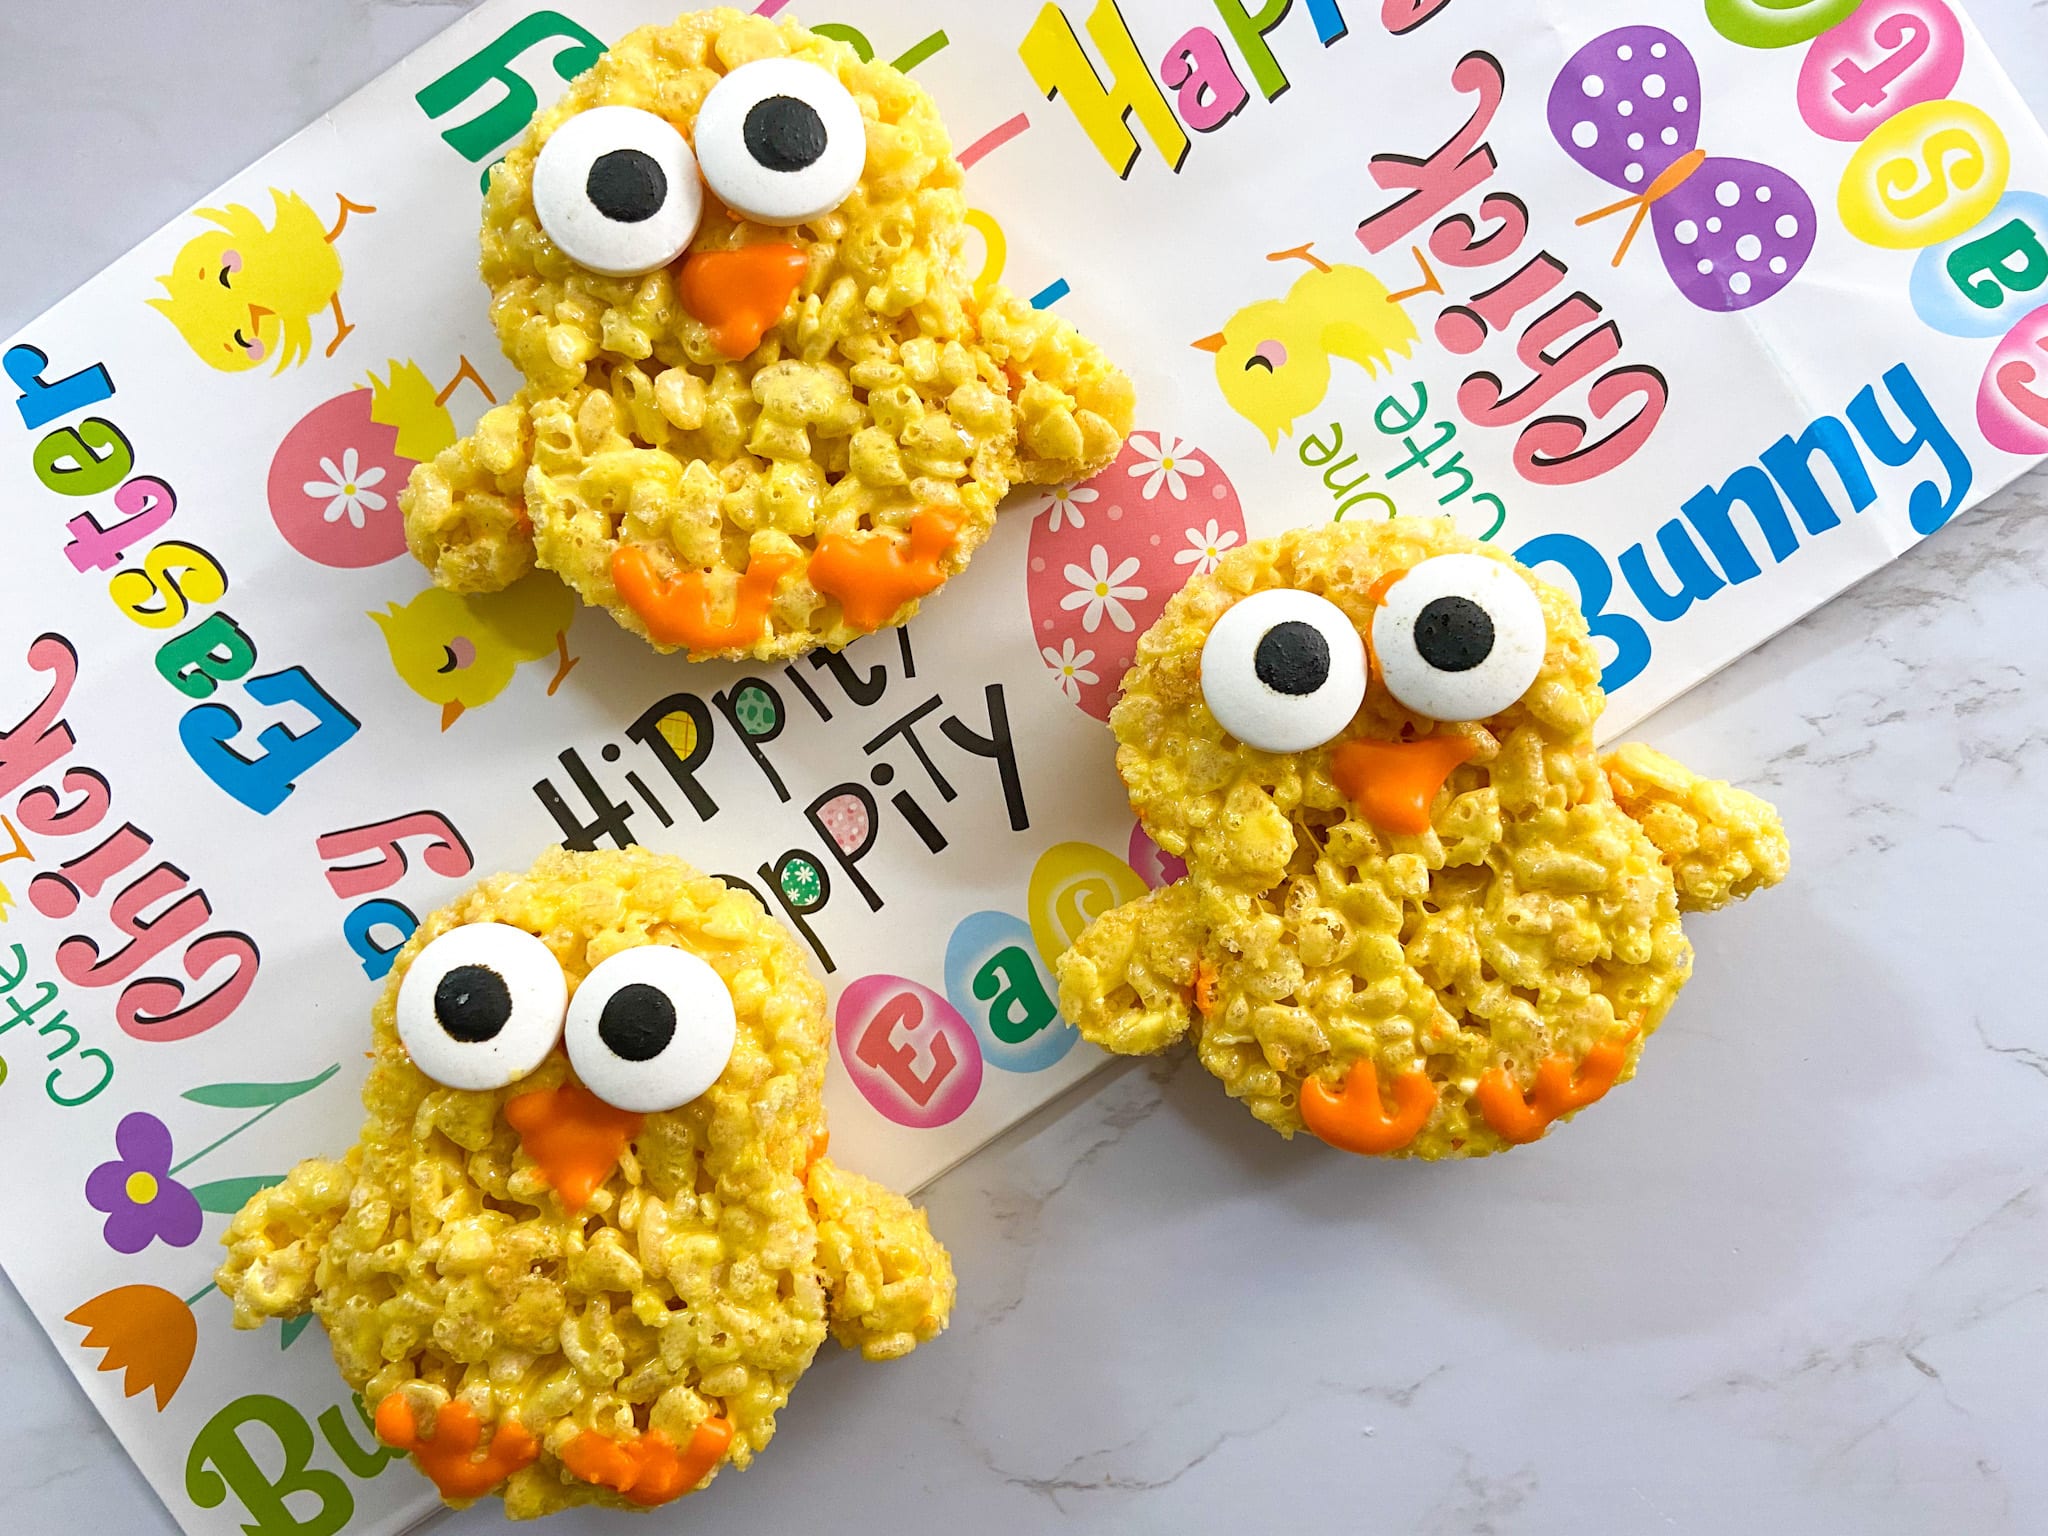
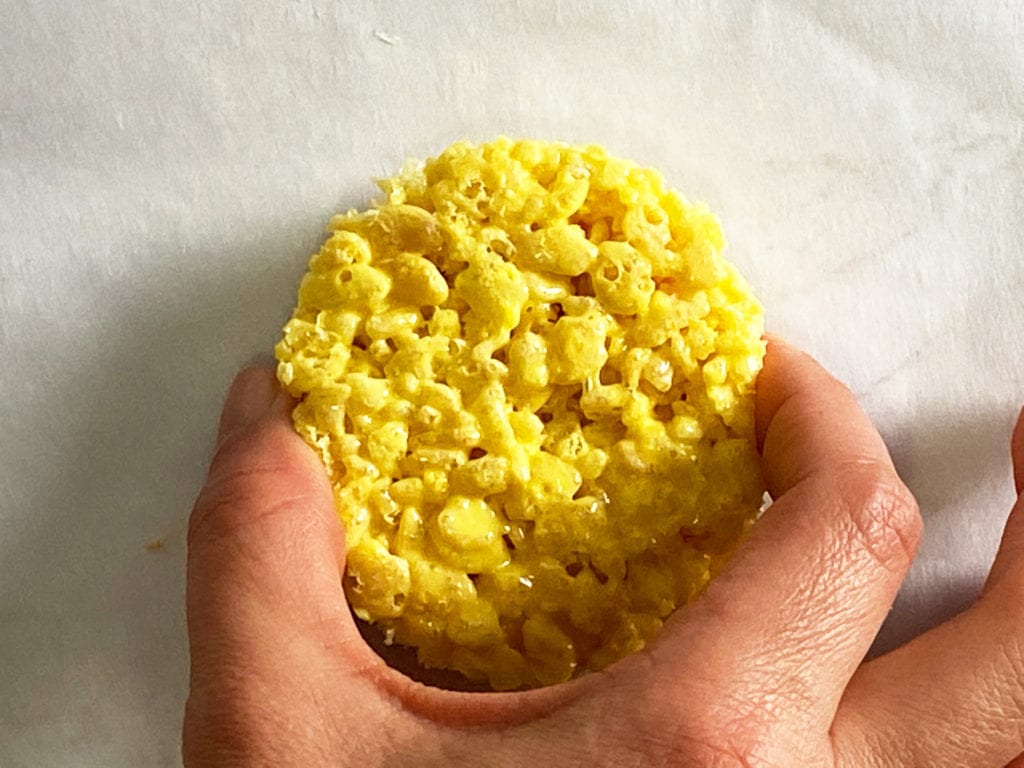
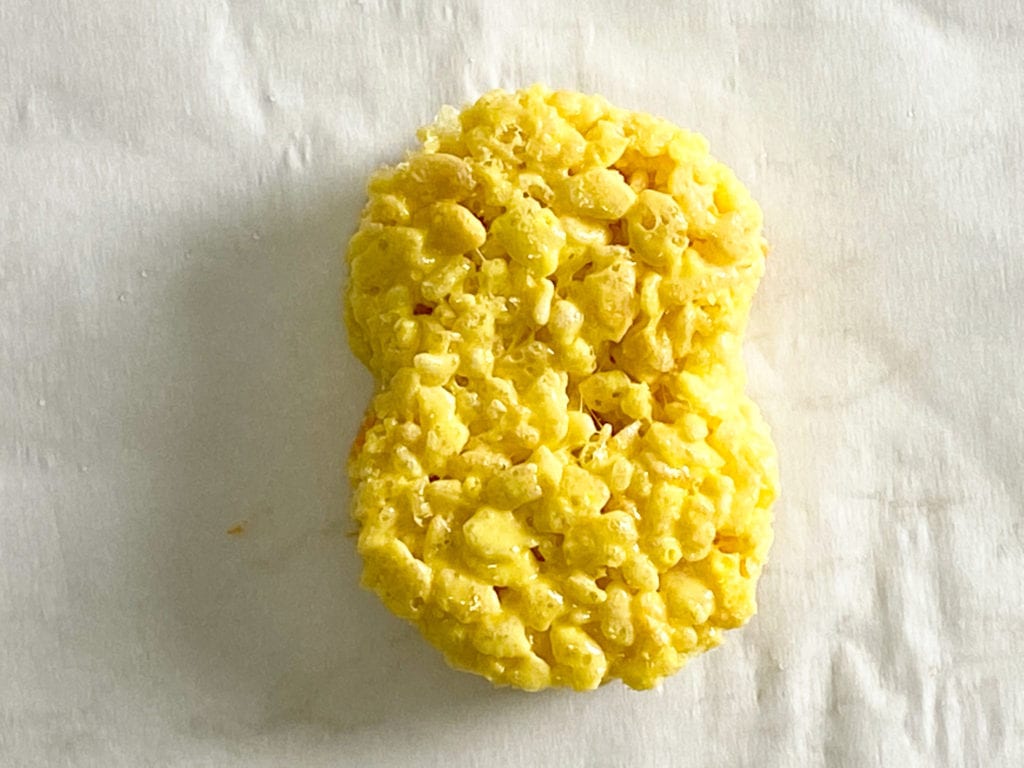
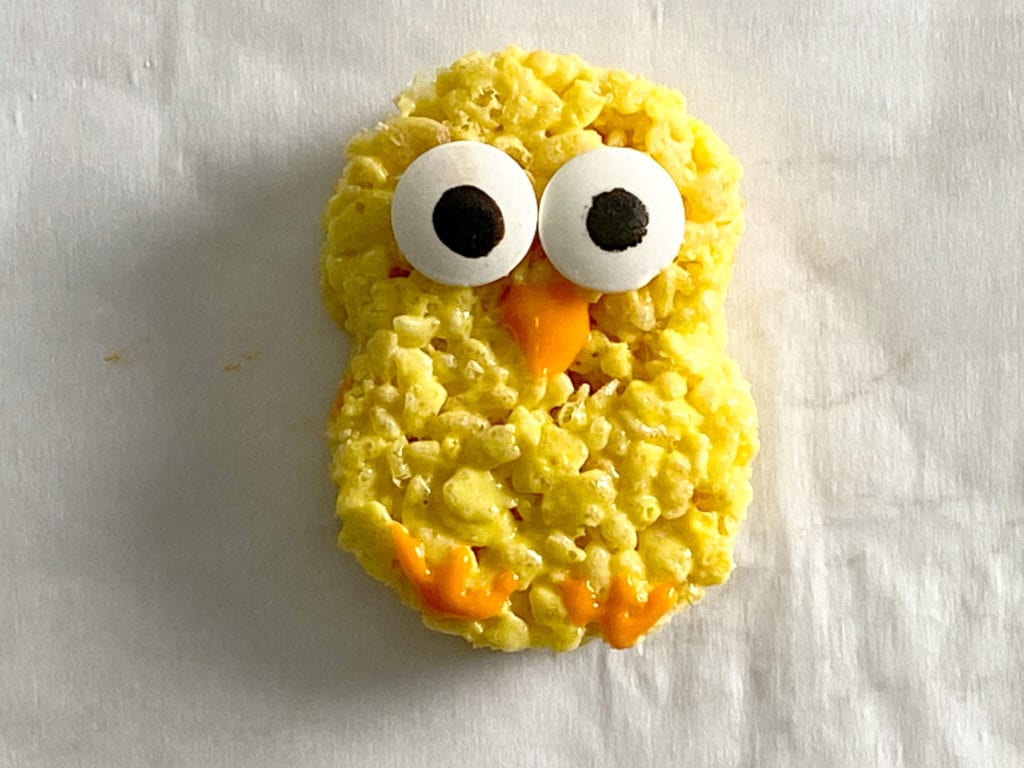
Step 5: Take a circle and squeeze it in the middle to form the head and body of the chick.
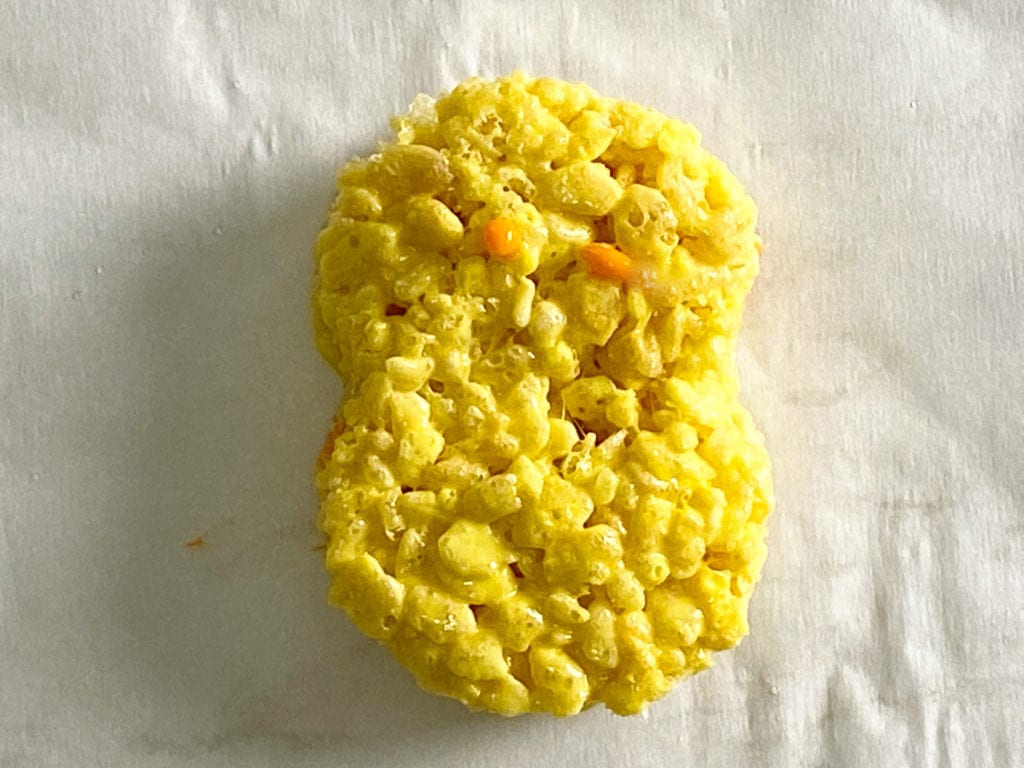
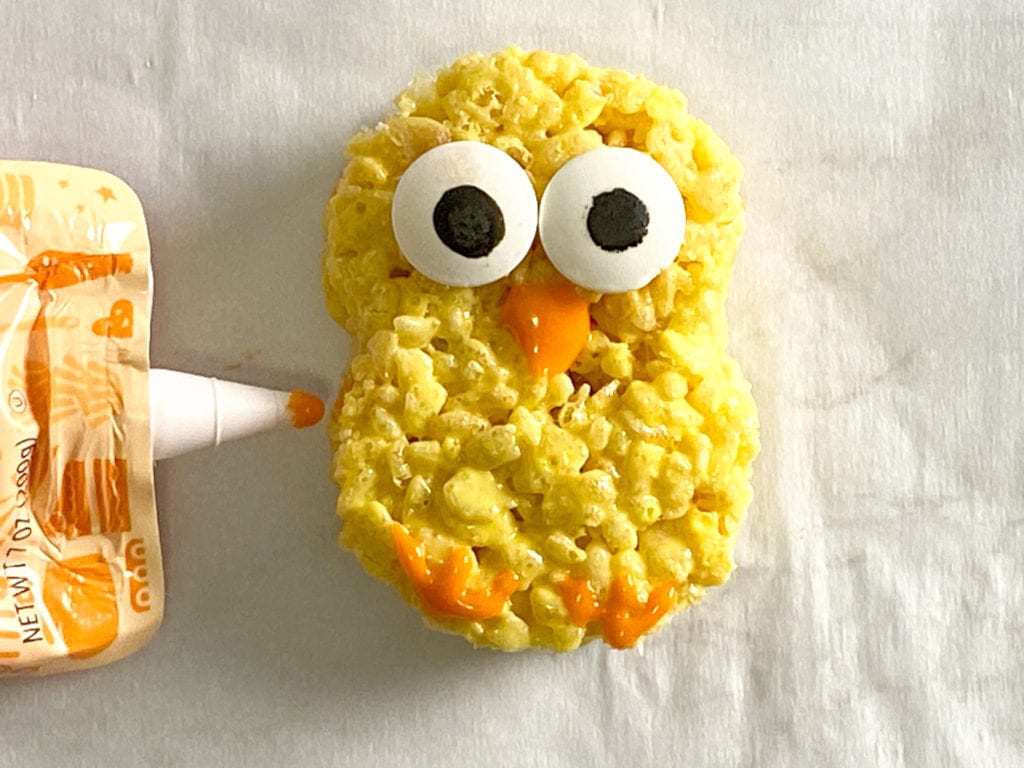
Step 6: Using a little icing, attach the chick’s eyes. Then draw its beak and feet. Use the icing sparingly, as it can run a little before it sets.
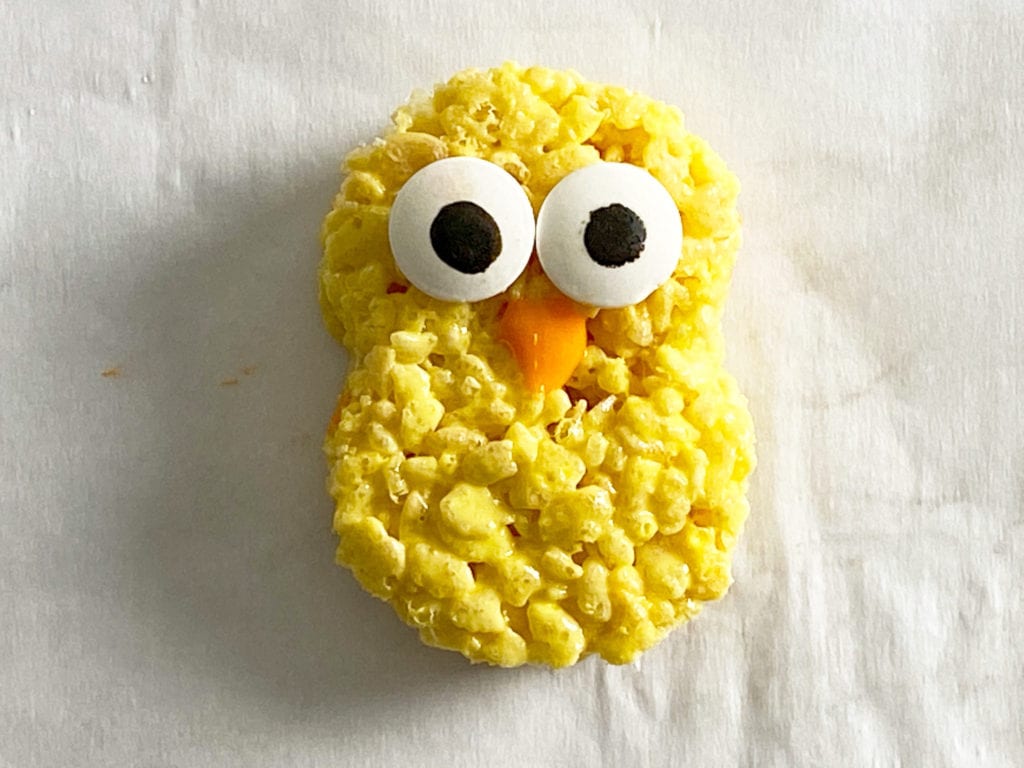
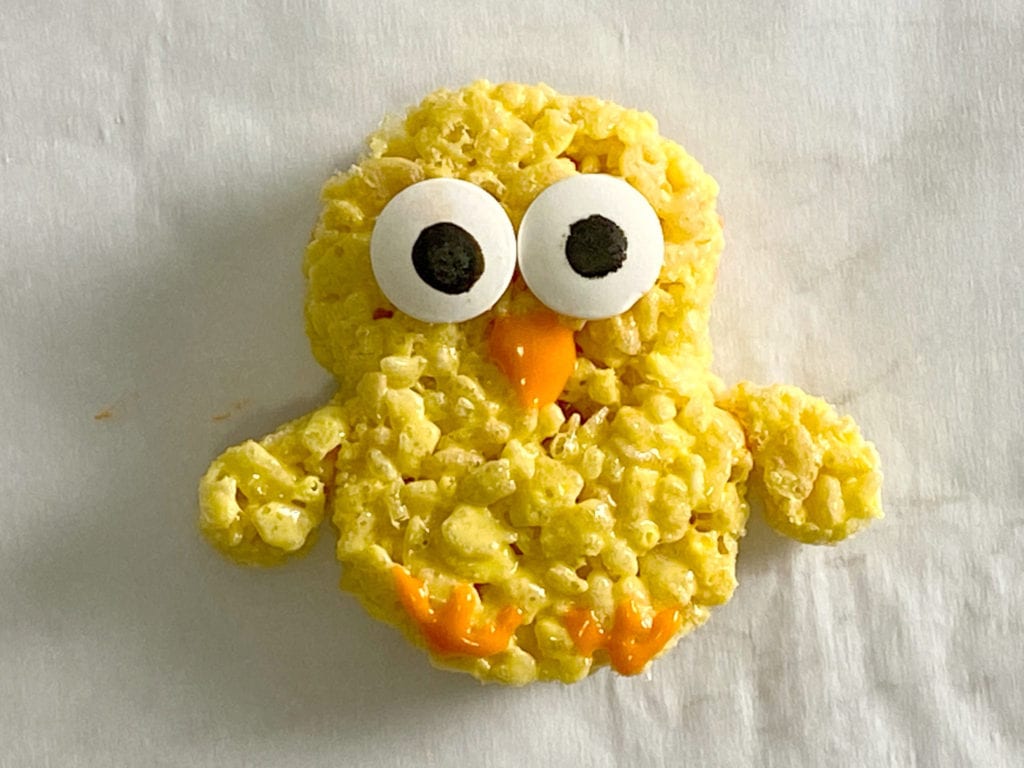
Step 7: Put a little bit of icing on each side of the chick’s body and attach one tear drop to each side to form the chick’s wings. Press the wings into the chick’s body firmly to make sure they stay attached.
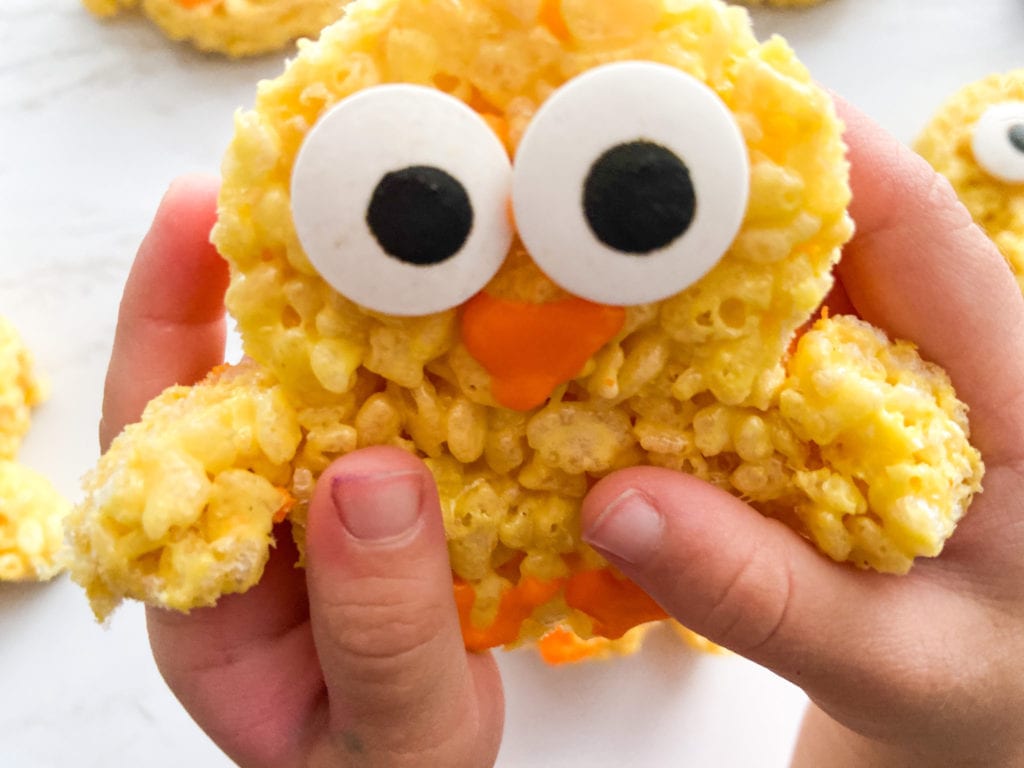
Step 8: Repeat steps 5-7 until with the remaining circles. Eat right away, or store in an air-tight container for 2 days. Enjoy!
Notes: I used a 2 3/4″ inch circle cutter, and a 1″ tear drop cutter. If you don’t have these or don’t want to purchase them, you can use a cup to cut the circles and can shape the wings by hand.
Try these other Easter recipes and crafts!
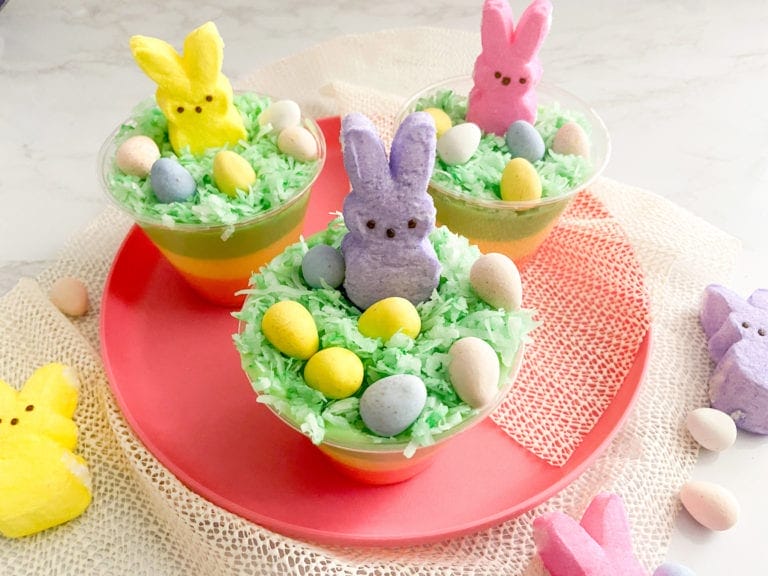
- Cute and Easy Easter Pudding Cups
- Easter Bunny Toilet Paper Roll Craft with Free Template
- Cute and Easy Easter Fruit Skewers for Kids
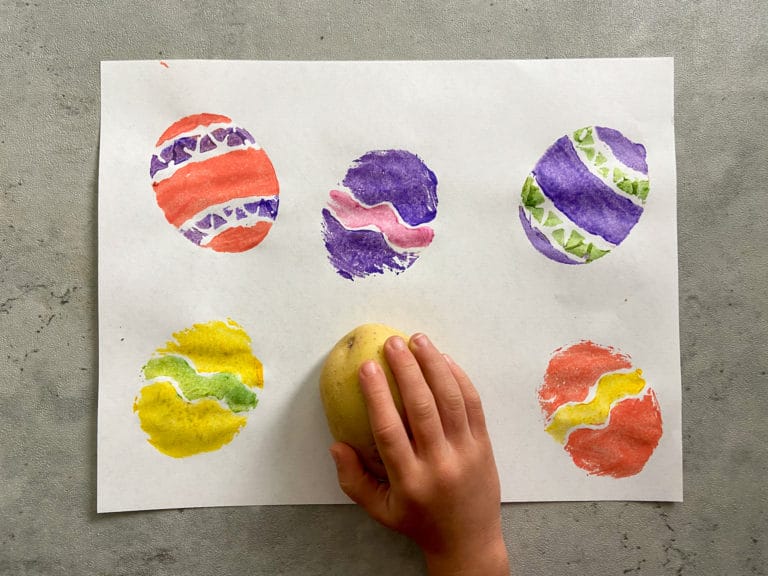
- Magic Easter Eggs Coloring Activity with Free Printable
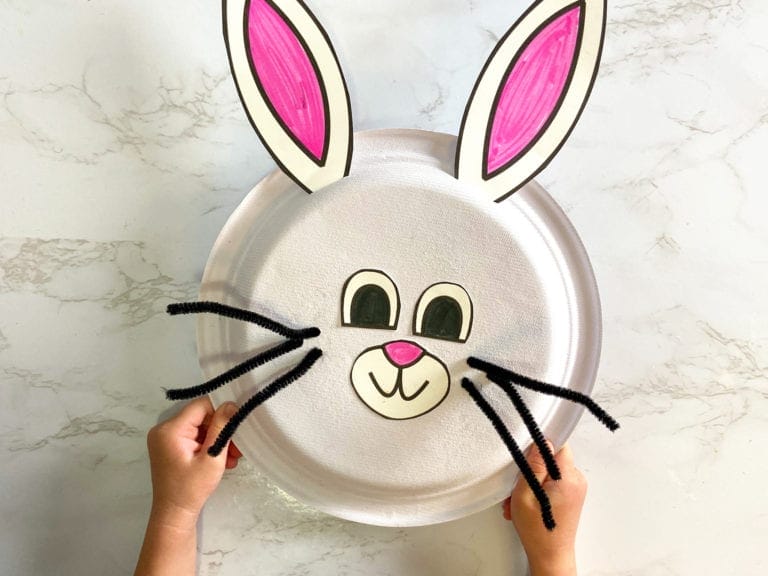
- Paper Plate Bunny Kids Craft with Free Template

Easter Chicks Rice Krispies Treats
Ingredients
- 6 cups Rice Krispies Cereal
- 8 cups mini marshmallows
- 3 tablespoons butter
- yellow food coloring
For Decorating
Instructions
- Melt the marshmallows and butter together. You can either melt them on the stove over medium heat, or in the microwave on high for 3 minutes, stirring after 2 minutes. Then, add the food coloring until you reach your desired color.
- Add the Rice Krispies and stir until evenly coated.
- Transfer the cereal mix to a greased 9″x13″ pan. Use a piece of parchment or wax paper to press the cereal down into the pan. Pack the cereal down as much as possible. I find that using a potato masher works well. Let it cool for about 30 minutes, or until it sets.
- Remove it from the pan and place it on a clean work surface. Using the circle cutter, cut out as many circles as you can. I was able to make 12 circles. Then, use the tear drop cutter to cut out tear drop shapes. You will need two tear drops per circle. I used as many scrap pieces as I could, then reshaped the remaining pieces to cut out the rest of the tear drops.
- Squeeze the middle of one of the circles to form the head and body of the chick.
- Using a little icing, attach the chick’s eyes. Then draw its beak and feet. Use the icing sparingly, as it can run a little before it sets.
- Put a little bit of icing on each side of the chick’s body and attach one tear drop to each side to form the chick’s wings. Press the wings into the chick’s body firmly to make sure they stay attached.
- Repeat steps 5-7 until with the remaining circles. Eat right away, or store in an air-tight container for 2 days. Enjoy!
Video
Notes
- A 10 oz bag of mini marshmallows contains 6 cups, so you will need to purchase 2 bags.
- I used a 2 3/4″ inch circle cutter, and a 1″ tear drop cutter to make these. If you don’t have these, or don’t want to purchase them, you can use a cup to cut the circles and can shape the wings by hand.
As always, sharing is caring! Please click on the buttons below to share this post with your friends!