As an Amazon Associate, I earn from qualifying purchases. This post may contain affiliate links. Read my disclosure policy.
A DIY version of the classic candy necklaces, this rainbow cereal jewelry is as fun to make as it is to eat!
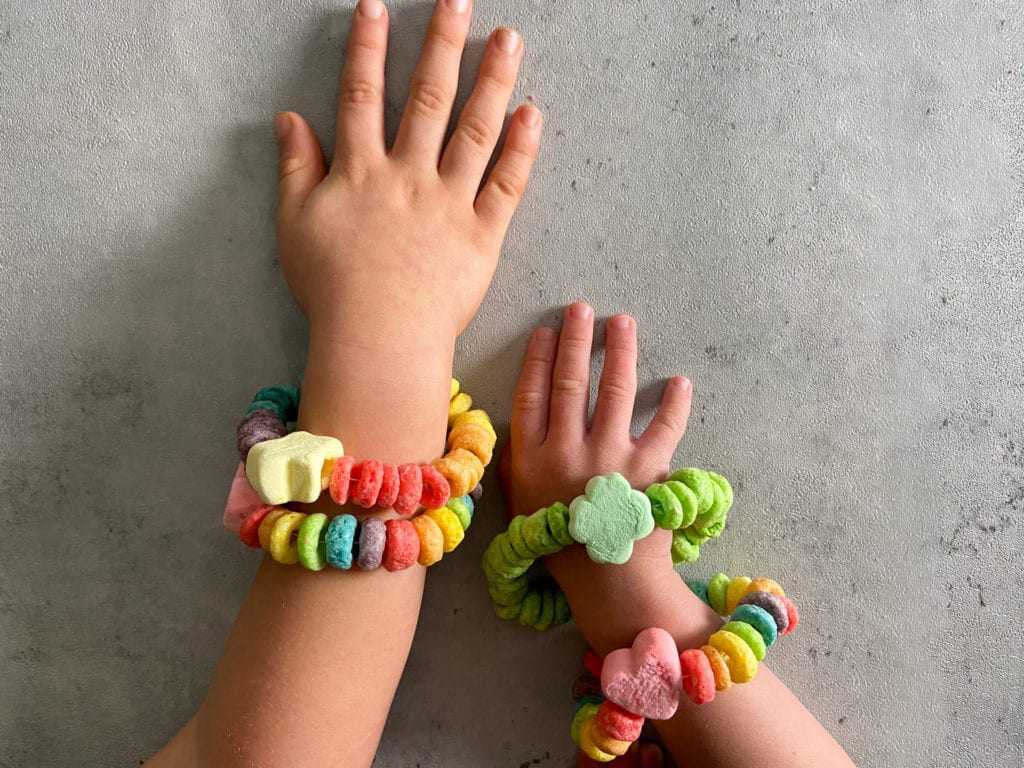
When I was little, I thought candy necklaces were the coolest thing EVER. My grandparents would always have one waiting for my sister and I when we’d visit.
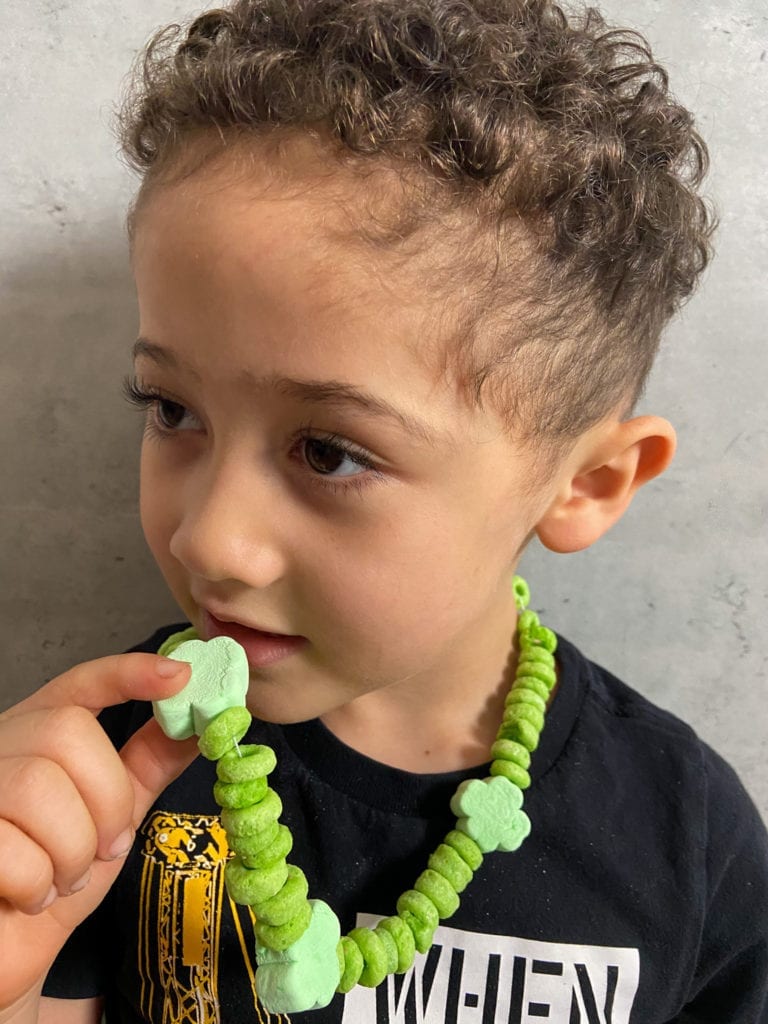
With St. Patrick’s Day around the corner, I thought it would be fun to mimic this childhood treat with colored cereal and marshmallows, and it was a HIT! My kids had a blast making them, and even more fun eating them.
This rainbow cereal jewelry is a great activity and treat for St. Patrick’s Day, but it would also be great to make any time. I know we’ll definitely be doing it again.
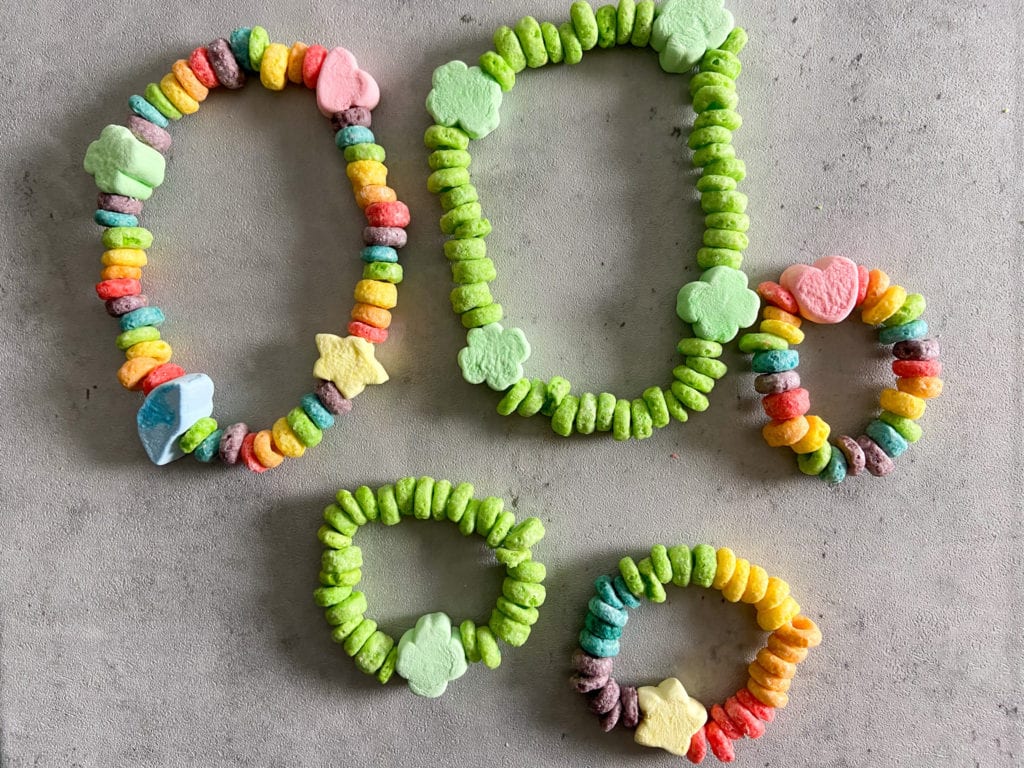
This rainbow cereal jewelry is:
- fun to make, wear and eat!
- a great activity for toddlers and older
- good for practicing fine motor skills
- helpful with learning colors, sorting, and patterns
Here are some great kids’ books about colors and rainbows!
How do you make cereal jewelry?
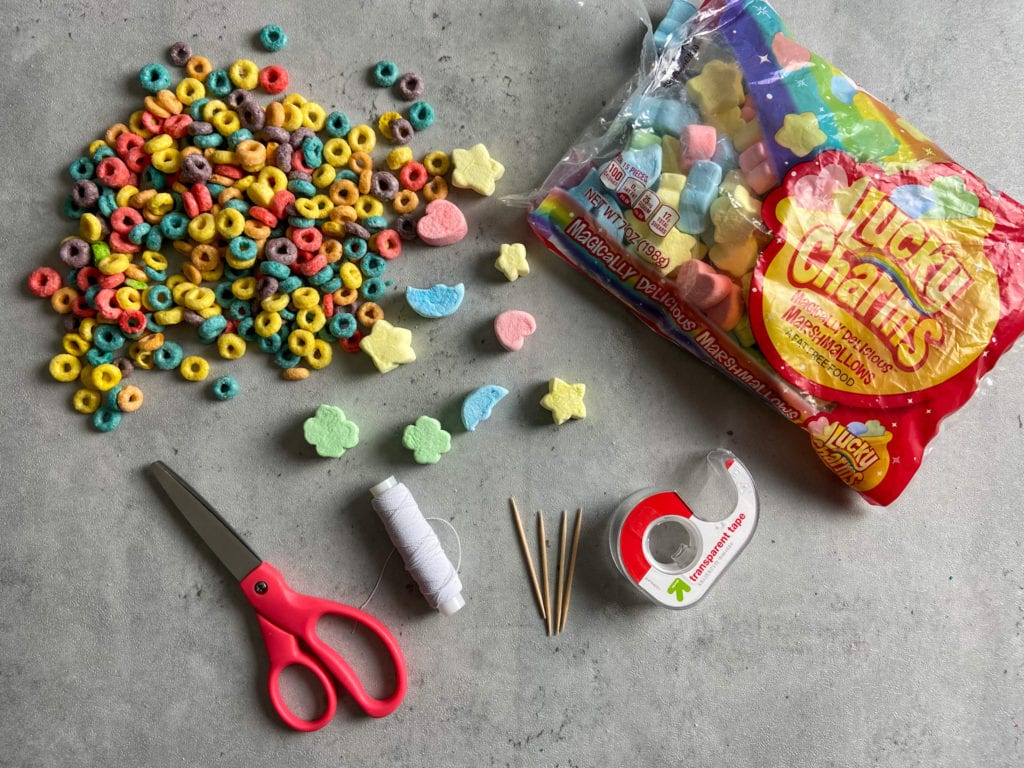
Supplies:
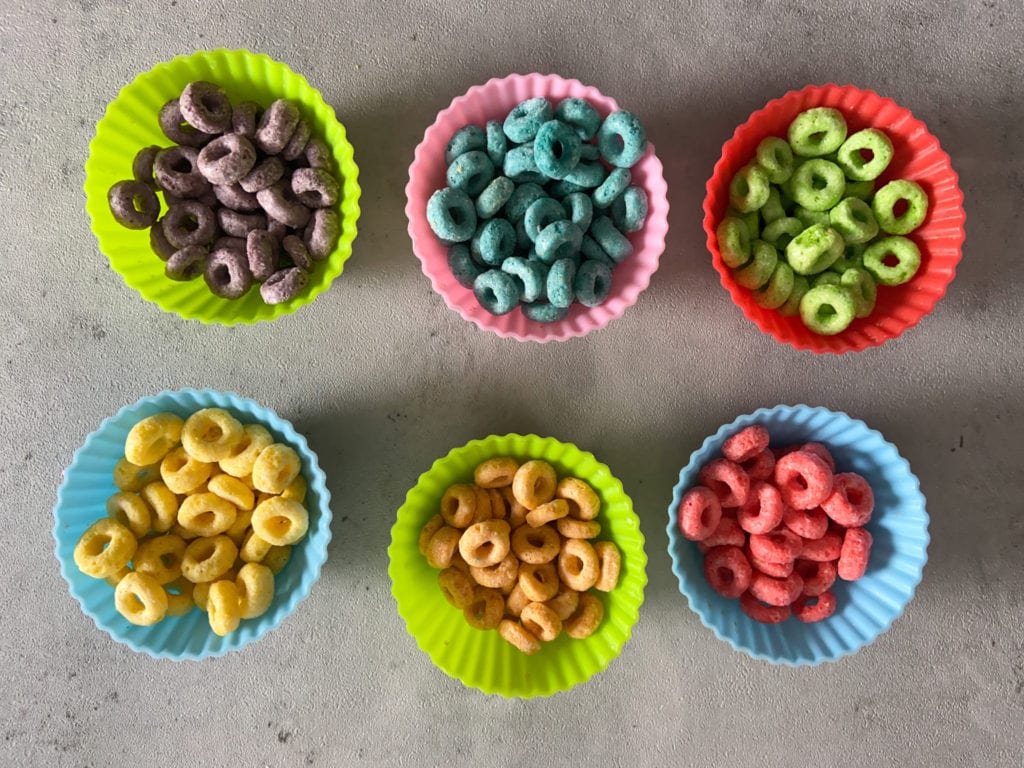
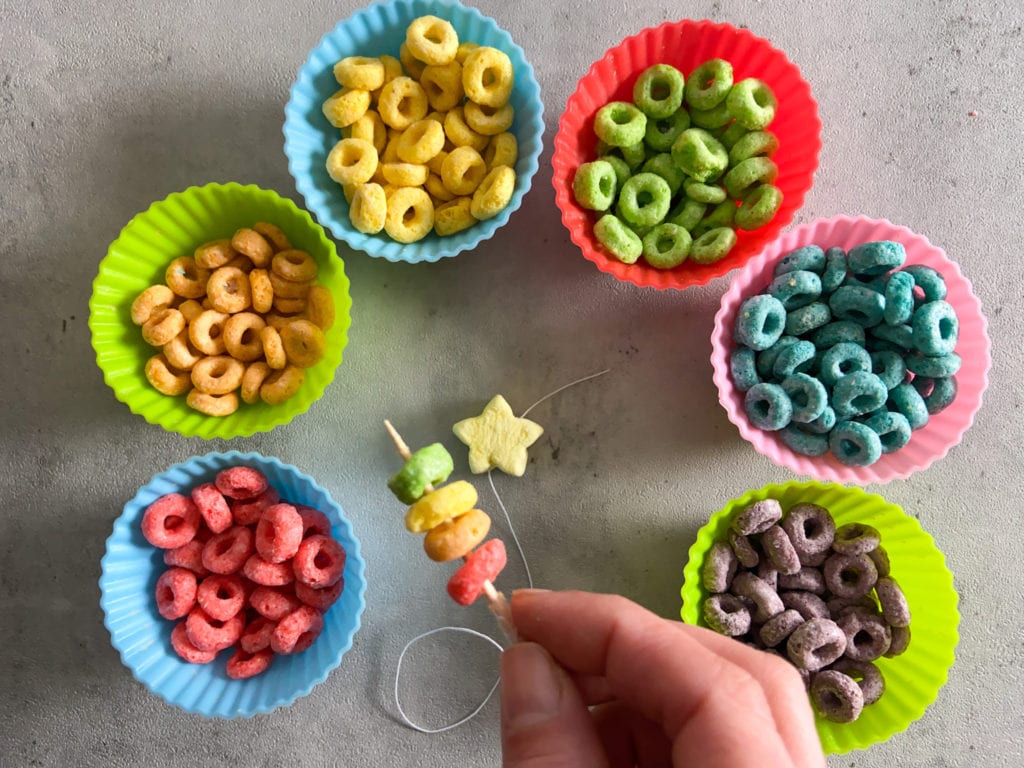
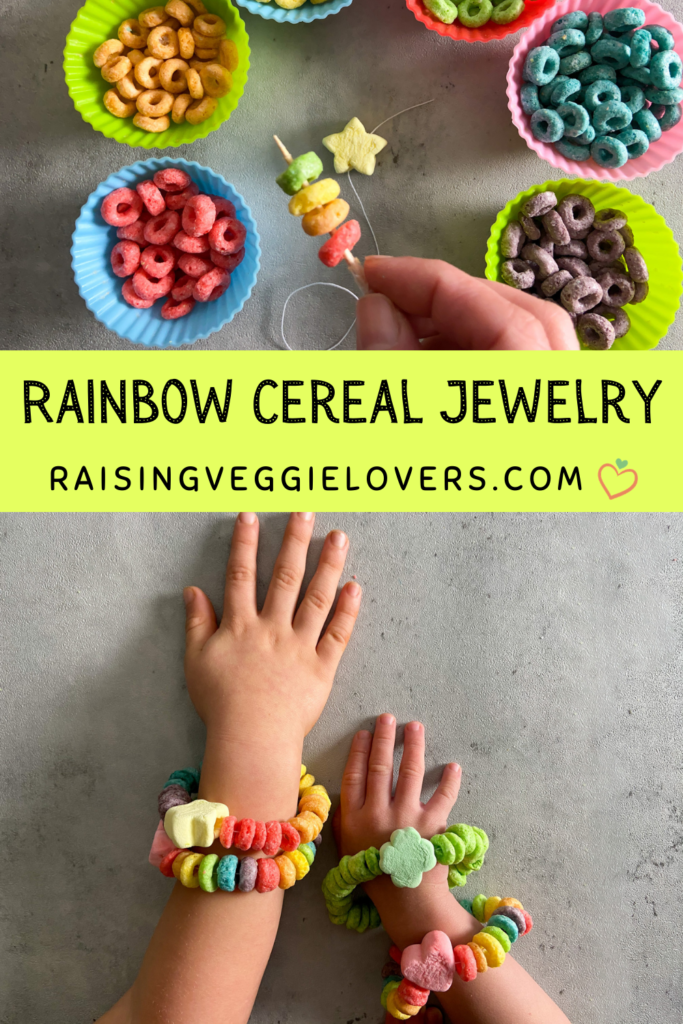
Step 1: Sort your cereal by color. This is a great activity for kids to practice their colors and their sorting skills!
Step 2: Wrap the elastic string around the toothpick a few times, then tape it in place. Then, cut the string according to the length you need. (The length will vary depending on who’s wearing it and if you will make a necklace or a bracelet.)
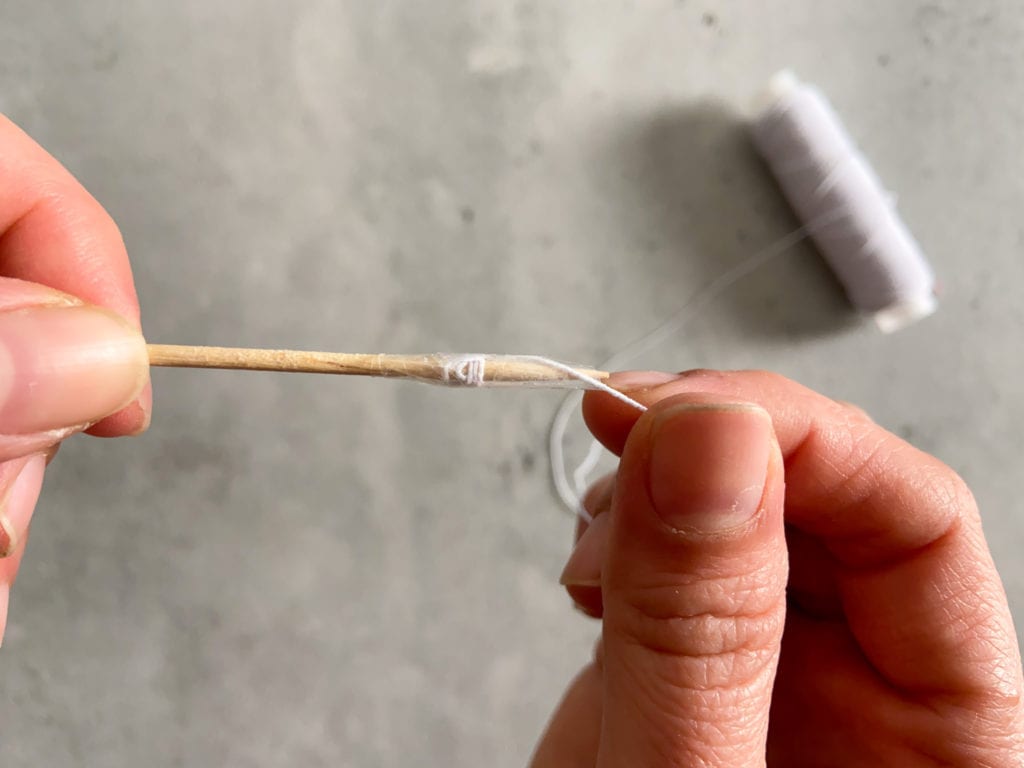
Step 3: Run the toothpick through a marshmallow. Pull the marshmallow down to the bottom of the string, leaving a little space at the end for tying later. The toothpick will be sticky from the marshmallow, so I would recommend wiping it.
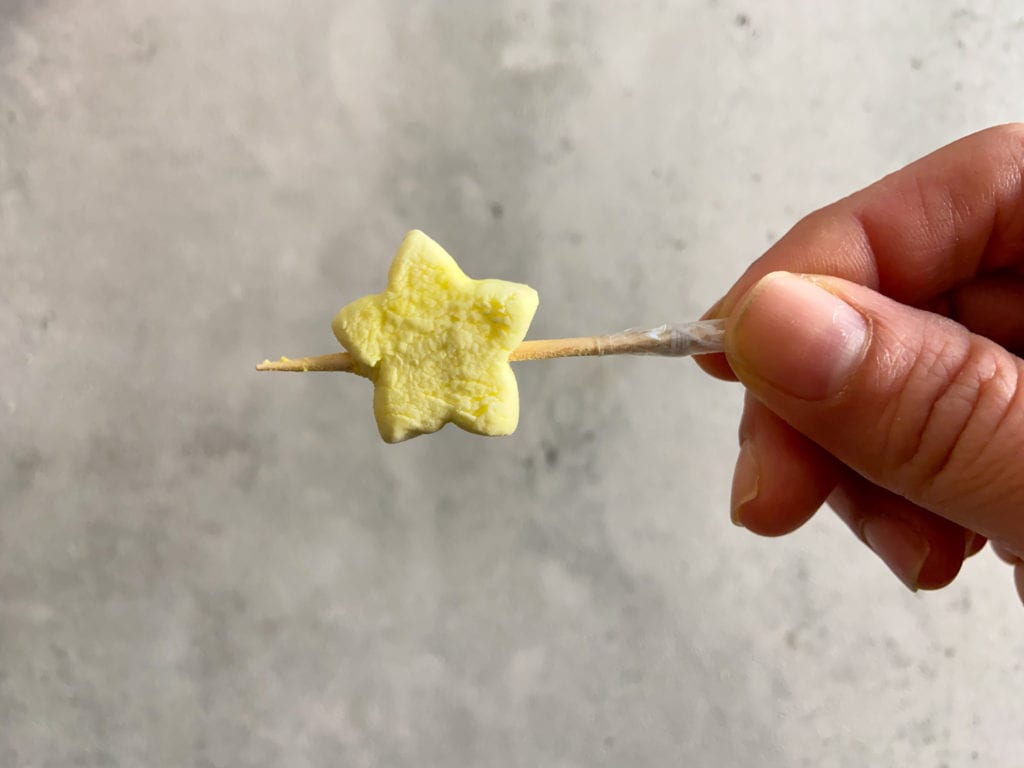
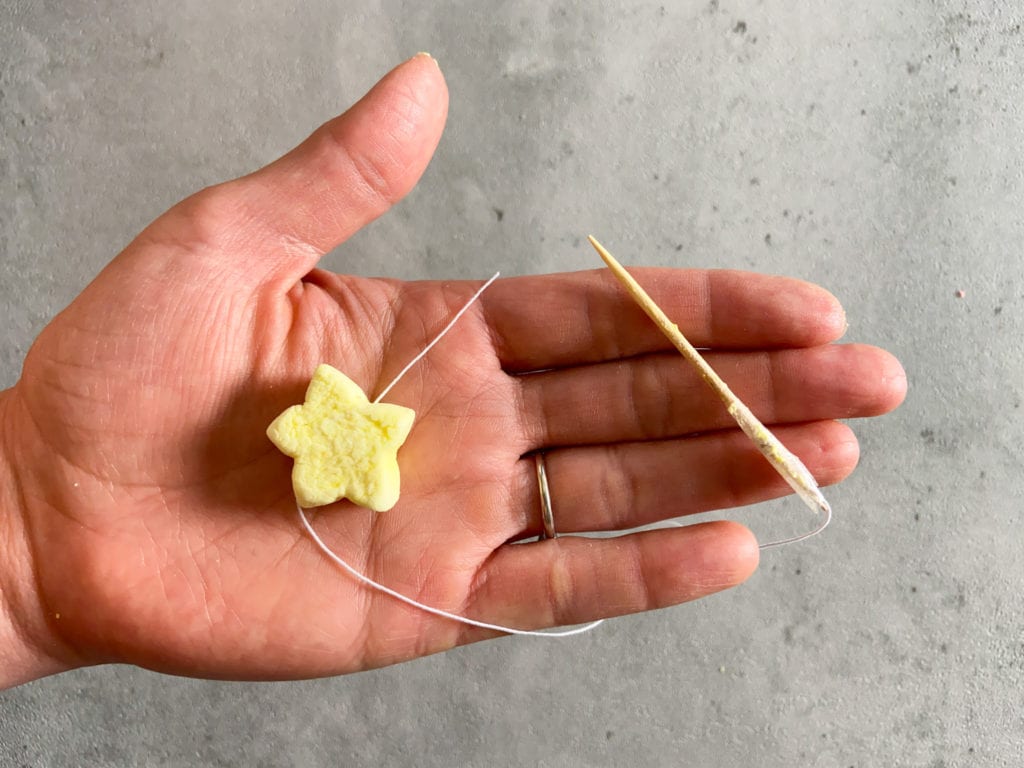
Step 4: String the colored cereal in any pattern you’d like. Use all the colors, just a few, or only 1…the possibilities are endless! Fill the string with cereal and marshmallows, leaving room at the end for tying.
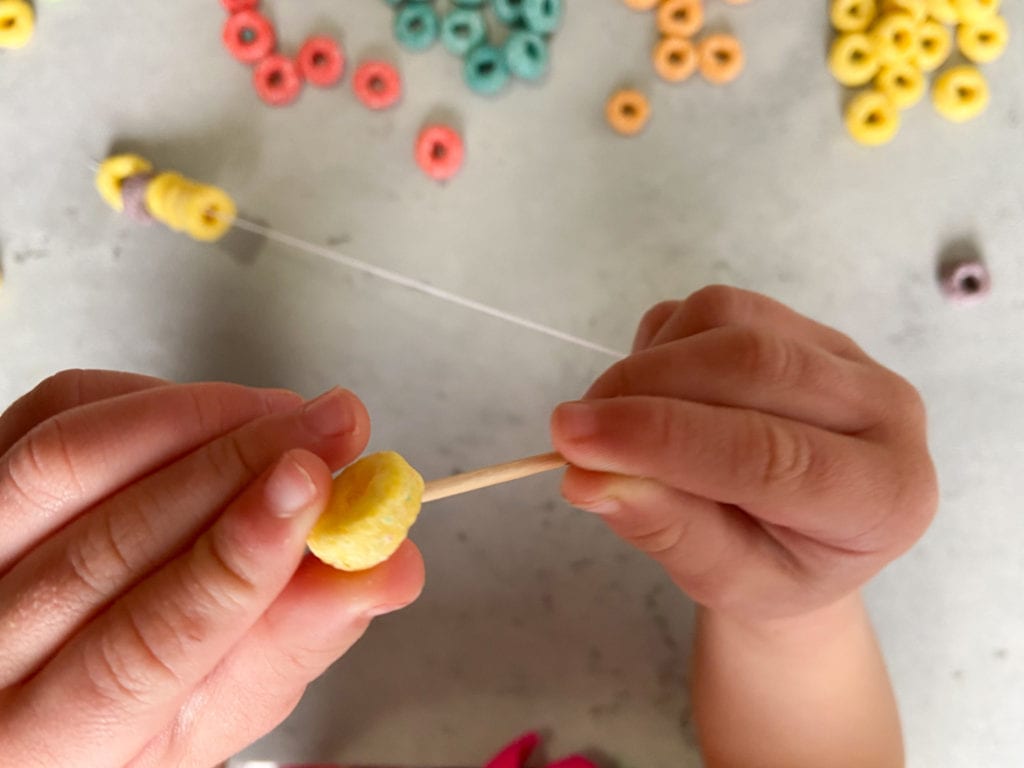
Step 5: Cut the toothpick off, then tie the two ends of the string together. I like to double knot it.
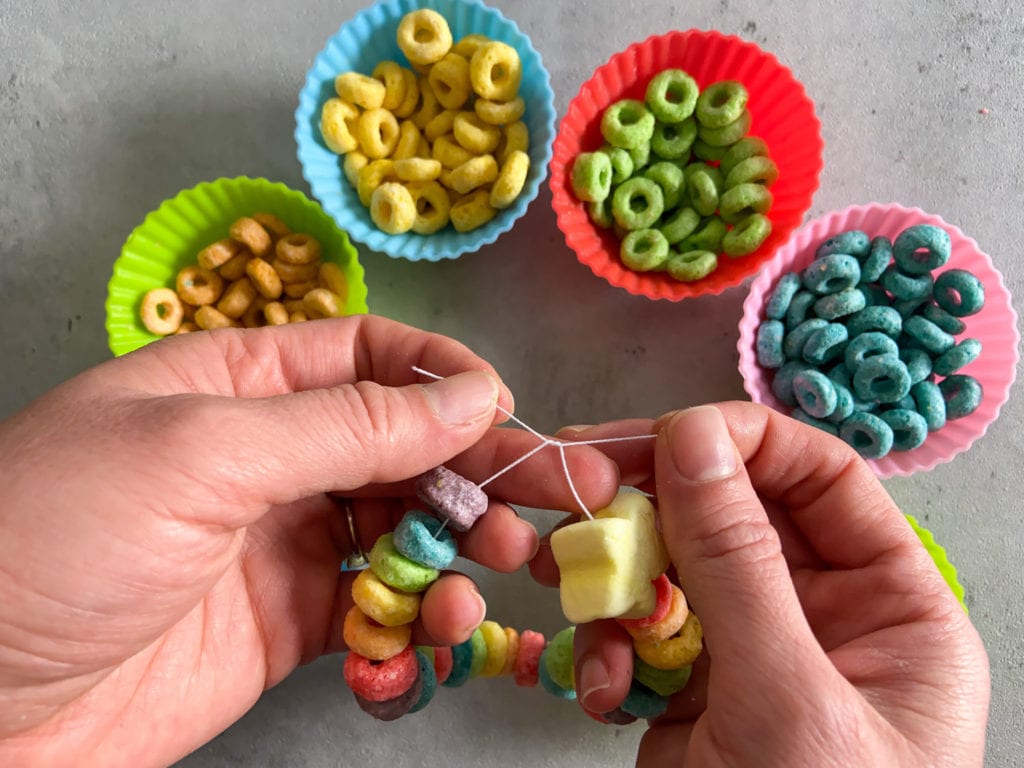
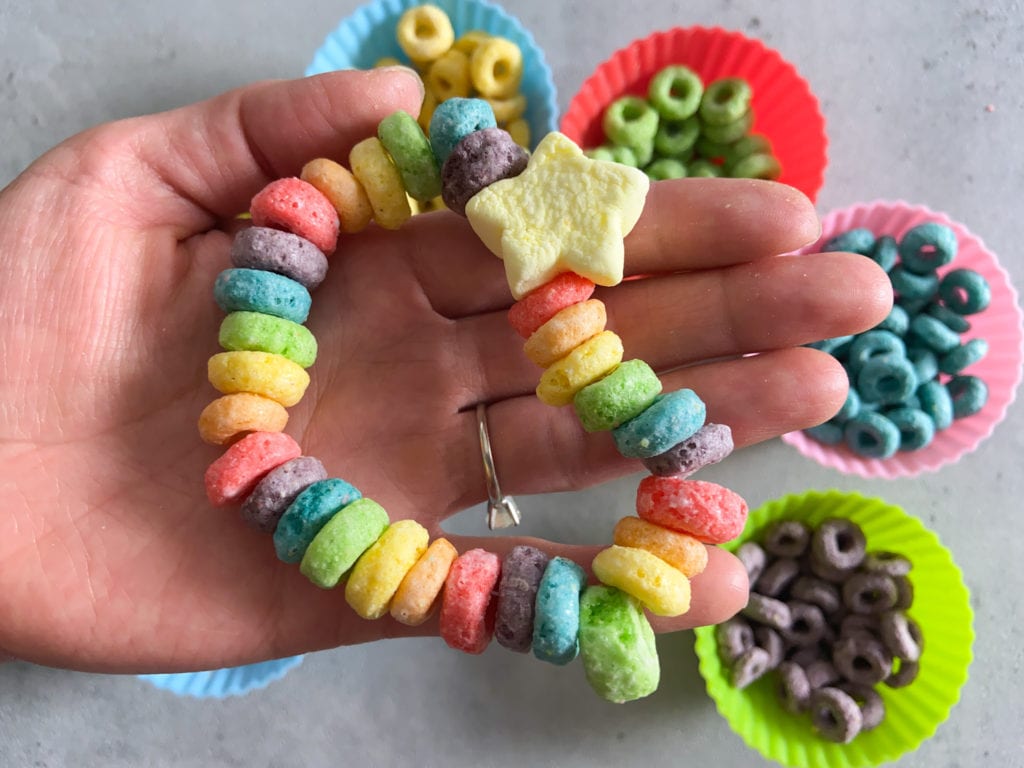
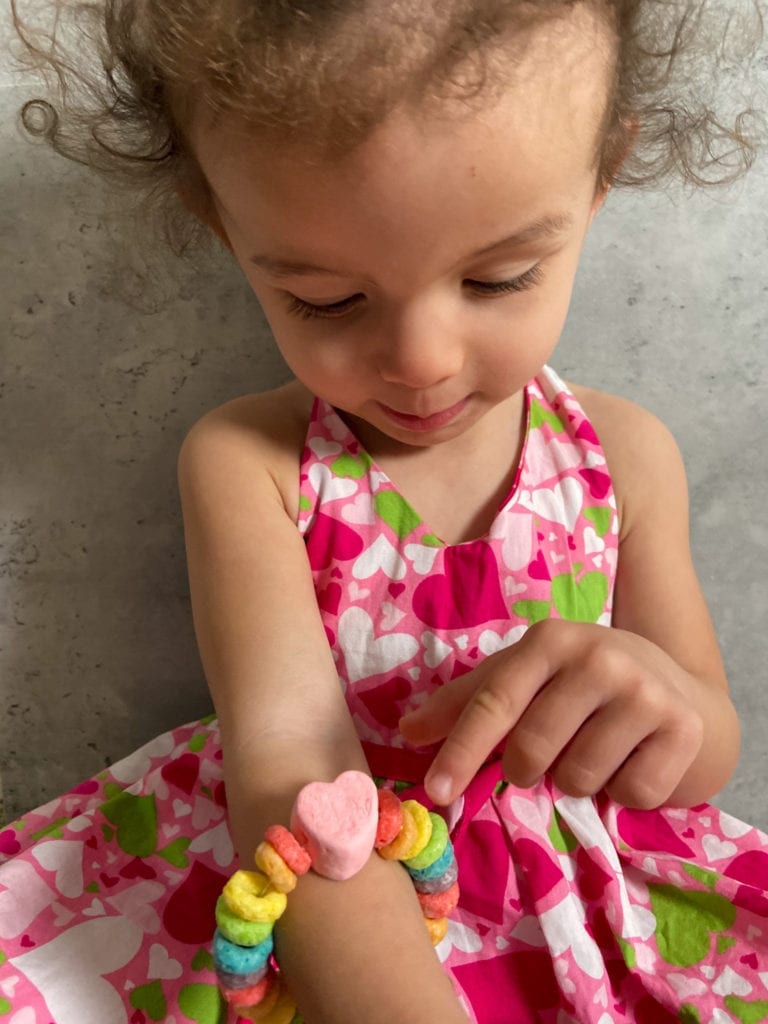
Step 6: Wear your cereal jewelry and eat it at your own pace! Enjoy!
Try these other St. Patrick’s Day crafts and recipes!
- Shamrock Stamping Craft for Kids
- Easy and Fun St. Patrick’s Day Pudding Cups
- Get Creative this St. Patrick’s Day with Free Coloring Bookmarks
- Macaroni Rainbow Cloud Kids Craft
As always, sharing is caring! Please click on the buttons below to share this post with your friends!


Pingback: Edible Crafts for Kids: 22 Tips and Ideas