As an Amazon Associate, I earn from qualifying purchases. This post may contain affiliate links. Read my disclosure policy.
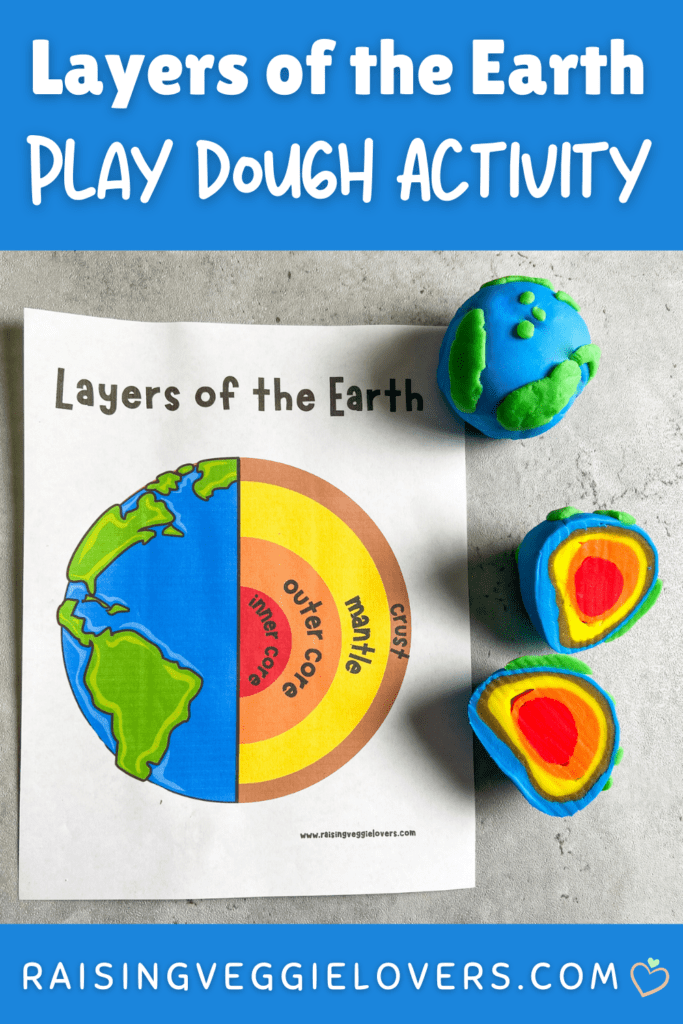
Discover the layers of the Earth with this fun, hands-on playdough activity! Download a free printable to use as a guide.
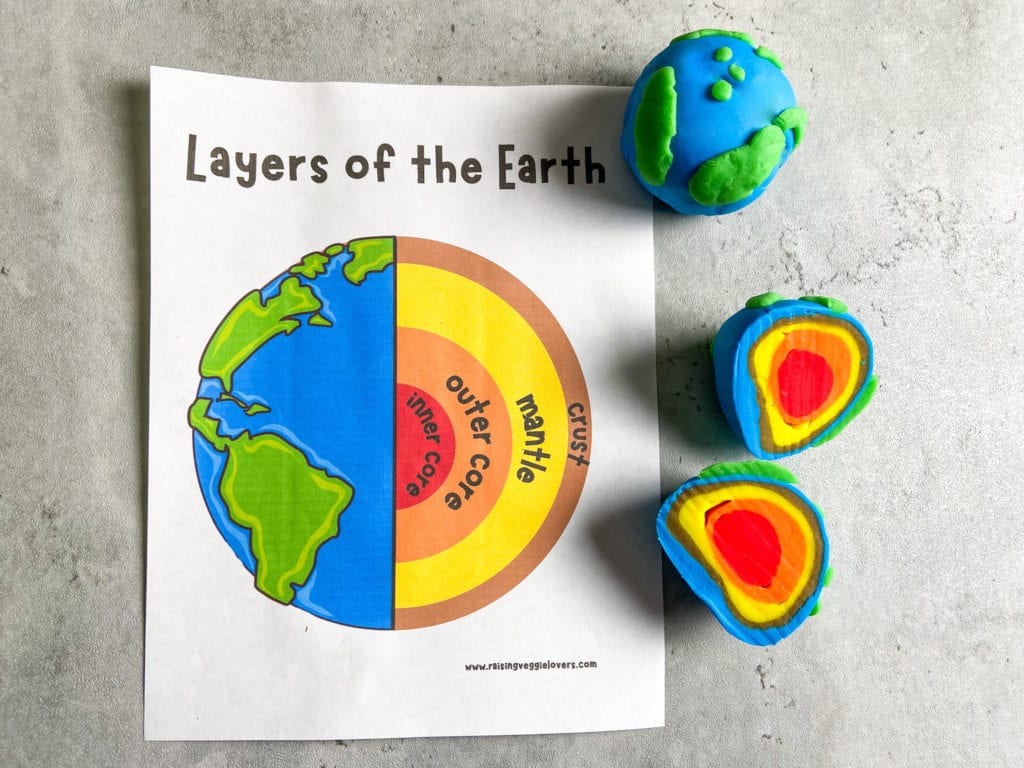
My 4-year-old son is adamant about being a paleontologist when he grows up. So, I thought it would be fitting to introduce him to geology, since they go hand-in-hand.
We did this playdough activity at our preschool homeschool pod, and it was such a hit! The kids, of course, loved forming the Earth (because playdough is so much fun)! But the magic happened when they cut the Earth open and saw all of its layers. They were amazed, and eager to learn more!
Geology Books for Kids
These are awesome books that will introduce geology concepts to kids in a fun way:
Embark on an unforgettable journey with Ms. Frizzle and her class in “The Magic School Bus Inside the Earth”! Join them as they shrink down and explore the layers beneath our feet, from the Earth’s crust to the molten core. With Ms. Frizzle’s trademark flair for adventure and learning, readers will discover the wonders of geology and the inner workings of our planet.
Take a fascinating journey underground with “The Street Beneath My Feet”! From bustling subways to intricate networks of roots, this captivating book reveals the diverse ecosystems and human-made structures that exist below the surface. Join the adventure and discover the wonders lurking beneath the pavement in this eye-opening exploration of the hidden world beneath our cities!
If your kids love dinosaurs, they’ll love these activities!
How do you make homemade playdough?
Ingredients:
- 1 cup of all purpose flour
- 1 cup of water
- 2 teaspoons of cream of tartar
- 1/3 cup of salt
- 1 tablespoon of vegetable oil
- food coloring
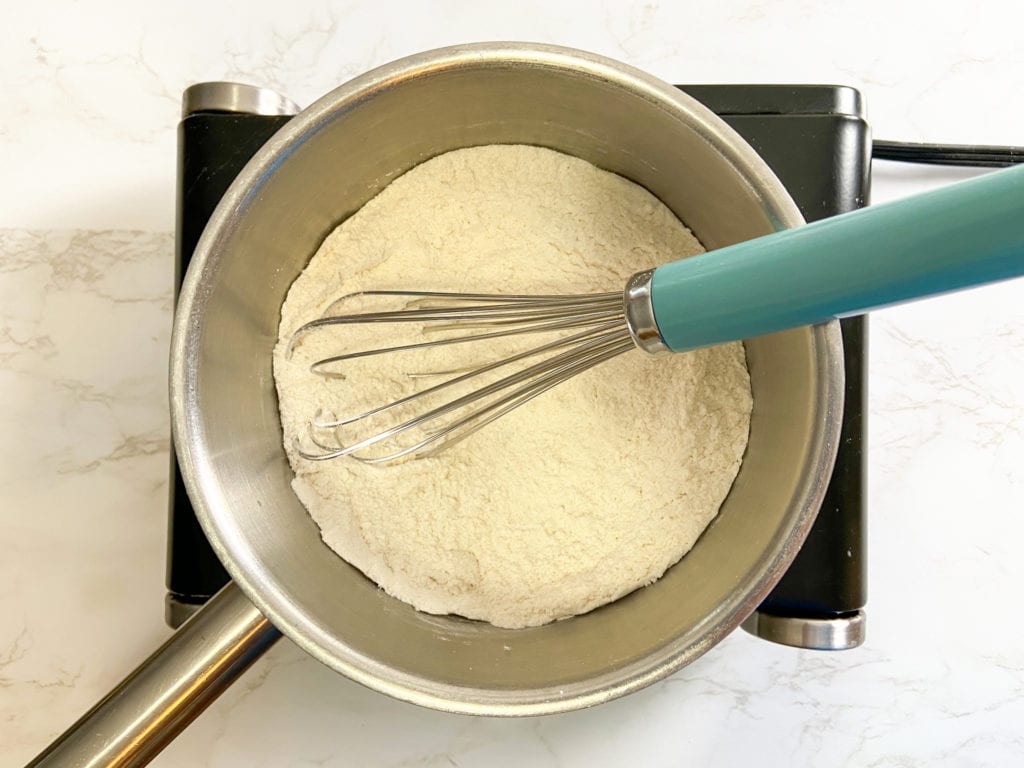
Step 1: Add all of the dry ingredients to a cool pot, and whisk together. Then, add the water, oil and food coloring and whisk together until it is smooth.
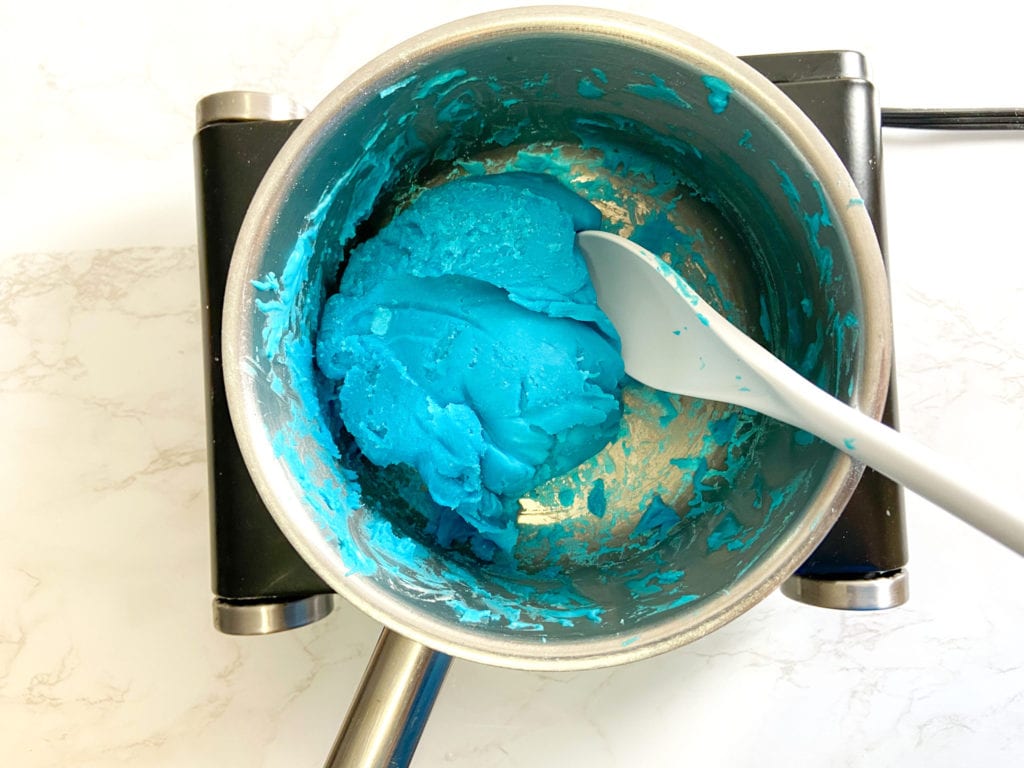
Step 2: Place the pot over medium heat and stir continuously until it forms a dough ball. It may take about 3-5 minutes.
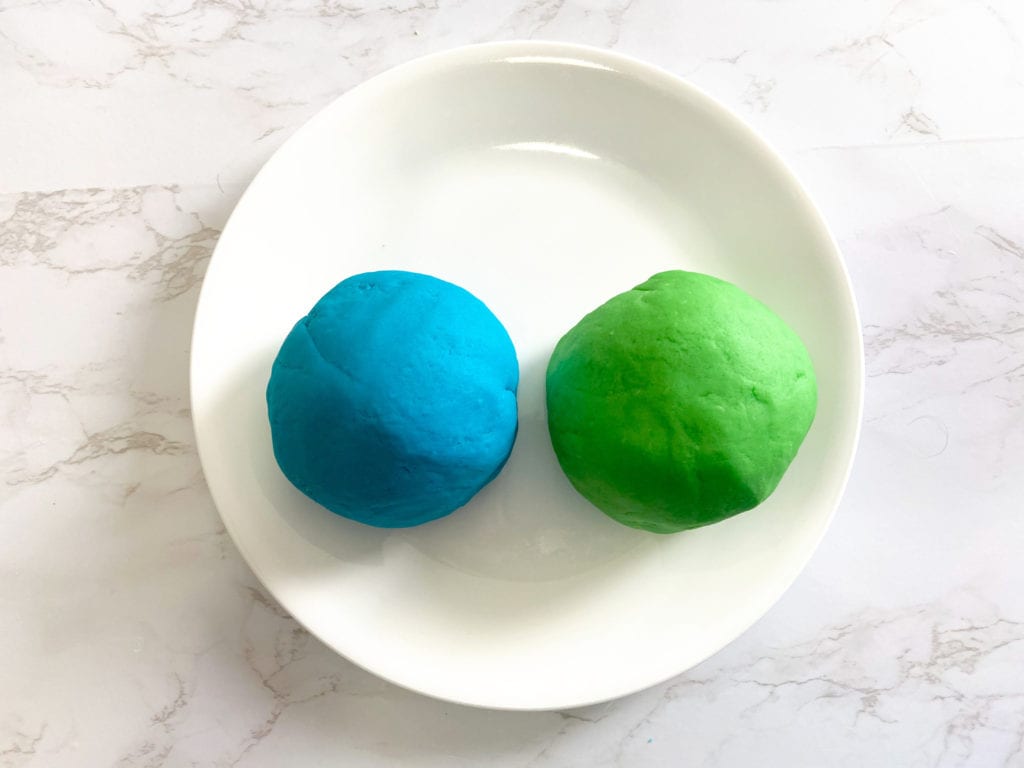
Step 3: Remove the playdough from the pot and let it cool on parchment paper, a plate, or a sheet pan. As it’s cooling, it may develop a white film on the surface (it’s just the salt, don’t worry). If this happens, simply knead the playdough for a minute or two.
Other play dough activities:
Let’s do the Layers of the Earth Playdough Activity!
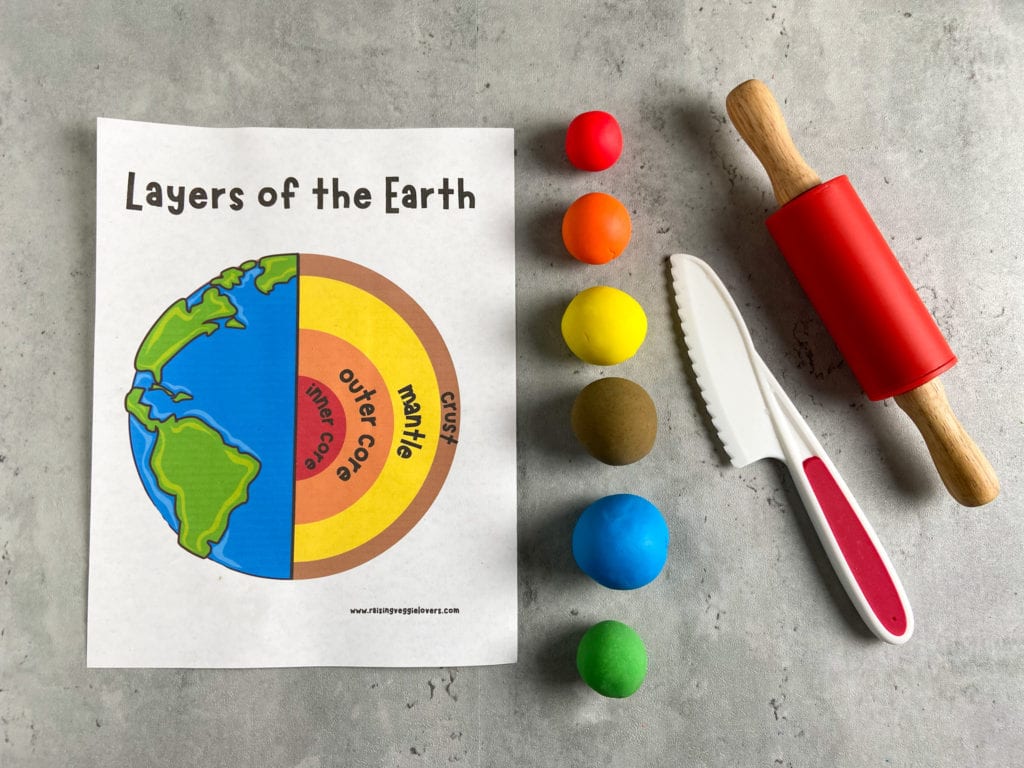
Supplies:
- Playdough (red, orange, yellow, brown, blue and green), either store-bought or homemade
- a rolling pin
- a knife (I LOVE these kids’ knives)
- free printable
Step 1: Roll each color of playdough into a ball. You will need progressively larger balls of playdough in this order: red, orange, yellow, brown, blue. You will just need a small amount of green.
Step 2: Using a rolling pin, flatten the orange playdough. Then, place the red ball on top and form the orange playdough around it. Gently roll the playdough to form a smooth ball.
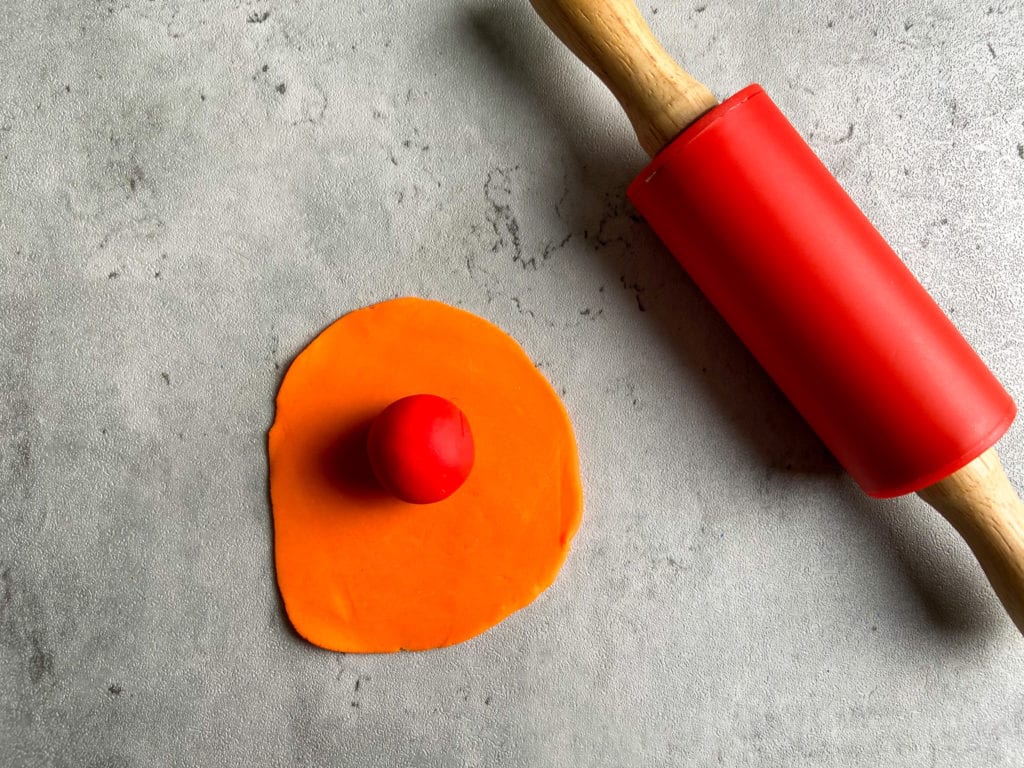
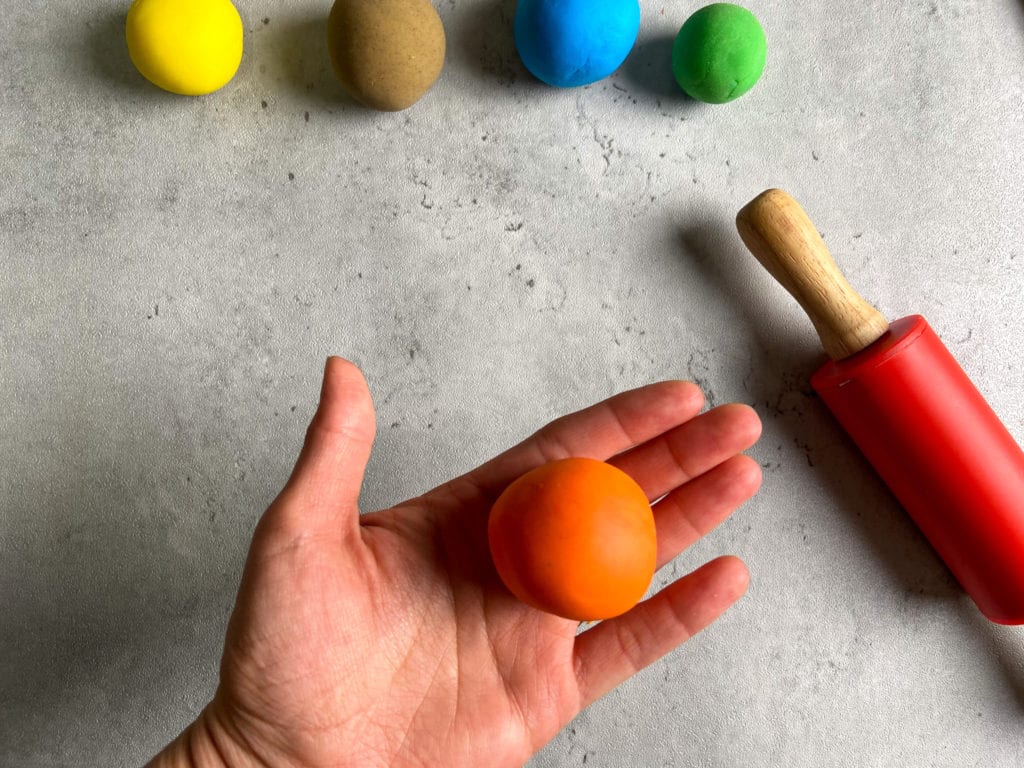
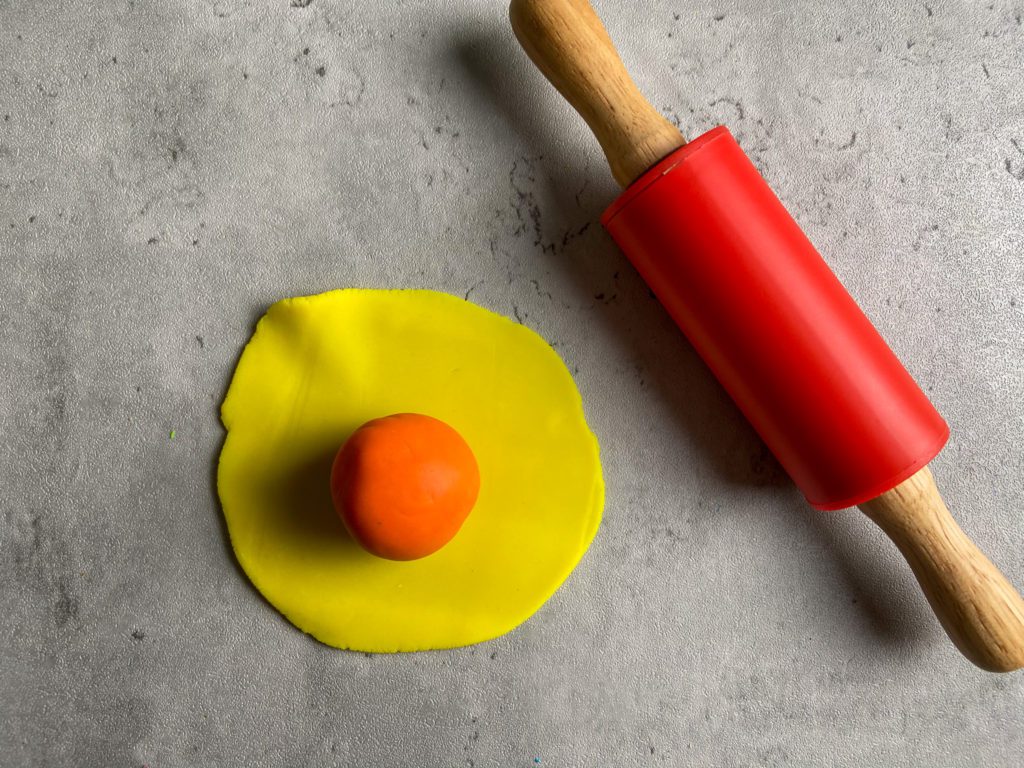
Step 3: Repeat step 2 with all the colors, in the order listed above, until you have made a ball with the blue playdough. Then, use the green playdough to create the Earth’s land, as pictured below.
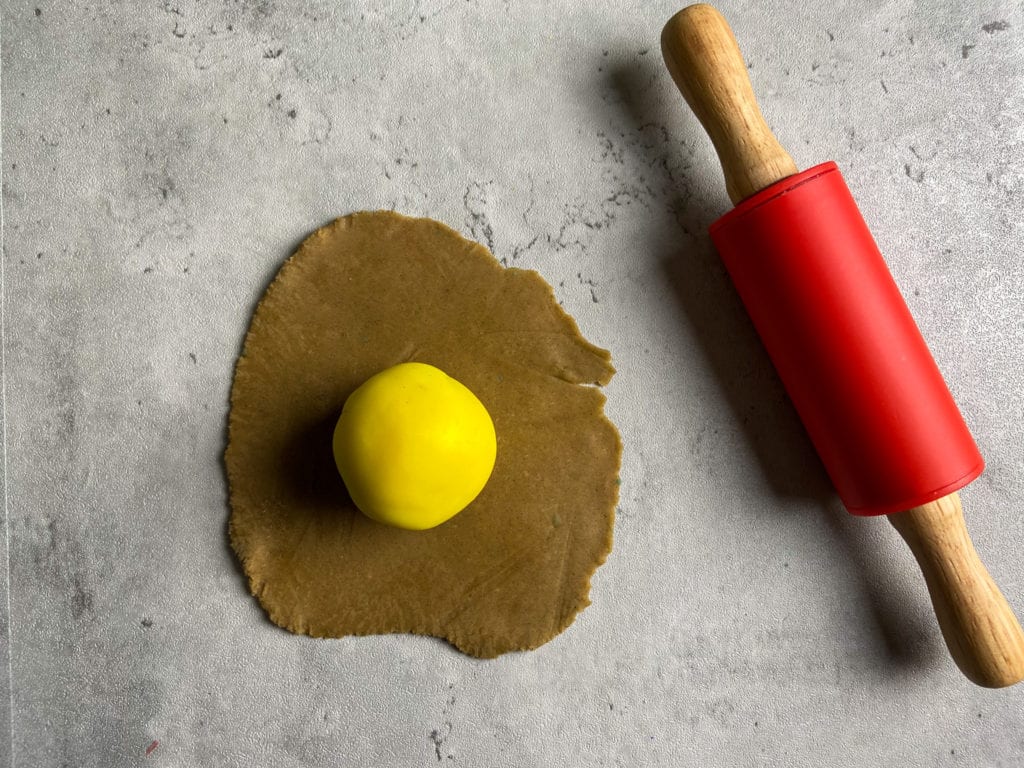
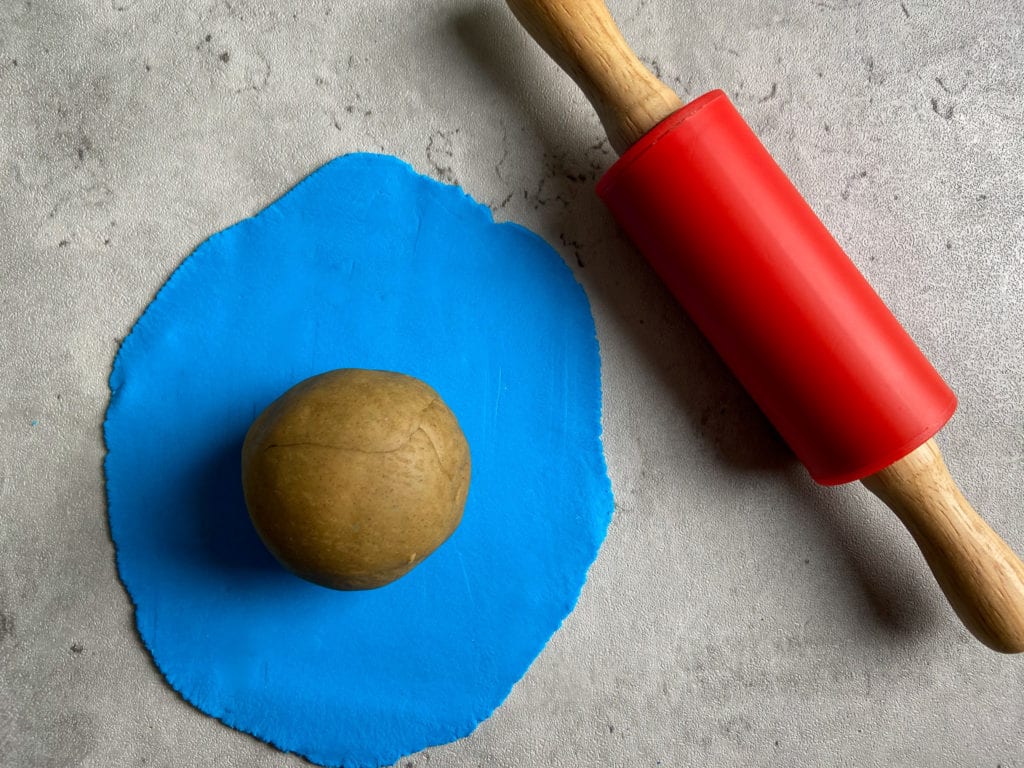
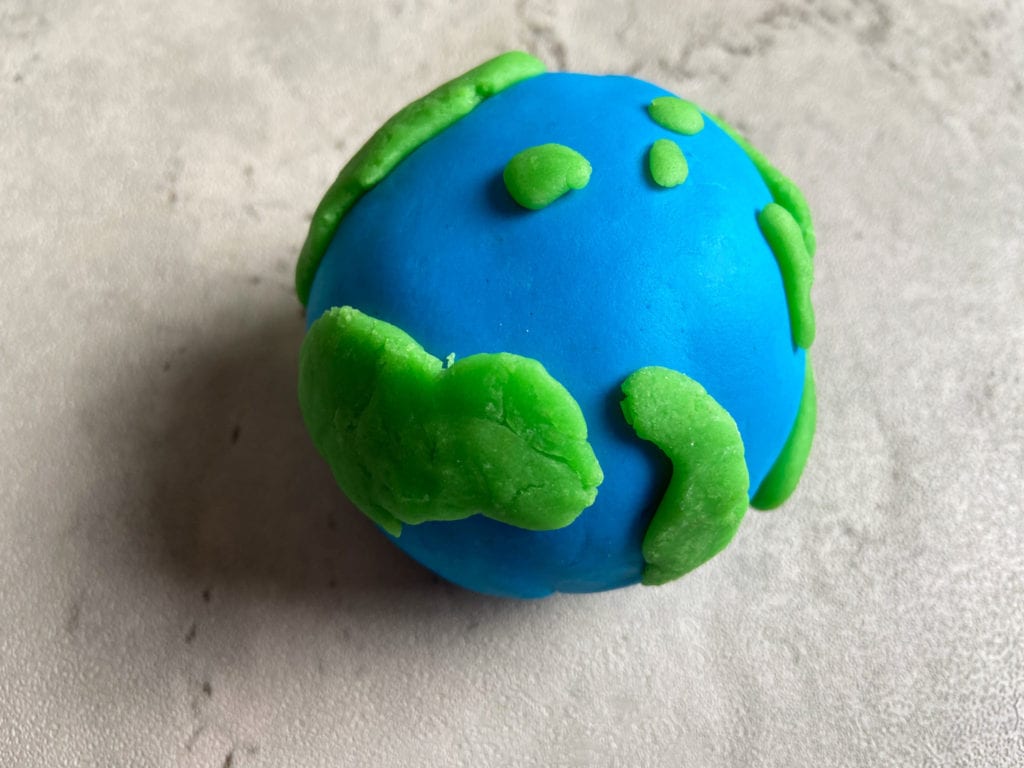
Step 4: And now, for the exciting part! Cut the earth open and see all of it’s layers! Tip: Try not to squish the Earth while cutting it open. Instead, gently saw back and forth to preserve its shape.
Note: You don’t need to buy or make all of the colors of playdough. If you have the primary colors (red, yellow and blue) you can mix them together to form the other colors. Brown is created by mixing all the colors together.
Download the Free Printable!
As always, sharing is caring! Please click on the buttons below to share this post with your friends!


Pingback: 21 Relaxed Homeschool Science Ideas for K-3 - The Friendly Fig
Great idea!