


Easy Ice Cream Cone Cornucopias: A Fun Thanksgiving Treat for Kids
As an Amazon Associate, I earn from qualifying purchases. This post may contain affiliate links. Read my disclosure policy.
Originally published November 8, 2021. Updated November 11, 2026 with clearer instructions, helpful tips, and Thanksgiving activity ideas.
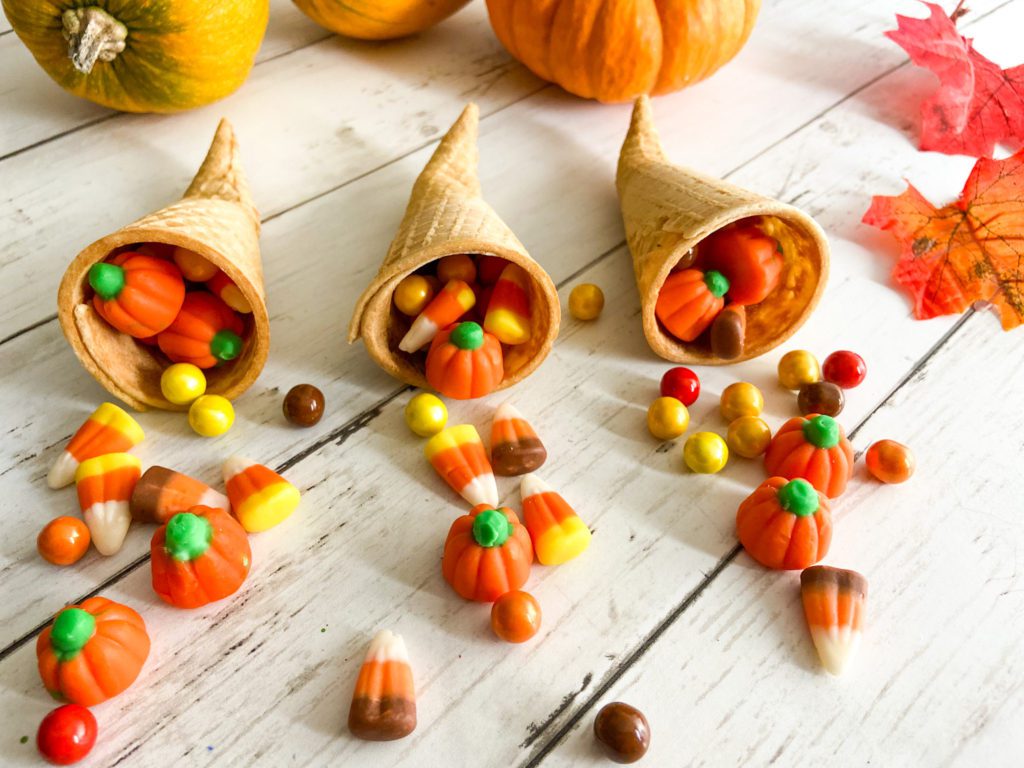
Looking for an easy Thanksgiving treat that kids can help make? These ice cream cone cornucopias turn ordinary sugar cones and colorful fall candy into adorable little horns of plenty. They’re a fun addition to a Thanksgiving dessert table, classroom celebration, or family craft afternoon.
I love activities that are simple to put together but still feel special. For these edible Thanksgiving cornucopias, you only need a few supplies, and kids can choose their own candy combinations. You can even wrap the finished cones to give as party favors.
Why Kids Will Love These Ice Cream Cone Cornucopias
- They’re easy to customize with different fall-colored candies.
- Kids can help fill and arrange the treats after an adult shapes the cones.
- They double as a festive Thanksgiving table decoration or party favor.
- Making them is a fun chance to talk about harvests, gratitude, and sharing.
What Is a Cornucopia?
A cornucopia, also called a horn of plenty, is a horn-shaped basket traditionally shown overflowing with fruits, vegetables, and other harvest foods. It symbolizes abundance and is often used as a Thanksgiving decoration.
These mini versions use an ice cream cone for the horn and candy for the harvest. While the cones soften, ask your kids what foods they would add to a real cornucopia.
A Little Thanksgiving Learning for Kids
You can turn treat-making into a short history or homeschool conversation with these kid-friendly facts:
- In 1621, English colonists at Plymouth held a harvest celebration attended by Wampanoag people. The gathering lasted three days.
- Native peoples had traditions of giving thanks for harvests long before the English colonists arrived.
- Historical accounts mention deer and wild birds at the 1621 celebration, but we do not know every food that was served.
- In 1863, President Abraham Lincoln proclaimed a national day of Thanksgiving to be observed in November.
For more history to explore with kids, visit the Smithsonian National Museum of the American Indian’s Thanksgiving timeline and the National Archives’ Lincoln Thanksgiving proclamation.
How to Make Ice Cream Cone Cornucopias
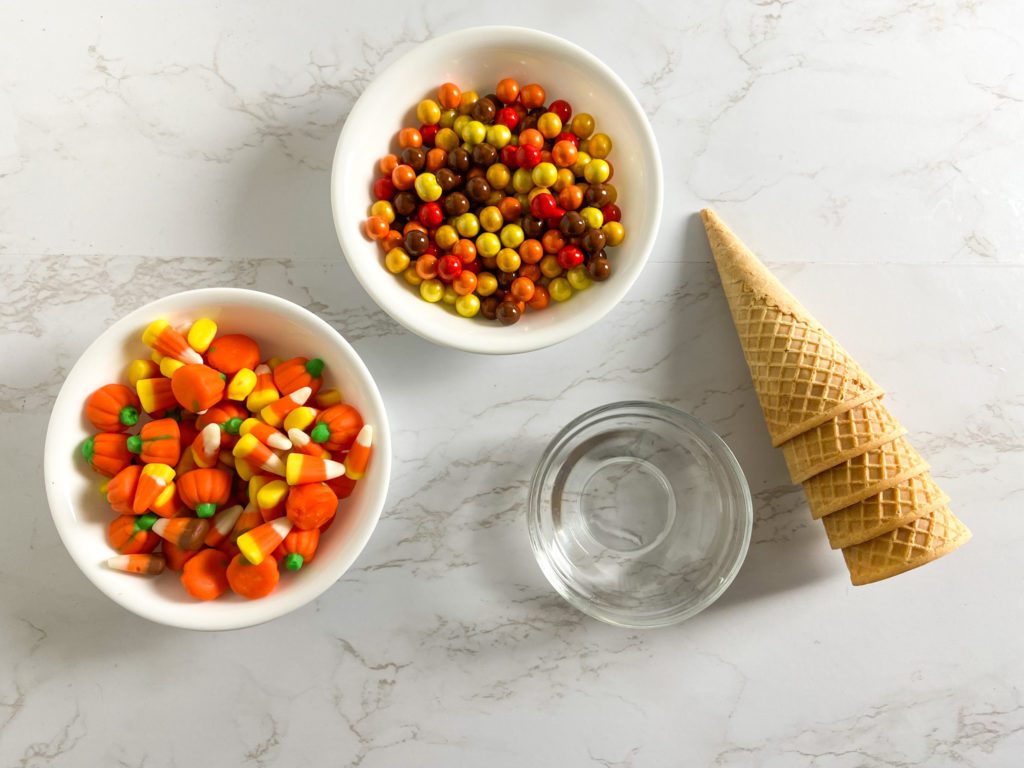
This Thanksgiving treat comes together in four easy steps. An adult should handle the microwave and shape the warm cones; kids can take over once the cones have cooled.
Supplies
- sugar ice cream cones
- water
- Thanksgiving candy (I used candy corn, pumpkins and Sixlets)
- plastic wrap
- string
Optional: Small bowls for sorting candy and a plate or tray to hold each finished cornucopia.
Step 1: Soften the Sugar Cone
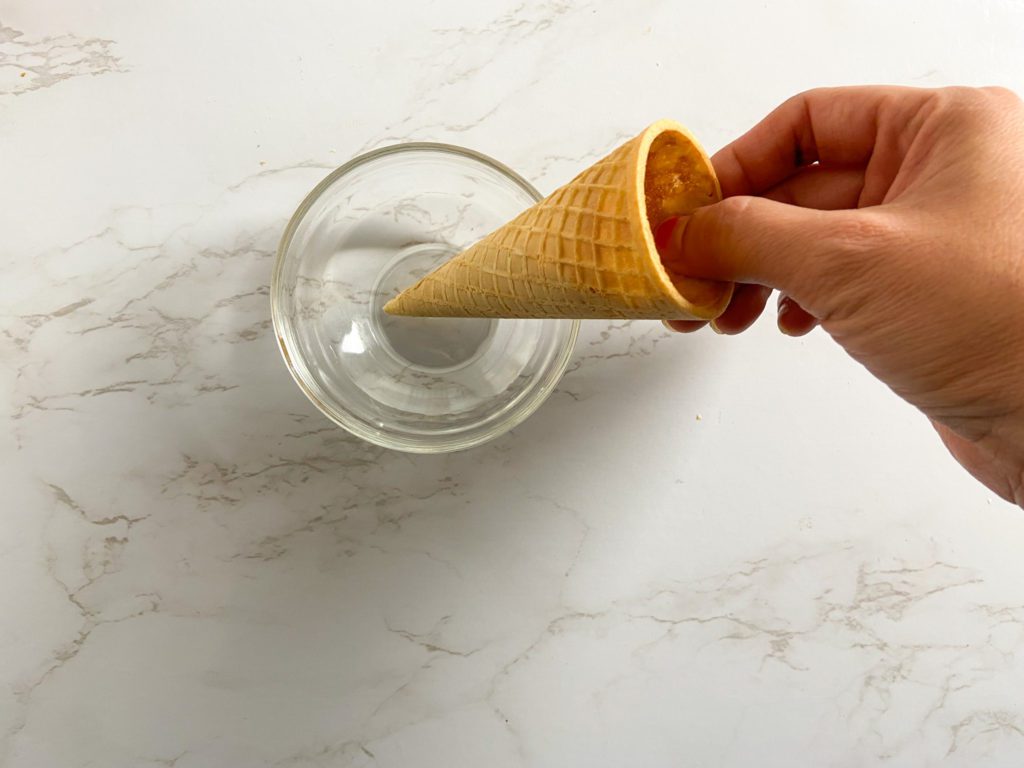
Dip the pointed end of a sugar ice cream cone in water for a few seconds. You want it slightly damp, not soaked. Place the cone on a microwave-safe plate and microwave on high for about 20 seconds. Microwave times may vary, so check carefully.
Step 2: Bend the Cone Into a Horn
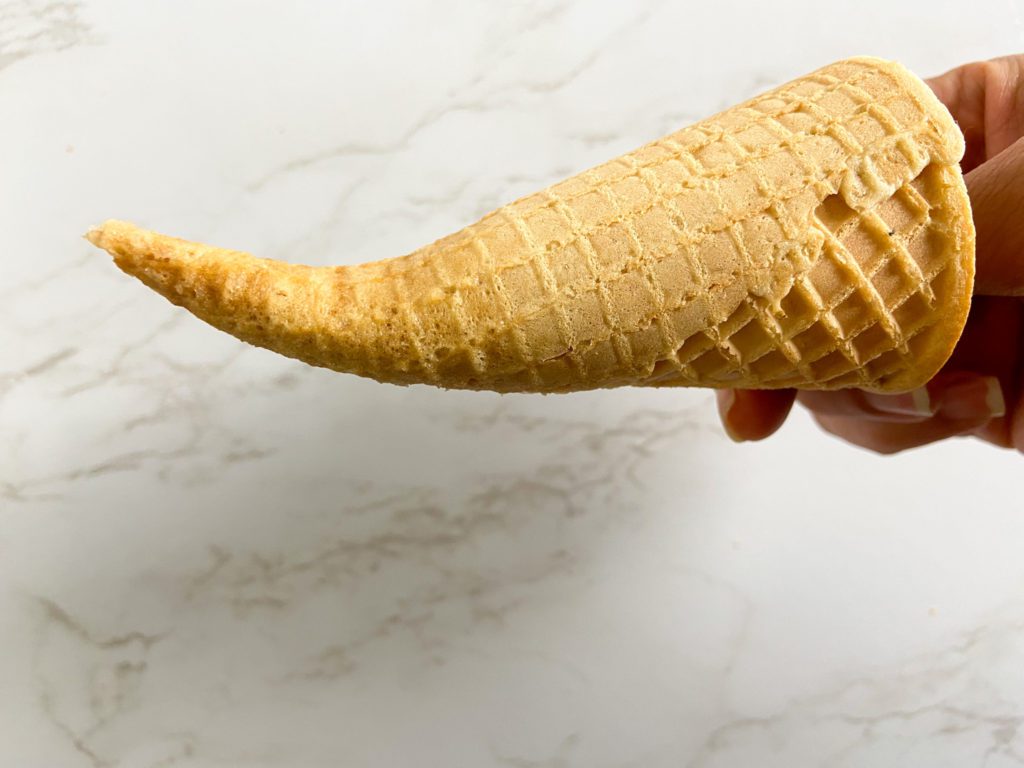
While the tip is still warm and pliable, an adult can gently curve it to create the classic cornucopia shape. Be careful—the cone may be hot. If it resists bending, warm it again in short 5–10 second intervals rather than forcing it. Let the shaped cone cool and firm up before filling.
Step 3: Fill With Thanksgiving Candy
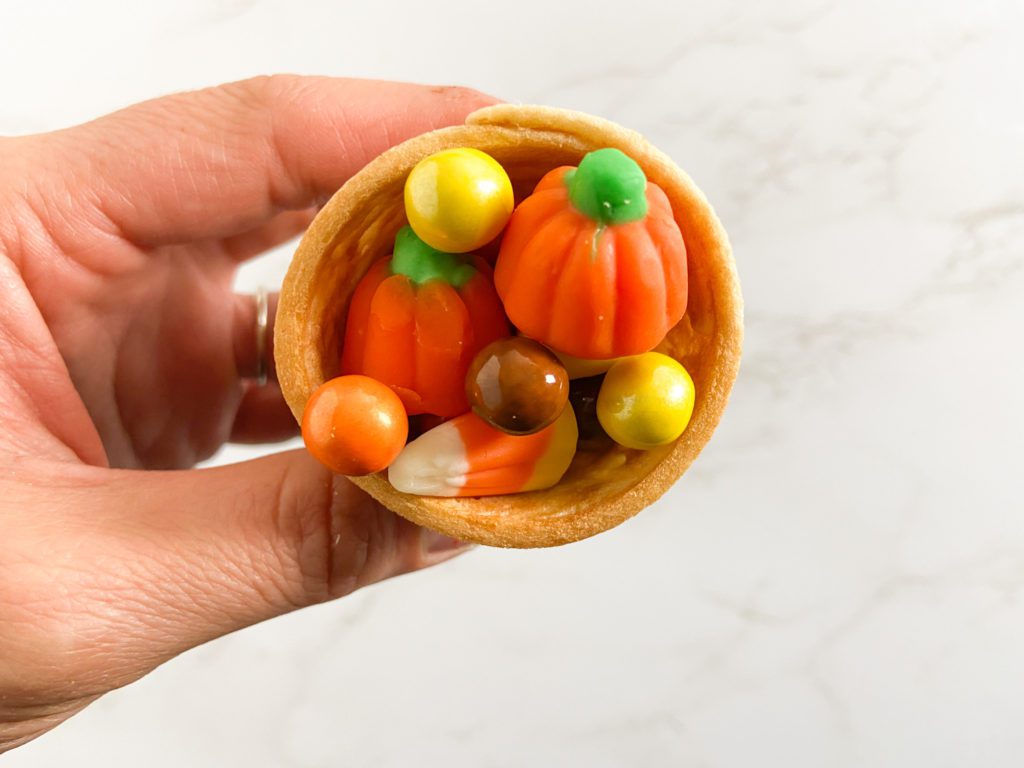
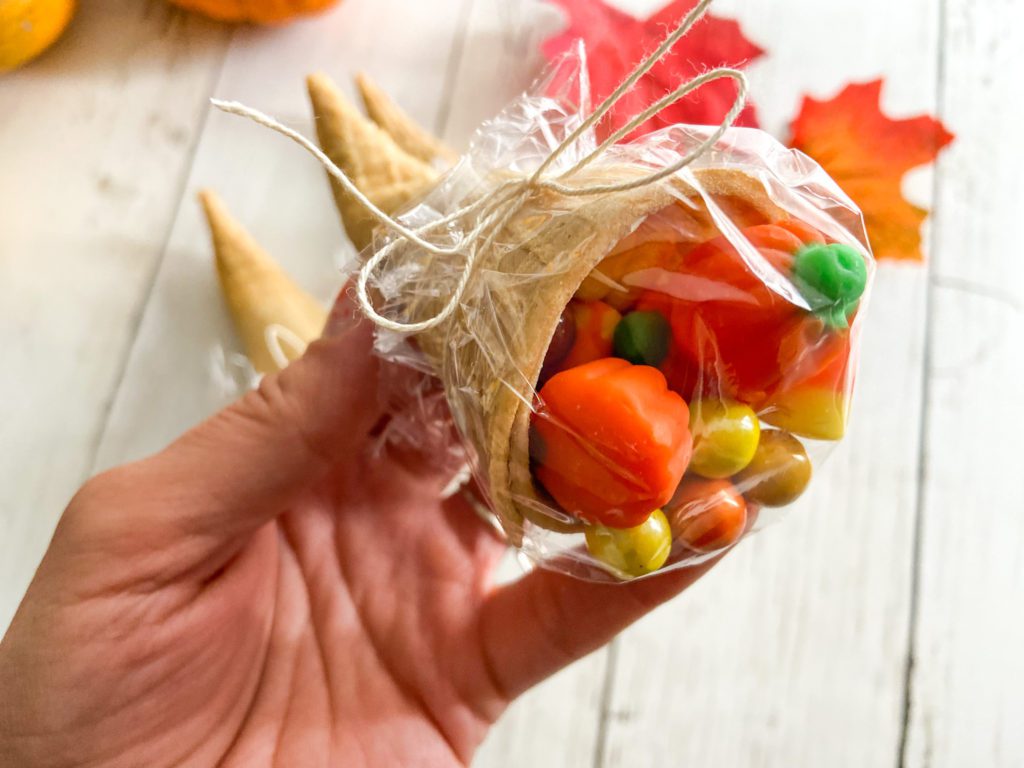
Once the cone is cool, let your child fill the open end with a mixture of candy corn, candy pumpkins, Sixlets, or other favorite fall treats. Place it on its side so the candy appears to spill out like a miniature harvest.
Step 4: Wrap for Party Favors (Optional)
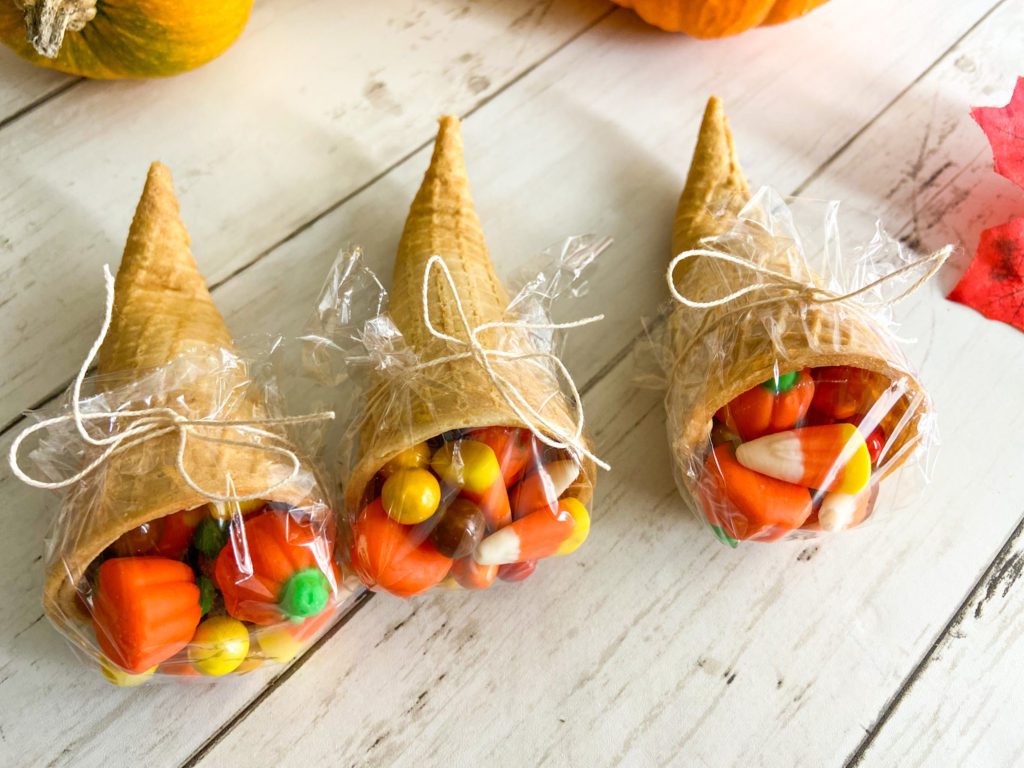
If you’re making these for a party or to send home with guests, carefully wrap the fully cooled cornucopia in food-safe plastic wrap and tie it with string or ribbon. For a Thanksgiving dessert table, you can leave them unwrapped and arrange them on a platter.
Tips for Making the Best Candy Cornucopias
- Don’t soak the cone. Too much water can make it soggy or cause it to break.
- Work with one cone at a time. It’s easier to bend a cone while its pointed end is still warm.
- Let it cool before decorating. A cooled cone will hold its shape better and will be safer for kids to handle.
- Set out candy in little bowls. Kids can sort by color, practice counting, or make their own patterns.
- Keep allergies and school rules in mind. Check ingredient labels and confirm whether homemade treats are allowed before bringing them to a classroom.
Safety note: Adults should supervise the heating and bending steps. Small, hard or chewy candies can be choking hazards for younger children, so choose fillings appropriate for each child’s age.
Frequently Asked Questions
Can I make ice cream cone cornucopias ahead of time?
Yes. You can shape the cones ahead of time, let them cool completely, and store them in a dry, airtight container. For the best texture, add the candy closer to when you plan to serve them.
What candy works best for filling the cornucopias?
Candy corn, candy pumpkins, and Sixlets work well for a colorful fall look. You can also use other small, age-appropriate sweets that fit inside the cone. Check ingredient labels if you are making these for a group.
Do I need to wrap them?
No. The plastic wrap and string are optional. If you’re serving them at home, simply arrange them on a plate or Thanksgiving dessert tray.
These little Thanksgiving ice cream cone cornucopias are an easy way to combine a sweet treat with a hands-on activity. Kids get to make something festive, and the finished cones look adorable on the table.
More Fun Thanksgiving Ideas for Kids
If your kids enjoy making these edible cornucopias, try some of our other Thanksgiving snacks, crafts, and learning activities:
- Turkey Food Art – Healthy Kids Food
- Learning Fractions with Pumpkin Pie Playdough
- Turkey Toilet Paper Roll Craft
- Candy Hand Turkey – Fun Thanksgiving Kids Craft
- Turkey Twinkies – Cute Thanksgiving Treat for Kids
- Peanut Butter Ball Turkeys
Printable Recipe Instructions
Want to make these again? You can find the recipe card below for easy reference.

Ice Cream Cone Cornucorpia
Equipment
- plastic wrap
- string
Materials
- sugar ice cream cones
- water
- Thanksgiving Candy I used candy corn, pumpkins and Sixlets
Instructions
- Dip the bottom of a sugar cone in water for a few seconds. (You want some of the water to be absorbed, but you don’t want the cone to become soggy.) Then, microwave the cone on high for 20 seconds.
- While it’s hot, carefully bend the tip of the cone to make it curved. If it’s not bending easily, quickly dip it in water again, and microwave it for 5-10 more seconds, and try it again.
- Fill the ice cream cone with Thanksgiving candy.
- Wrap the cone in plastic wrap and secure it with a piece of string to keep the candy from falling out (optional).