Glowing Paper Plate Cat and Jack-O-Lantern Craft
As an Amazon Associate, I earn from qualifying purchases. This post may contain affiliate links. Read my disclosure policy.
This glowing paper plate cat and jack-o-lantern will light up the room! Make this fun Halloween craft with your preschooler (or older) and watch their faces light up too!

Jump to Paper Plate Cat Instructions
Jump to Paper Plate Jack-O-Lantern Instructions
This is the coolest Halloween paper plate craft…ever! I originally saw this idea on Pinterest from Easy Peasy and Fun, and I decided to make my own version. You can find the original paper plate pumpkin craft here.
The paper plate cat and pumpkin are so cool because they glow with the help of battery operated tea light candles. The cat has spooky, glowing eyes, and the jack-o-lantern looks like the real deal, with flickering lights inside.
What age is the paper plate cat and jack-o-lantern craft appropriate for?
This craft can be made by preschoolers (or older), with different levels of help from an adult.
It involves painting, cutting, and gluing. The eyes of the cat and face of the jack-o-lantern can be hard to cut out, so adults should definitely do that part.
How do you make the glowing paper plate cat?
Supplies:
- two white paper plates
- black paint
- yellow paint
- paint brush
- two black pipe cleaners
- scissors
- Exacto knife (optional)
- 1 battery operated tea light candle
- clothes pins
- marker
- glue
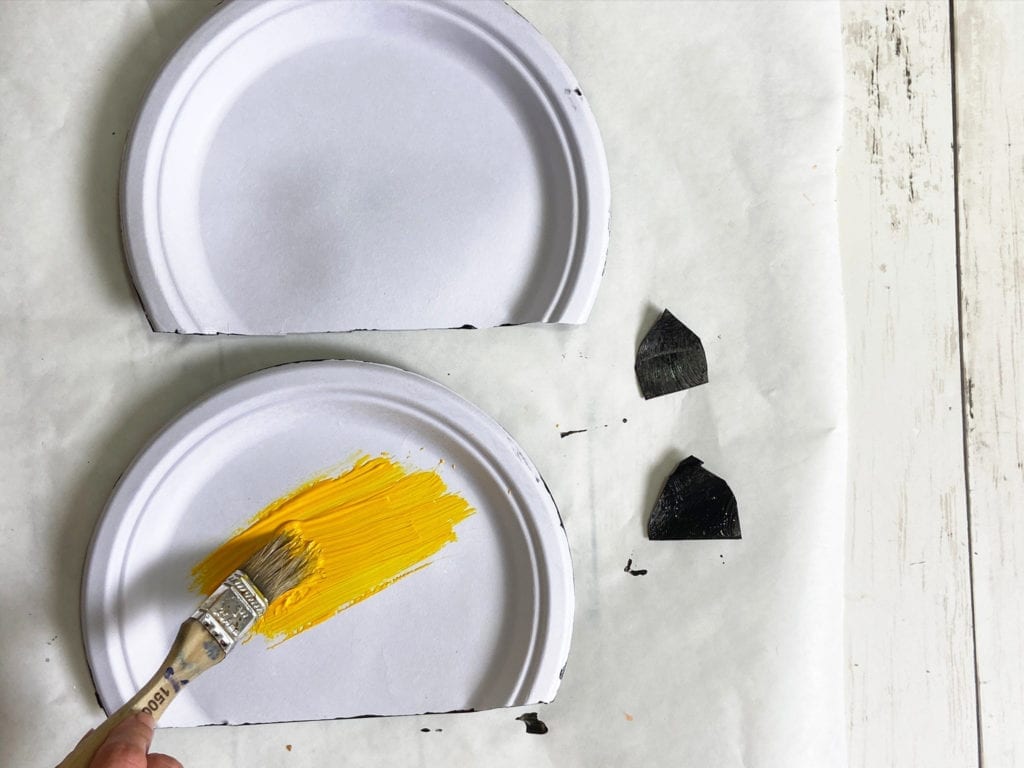
Step 1: Stack the paper plates together and cut of the bottom part of the plates. Make sure to cut the plates while they’re stacked so they plates will be the same size.
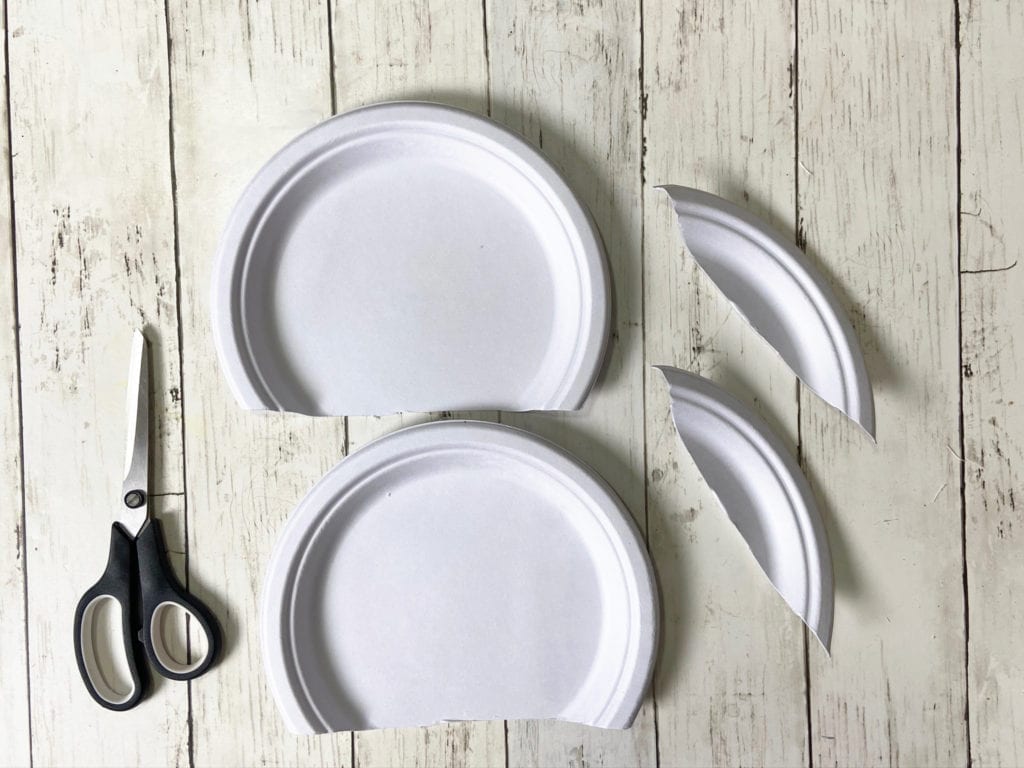
Step 2: Draw two ears on one of the pieces cut off from the plates. Cut the ears out.
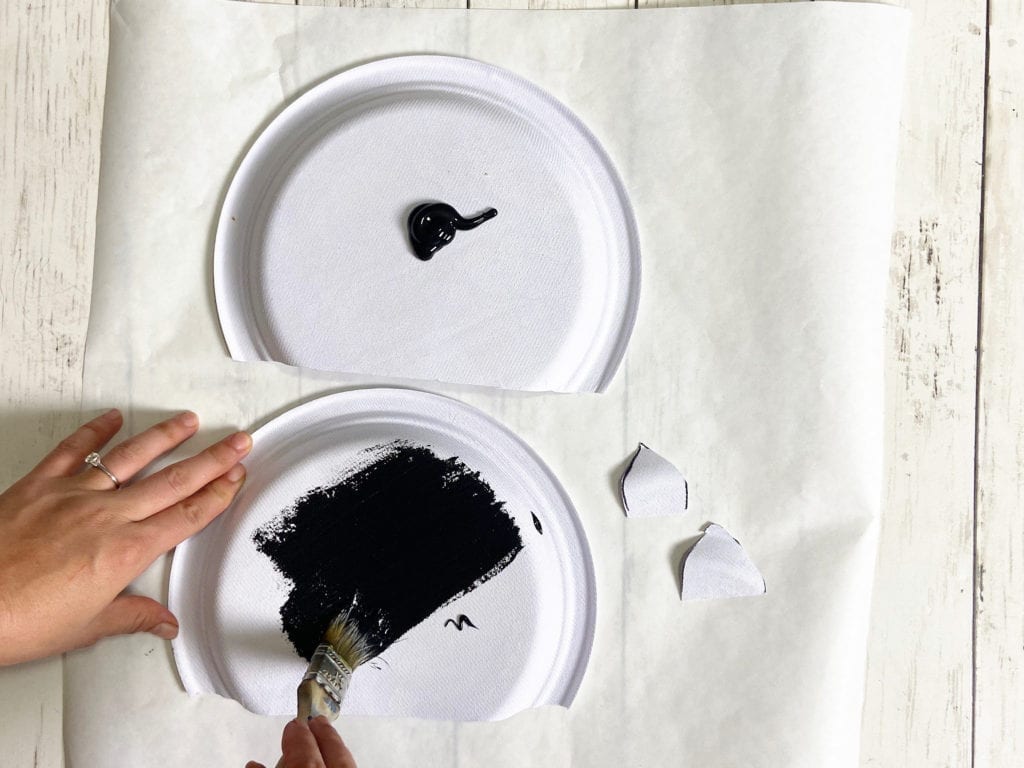
Step 3: Paint the back of each plate, and both sides of the ears black. Let it dry, then pain the inside of one of the plates yellow.
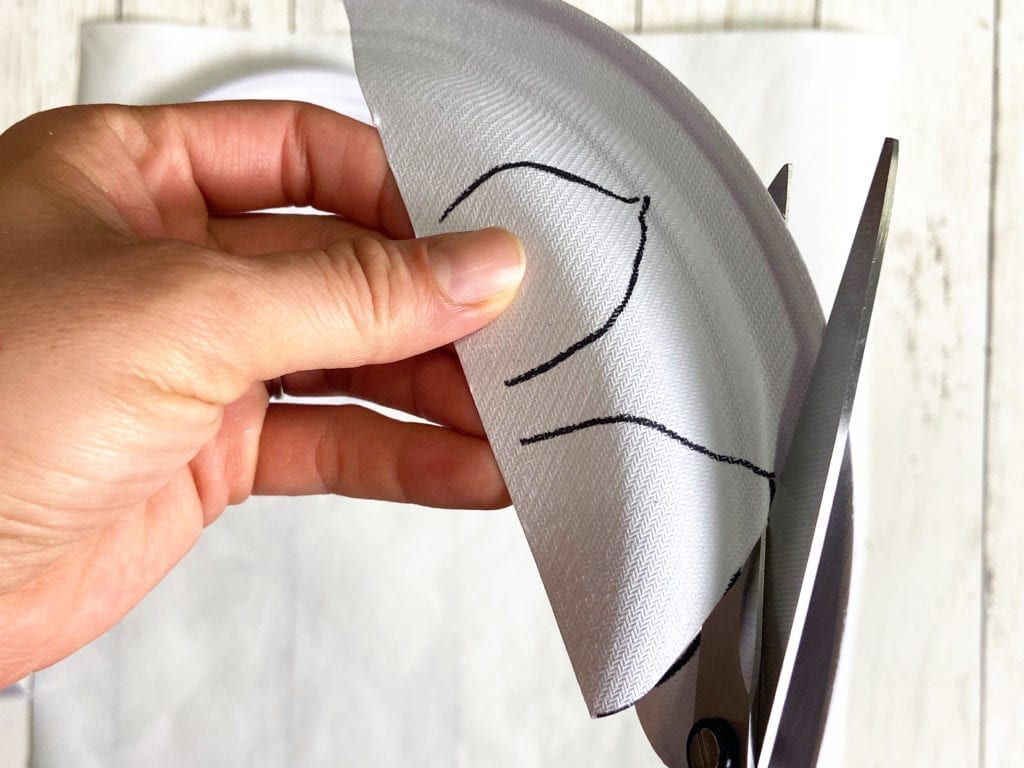
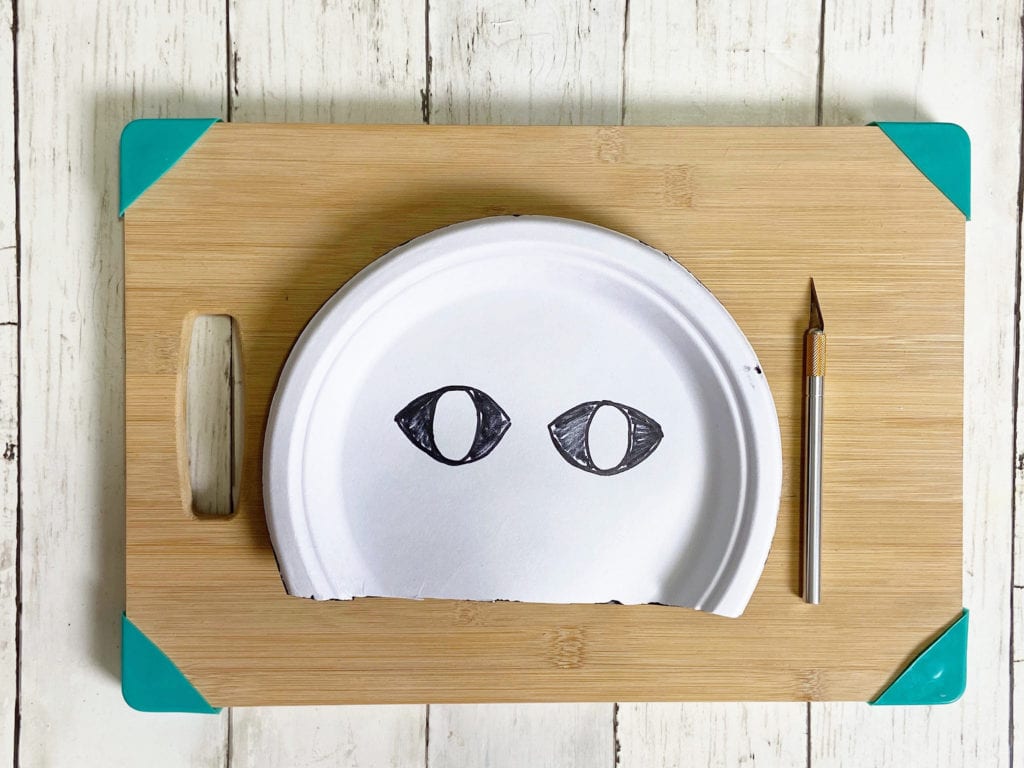
Step 4: While the yellow paint is drying, draw two large cat eyes on the inside of the paper plate with no paint (pictured below). Use an exacto knife to cut out the black part of the eyes. (If you don’t have an exacto knife, puncture a small hole in the black part of the eye, then use scissors to cut it out.) An adult should do the cutting.
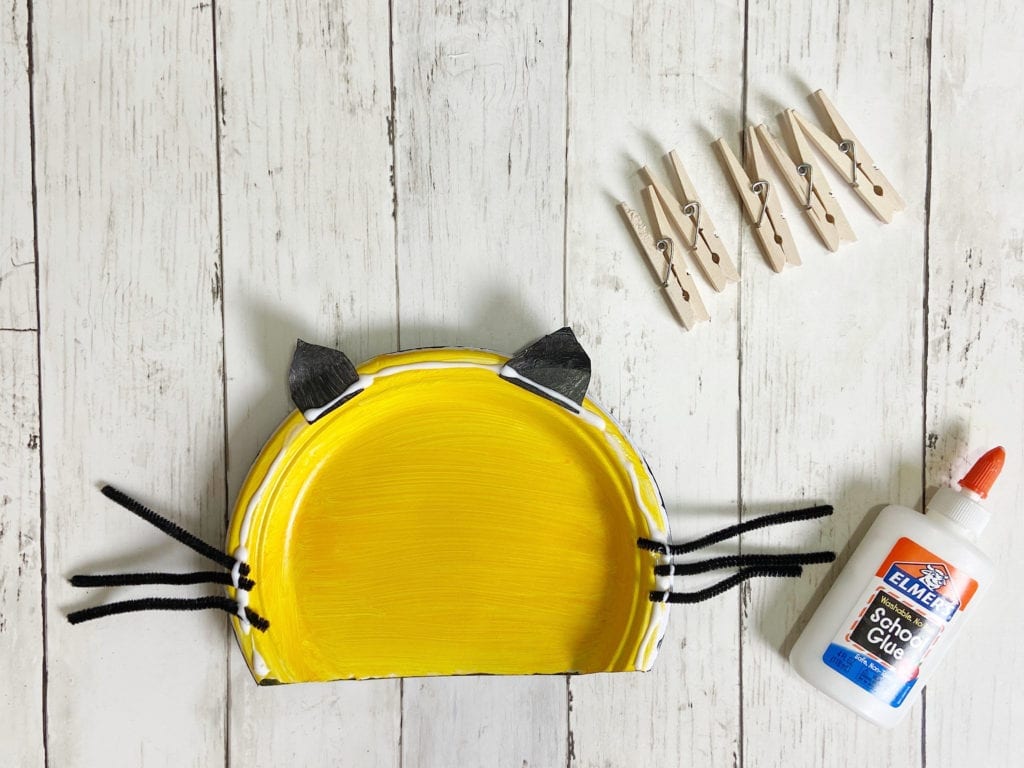
Step 5: Cut the pipe cleaners into thirds, so you have six pieces. Then, put glue around the edge of the plate that’s painted yellow. Place the ears at the top of the plate, and the pipe cleaners in the middle of the plate (three on each side) to form whiskers. Add some glue on top of the pipe cleaners and ears, then place the other plate on top. Use clothes pins to keep everything in place as the glue dries.
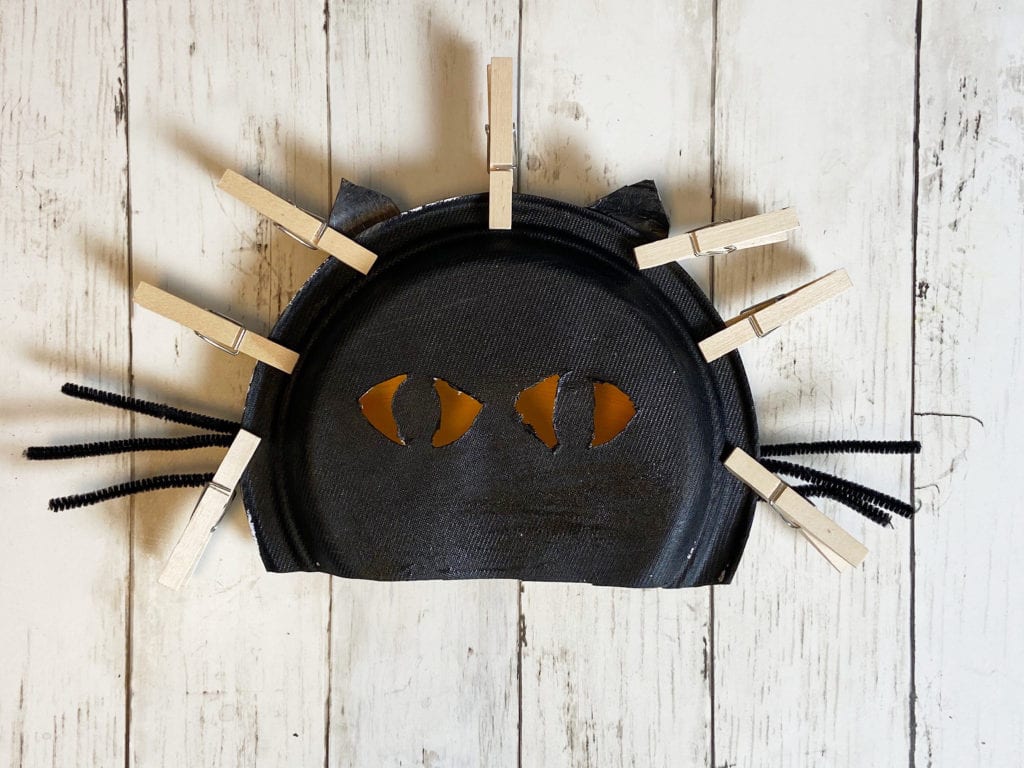
Step 6: Remove the clothes pins once the glue has dried. Turn on a battery operated tea light candle, and place the cat over it. Watch as your cats eyes glow!
Try these fun Halloween recipes and crafts!
- Halloween Brownie Brittle
- Spooky Pizzas for Halloween
- Carrot Mummies for Halloween
- Halloween Lanterns Craft
- Halloween Bat Craft
- 5 Fun and Easy Halloween Craft Ideas for Kids
How do you make the glowing paper plate jack-o-lantern?
Supplies:
- two white paper plates
- orange paint
- yellow paint
- green paint
- paint brush
- scissors
- Exacto knife (optional)
- 1 battery operated tea light candle
- clothes pins
- marker
- glue
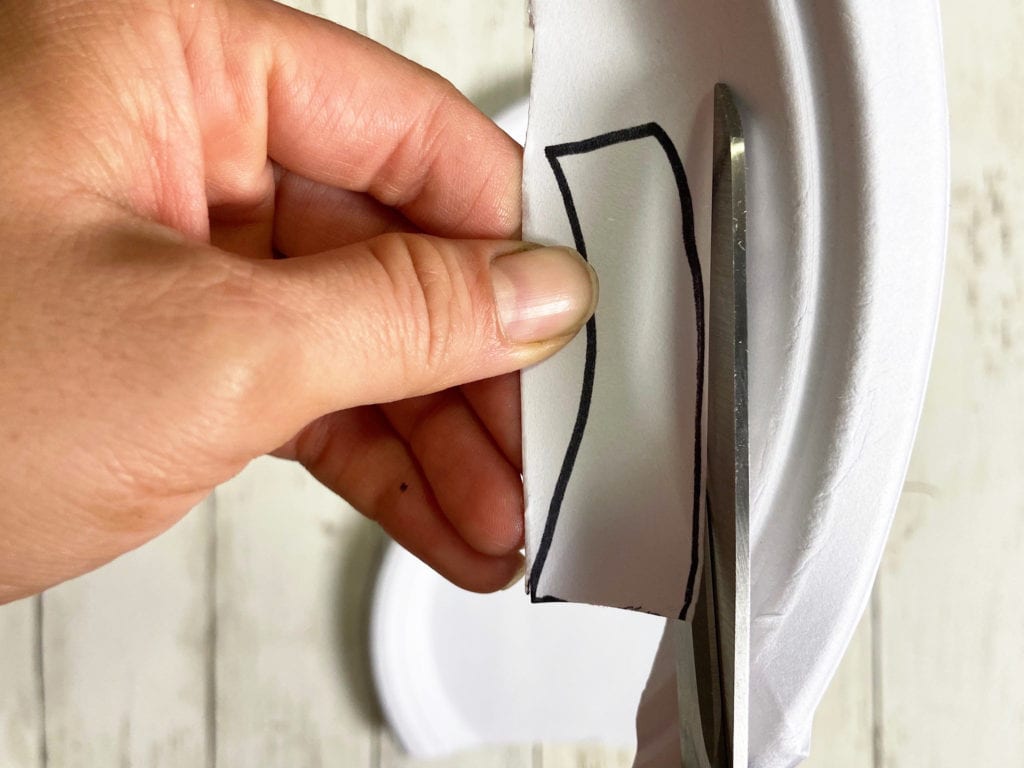
Step 1: Stack the paper plates together and cut of the bottom part of the plates. Make sure to cut the plates while they’re stacked so they plates will be the same size.
Step 2: Draw a stem on one of the pieces cut off from the plates and cut it out.
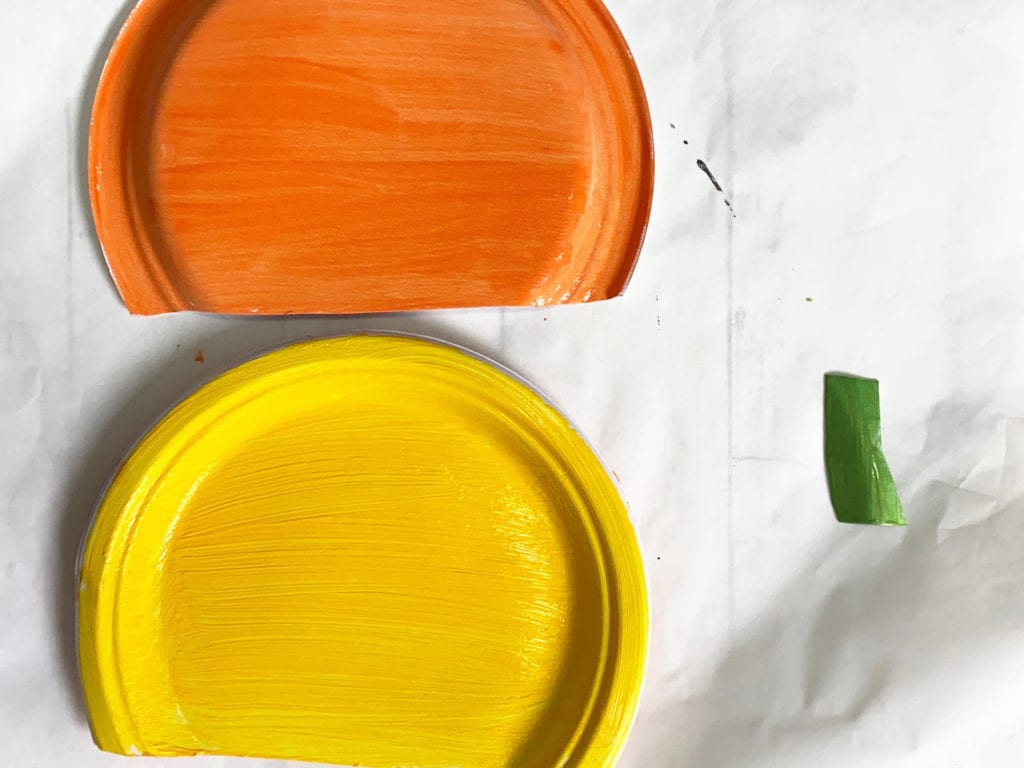
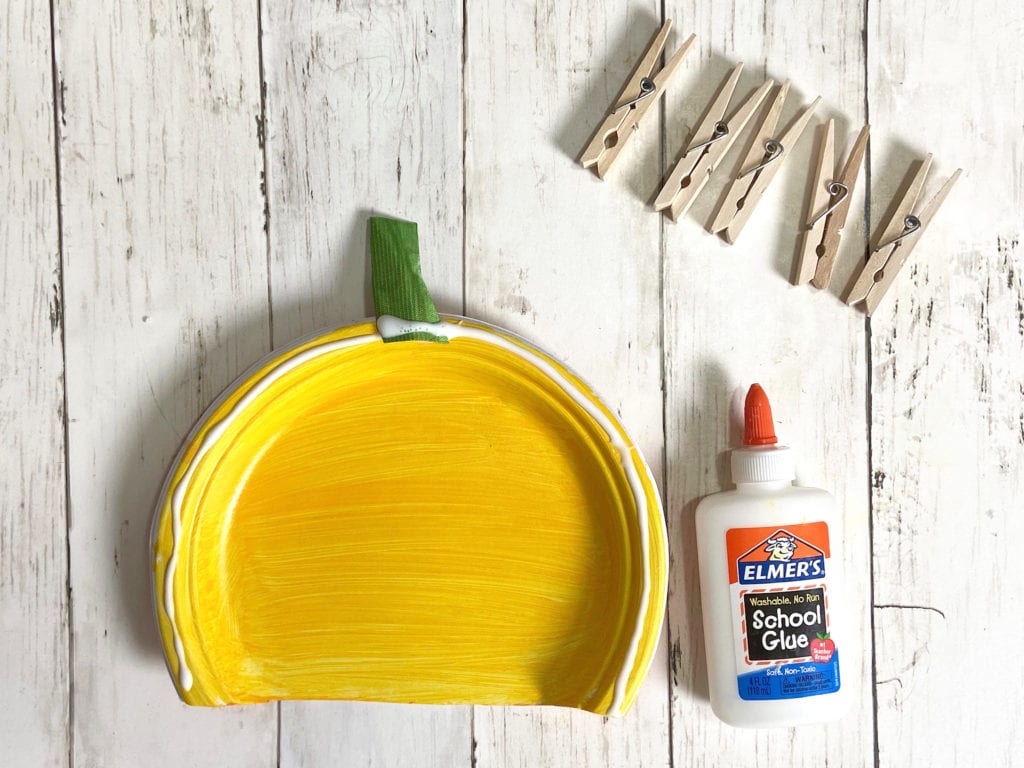
Step 3: Paint the back of each plate orange, and both sides of the stem green. Let it dry, then pain the inside of one of the plates yellow.

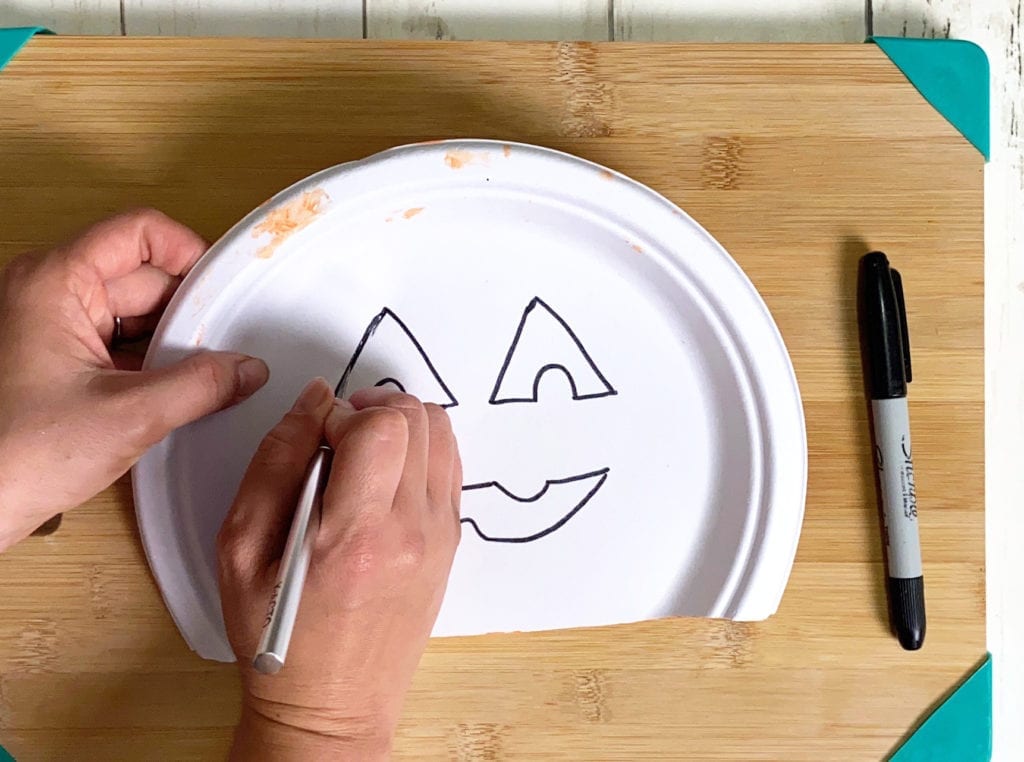
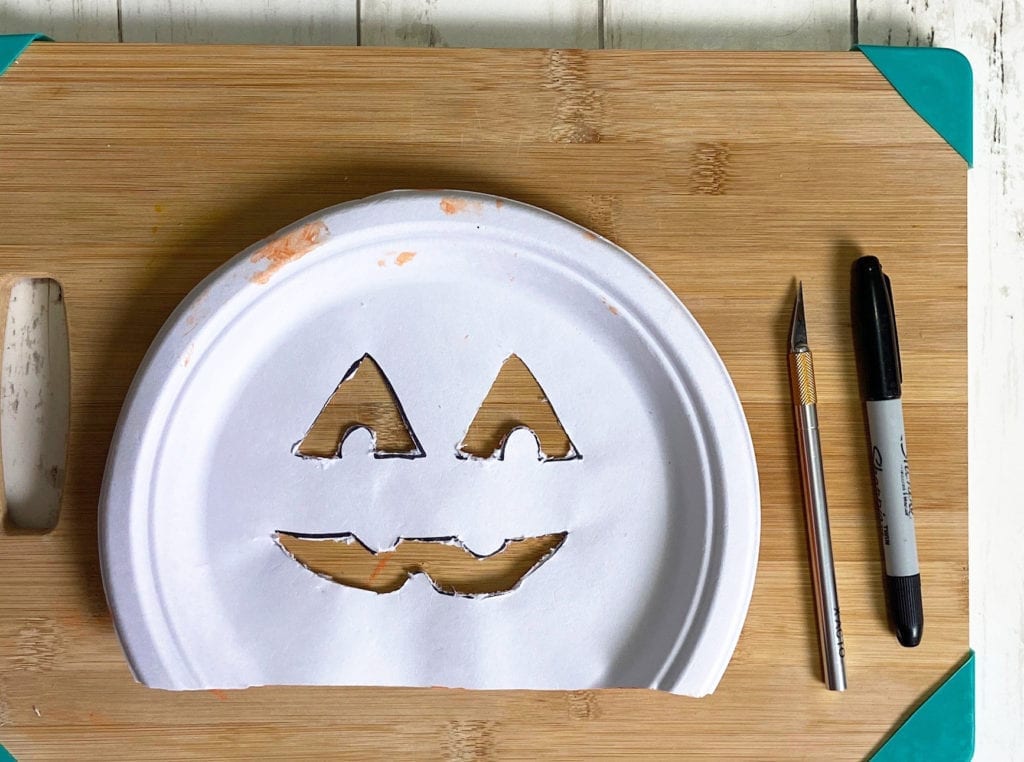
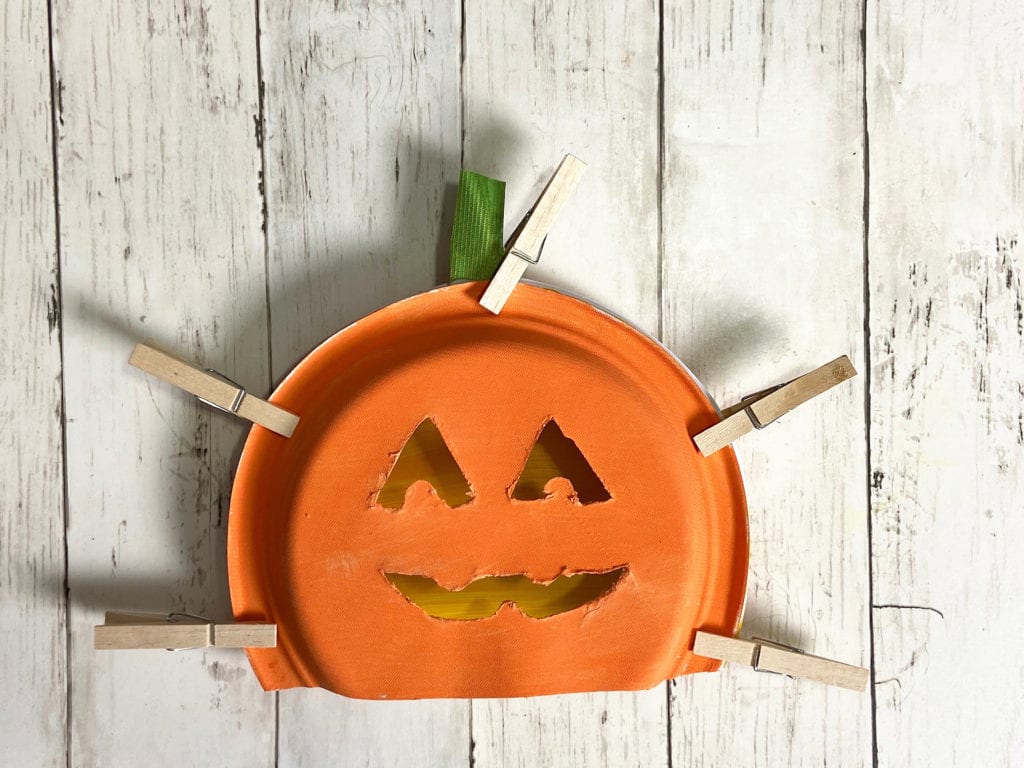
Step 4: While the yellow paint is drying, draw the jack-o-lantern’s face on inside of the paper plate with no paint (pictured below). Use an exacto knife to cut out the black part of the eyes. (If you don’t have an exacto knife, puncture a small hole in the plate, then use scissors to cut it out.) An adult should do the cutting.
Step 5: Put glue around the edge of the plate that’s painted yellow. Place the stem at the top of the plate and add some glue on top of it. Then place the other plate on top. Use clothes pins to keep everything in place as the glue dries.
Step 6: Remove the clothes pins once the glue has dried. Turn on a battery operated tea light candle, and place the cat over it. Watch your jack-o-lantern glow!
As always, sharing is caring. Please click on the buttons below to share this craft with your friends!