Carrot Mummies for Halloween
As an Amazon Associate, I earn from qualifying purchases. This post may contain affiliate links. Read my disclosure policy.
These Carrot Mummies are a fun and festive way to serve your kids some vegetables!

How fun are these Carrot Mummies?
These spooky bites are delicious, and fun to make. Have your kids get in on the fun with assembling them!
How do you make Carrot Mummies?
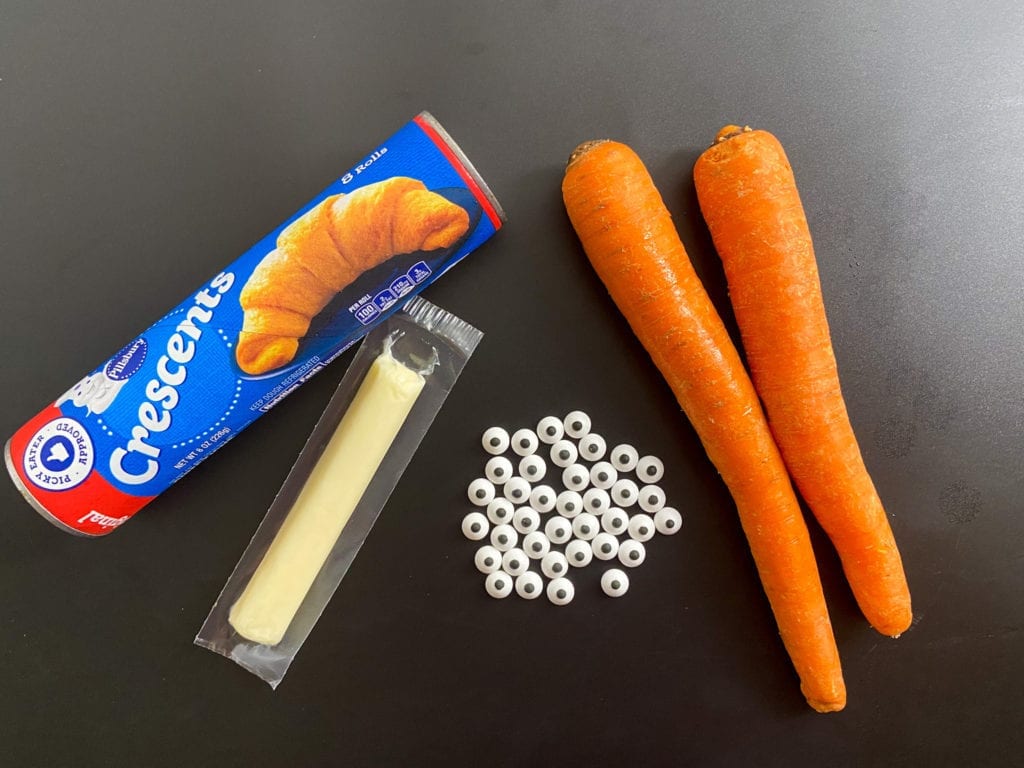
Ingredients:
- 1 can of crescent rolls
- carrots
- white cheese (I used string cheese)
- melted butter
- garlic salt (optional)
- candy eyeballs
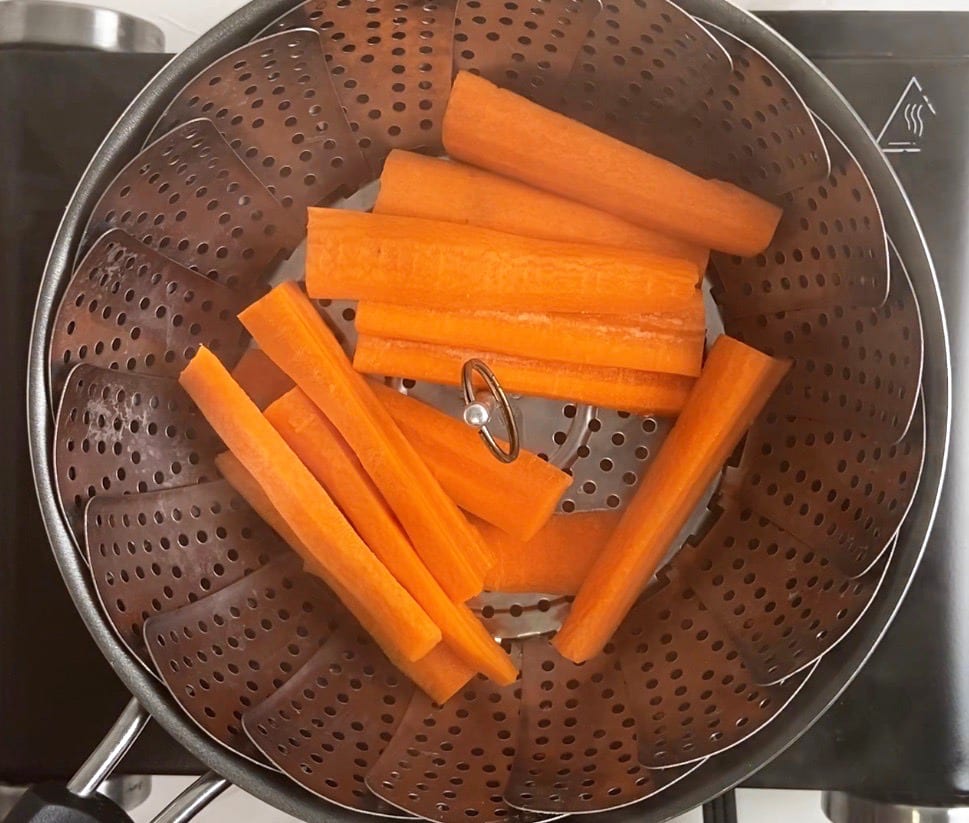
Step 1: Preheat the oven to 350º F. Then, fill a pot with about 2 inches of water and bring it to a light boil. Insert a steamer basket into the pot.
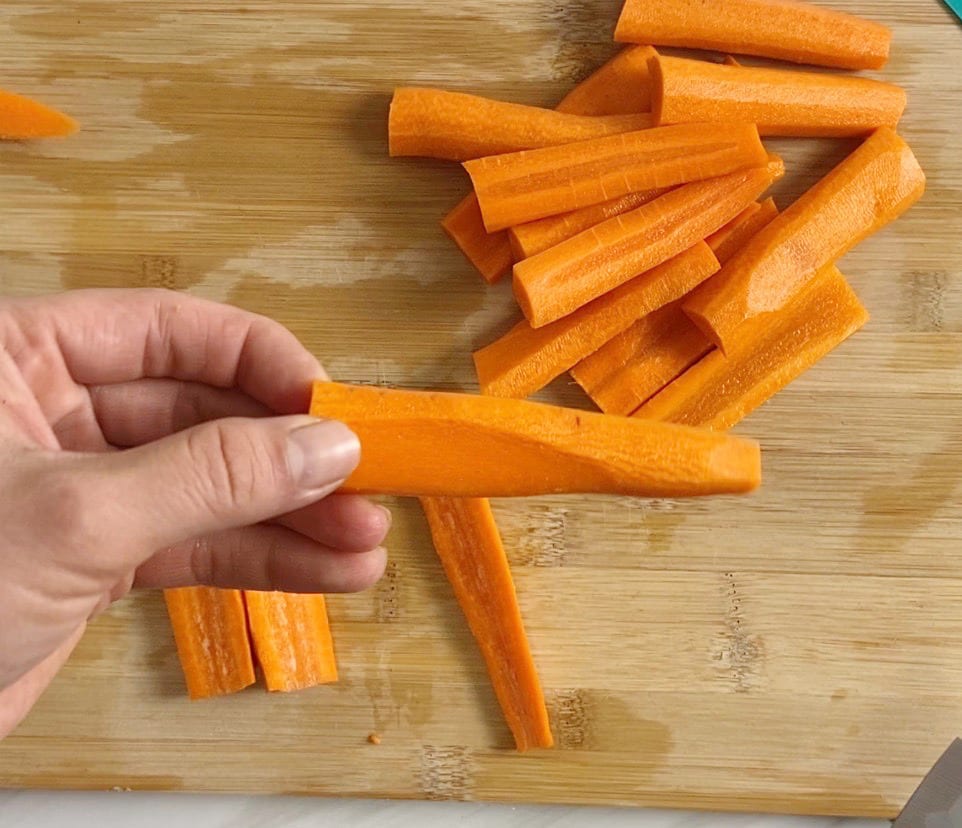
Step 2: Cut each carrot into four pieces (cut in half horizontally, then cut in half again vertically). Slice the carrots again if necessary, to make sure each piece is no larger than 1/4″ in width.
Step 3: Steam the carrots for about 5 minutes, until they begin to soften. Remove them from the pot and let them cool enough to be handled.
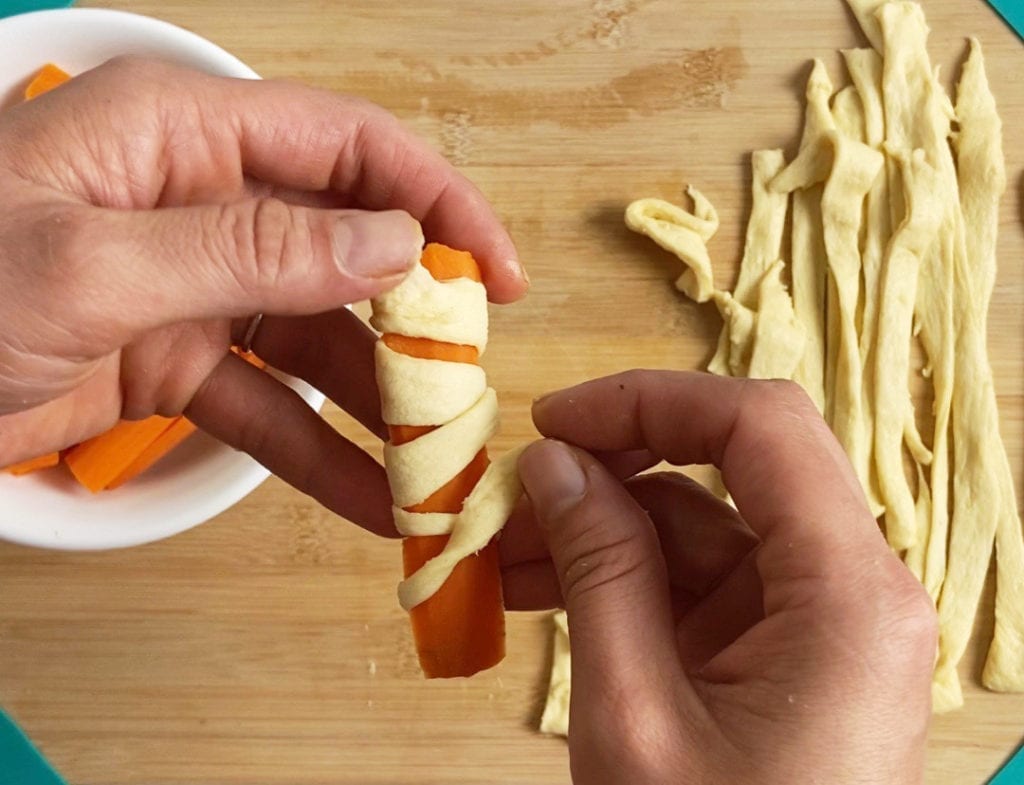
Step 4: Remove the crescent rolls from the can and unroll the dough. Lay the pieces of dough flat and slice them into thin strands.

Step 5: Wrap each carrot with the strands of dough. You can stretch the dough out and use multiple strands to create your mummy design.
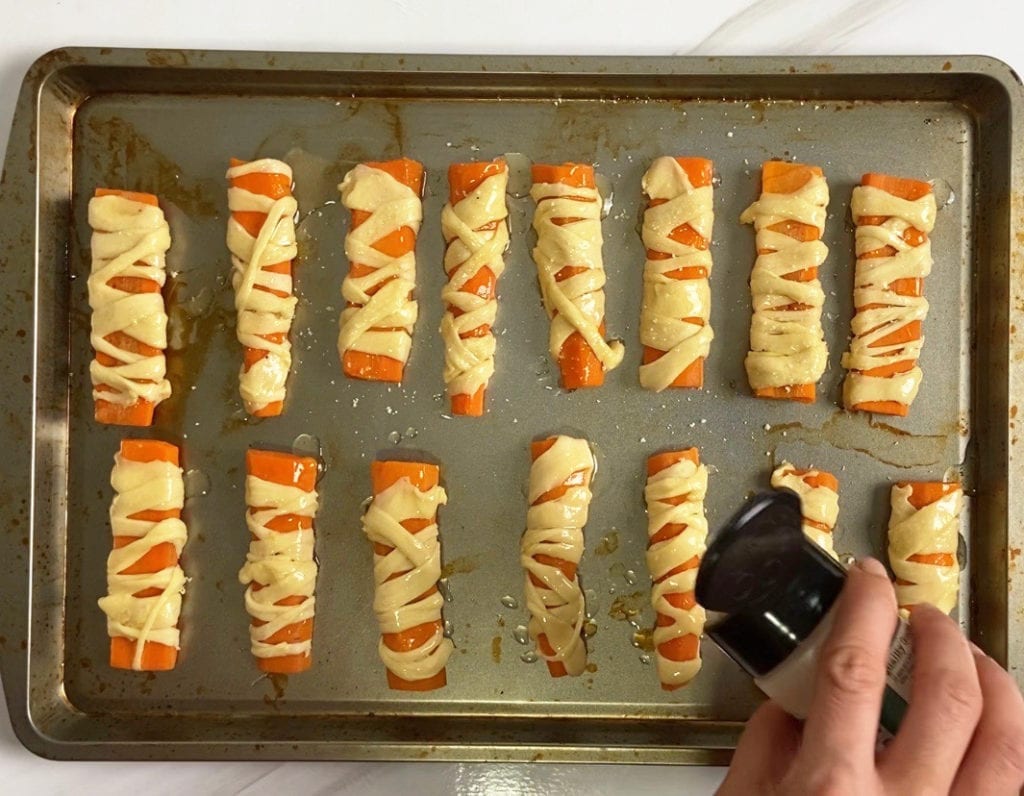
Step 6: Place them on a baking sheet and brush them with melted butter and then sprinkle garlic salt on them. (You can substitute regular salt, just garlic powder, or nothing at all.) Bake in the oven for about 15 minutes, until they’re golden brown.

Step 7: Remove them from the oven. Add a small piece of cheese toward the top of the carrot mummies. Then, add two candy eyeballs over each piece of cheese.

Step 8: Return the baking sheet to the oven and bake for 2-3 minutes, until the cheese is melted. Serve warm or at room temperature. Enjoy!!

Try these other fun Halloween treats and crafts!
- Halloween Lanterns Craft
- Halloween Bat Craft
- Glowing Paper Plate Cat and Jack-O-Lantern Craft
- 5 Fun and Easy Halloween Craft Ideas for Kids
- Spooky Pizzas for Halloween
- Halloween Brownie Brittle

Carrot Mummies
Ingredients
- 1 can crescent rolls
- carrots
- white cheese I used string cheese
- garlic salt optional
- candy eyeballs
Instructions
- Preheat the oven to 350º F. Then, fill a pot with about 2 inches of water and bring it to a light boil. Insert a steamer basket into the pot.
- Cut each carrot into four pieces (cut in half horizontally, then cut in half again vertically). Slice the carrots again if necessary, to make sure each piece is no larger than 1/4″ in width.
- Steam the carrots for about 5 minutes, until they begin to soften. Remove them from the pot and let them cool enough to be handled.
- Remove the crescent rolls from the can and unroll the dough. Lay the pieces of dough flat and slice them into thin strands.
- Wrap each carrot with the strands of dough. You can stretch the dough out and use multiple strands to create your mummy design.
- Place them on a baking sheet and brush them with melted butter and then sprinkle garlic salt on them. (You can substitute regular salt, just garlic powder, or nothing at all.) Bake in the oven for about 15 minutes, until they’re golden brown.
- Remove them from the oven. Add a small piece of cheese toward the top of the carrot mummies. Then, add two candy eyeballs over each piece of cheese.
- Return the baking sheet to the oven and bake for 2-3 minutes, until the cheese is melted. Serve warm or at room temperature. Enjoy!!
Notes
- 1 can of crescent rolls can make about 32 carrot mummies. If you want to make that many, it will take 8 carrots. If not, make as many as you want, and bake the rest of the dough as crescent rolls.
- Using garlic salt is optional, but it does make the carrot mummies taste really good! If you choose not to use it, you can substitute regular salt or garlic powder, or you don’t have to season it at all.
As always, sharing is caring! Please click on the buttons below to share this post with your friends!