Healthy Toddler Yogurt Bites
As an Amazon Associate, I earn from qualifying purchases. This post may contain affiliate links. Read my disclosure policy.
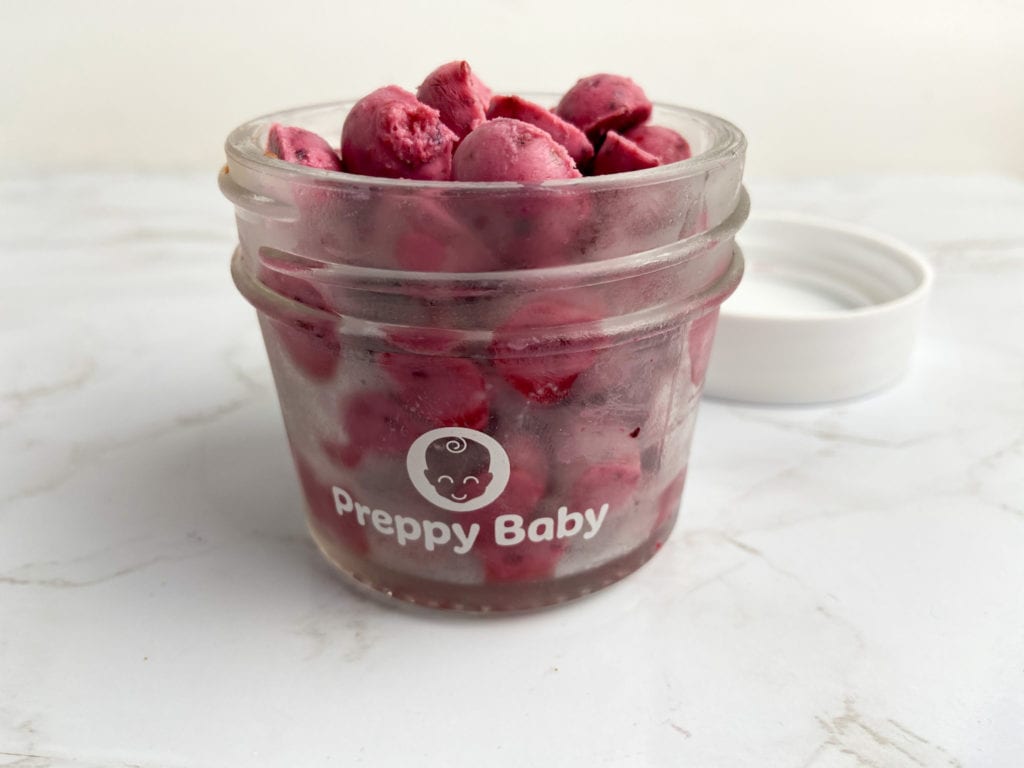
Toddler yogurt bites are an easy, healthy, frozen snack perfect for babies and toddlers!
The first time I made these yogurt bites, I was thinking my 1 year old daughter would love them. And she did! But to my surprise, my 4 year old son absolutely loved them too! He thought they were a treat (little did he know that they are extremely healthy), which made me so happy!
They’re literally just made of yogurt and pureed fruit, with no added sugar. They are fun to eat and taste like a fruit and yogurt smoothie.
Yogurt bites are:
- perfect for babies and toddlers
- healthy
- safe to eat, since they melt in your mouth (no choking hazard)
- great for teething
- easy to make
- customizable
What are the health benefits of toddler yogurt bites?
Yogurt is naturally a great source of calcium and B vitamins, and is usually fortified with vitamin D. It is also high in protein and probiotics, which is great for digestion.
There will be other health benefits depending on what fruit(s) you use.
When can babies eat yogurt bites?
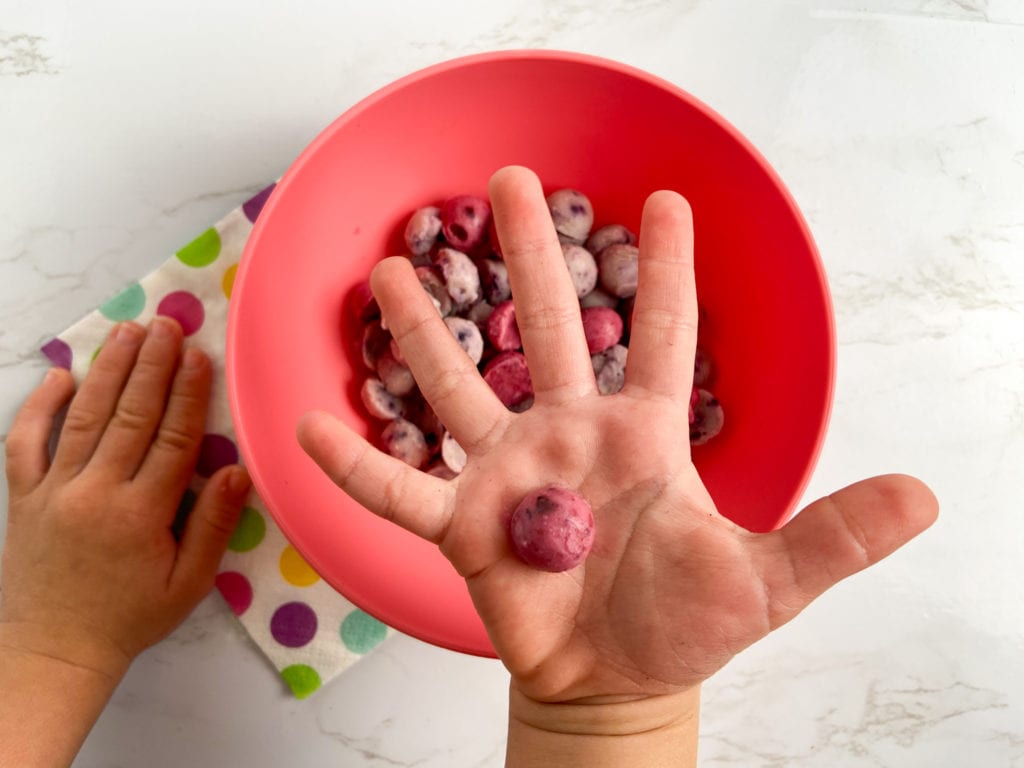
In general, these yogurt bites are good for babies 8 months and older. Some good indicators of knowing that your baby is ready to eat them is when they can pick things up with their pointer finger and thumb and bring the object to their mouth, as well as chew on items with their gums or teeth.
Once your baby is ready for these yogurt bites, they should not present a choking hazard, as they are small frozen snacks that melt quickly.
How do you make toddler yogurt bites?
Ingredients:
- 1/2 cup of plain yogurt (I use Greek or whole milk yogurt)
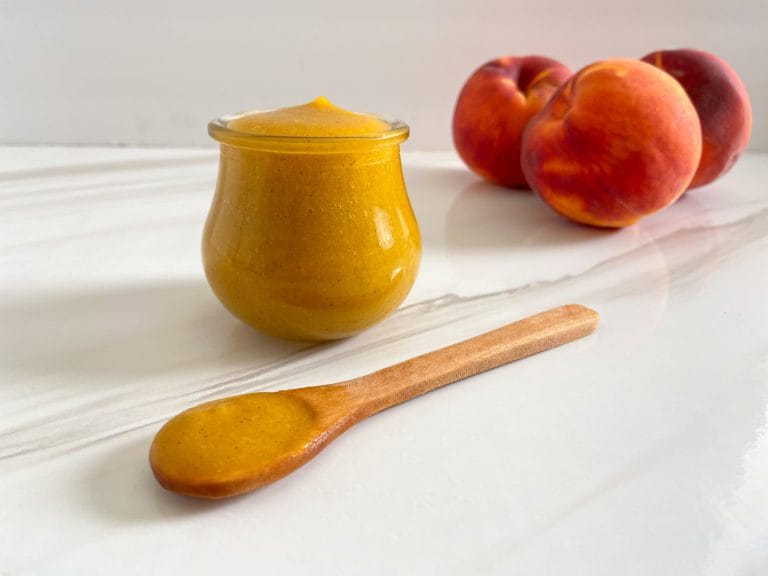
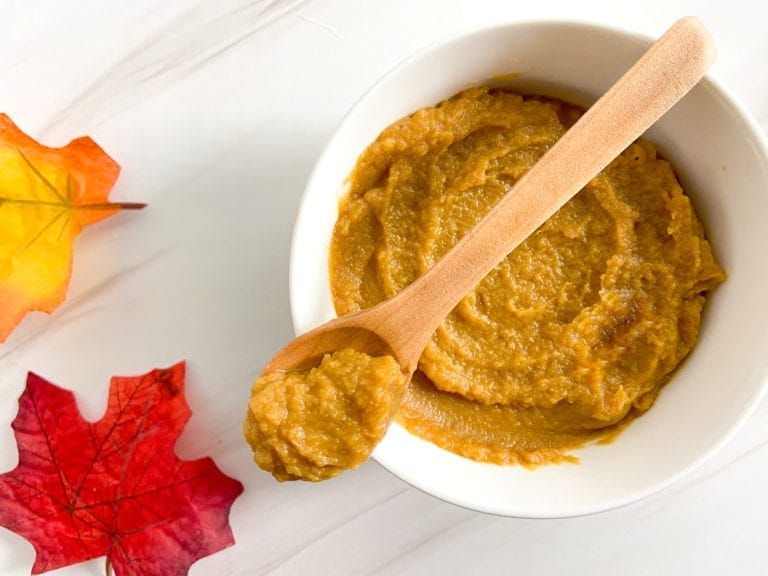
- 1/2 cup of fruit (berries, banana, mango, peaches, etc.)
Equipment:
- blender or food processor
- silicone chocolate drops mold (optional)
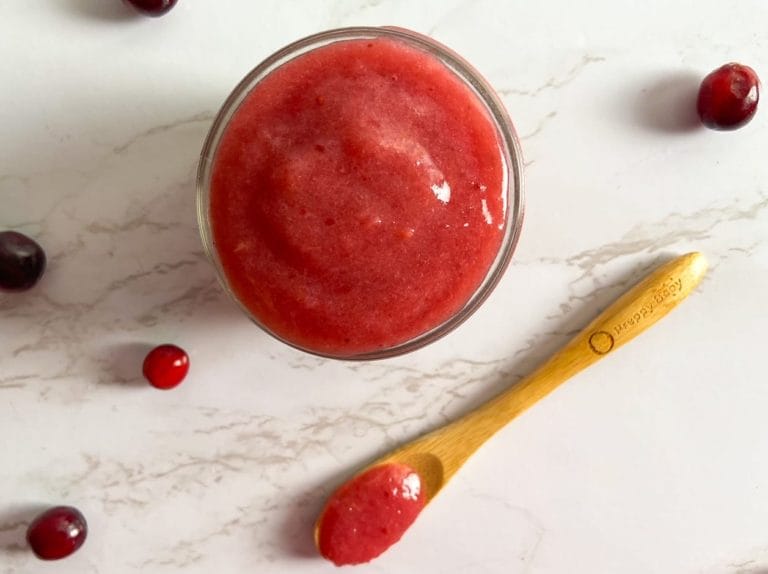
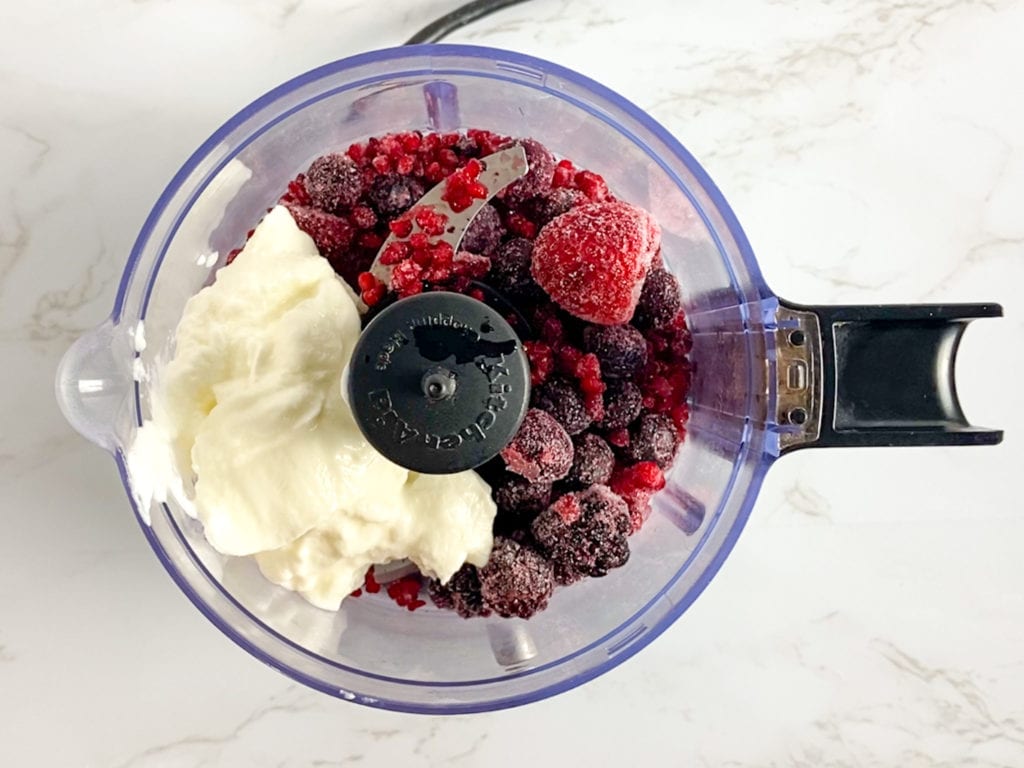
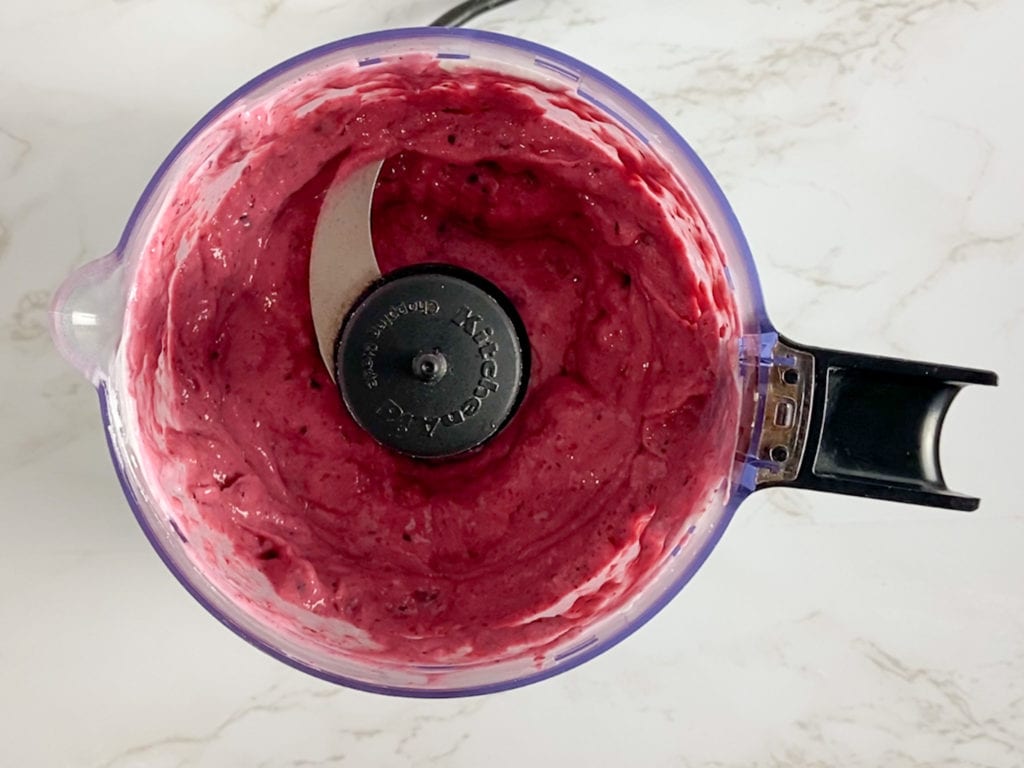
Step 1: Add the yogurt and fruit to a blender or food processor and puree until smooth.
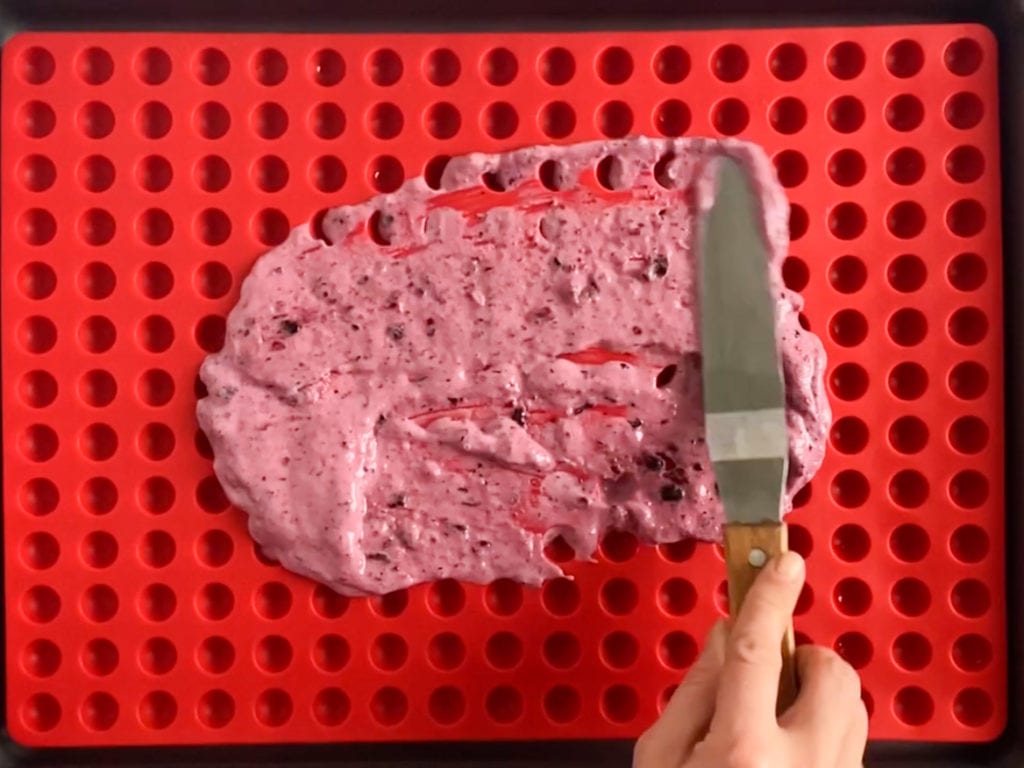
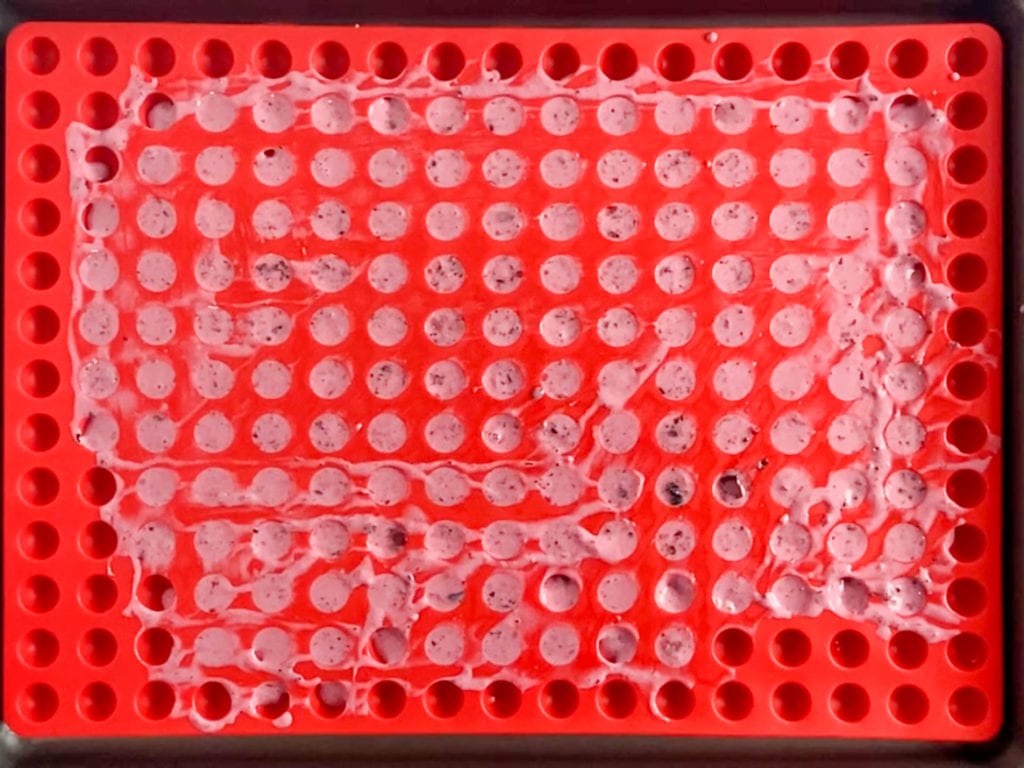
Step 2: Pour it onto the silicone mold and spread it out using an offset spatula or the back of a spoon. Place the mold on a baking sheet and set it in the freezer for two hours, or until frozen solid.
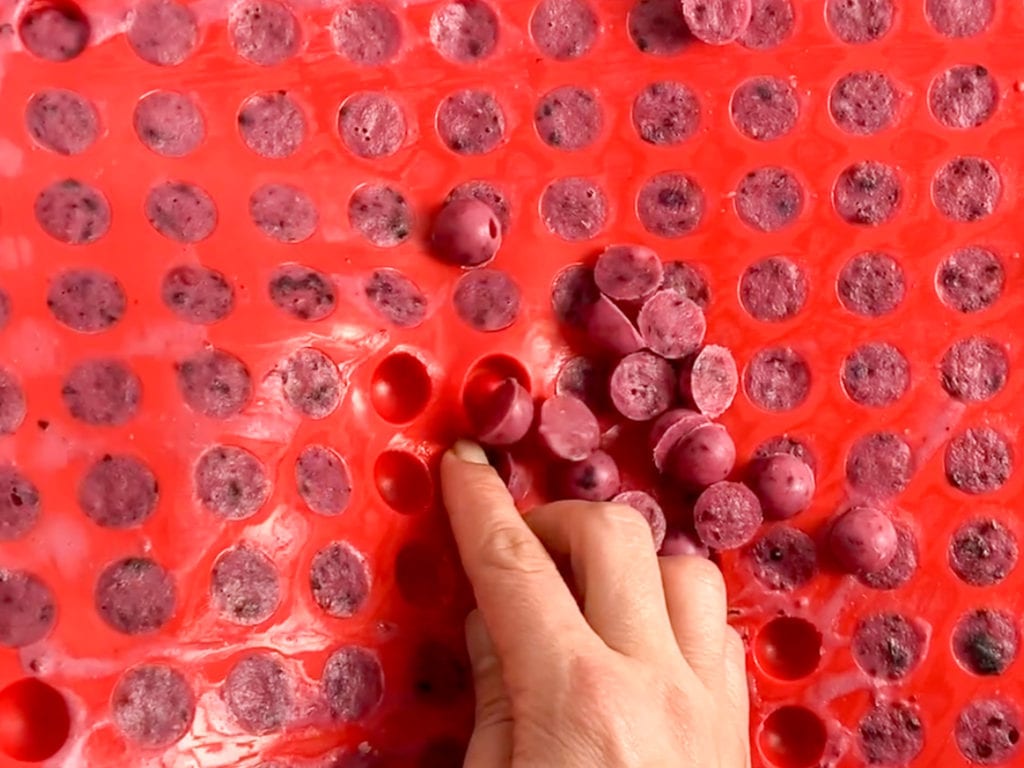
Step 3: Remove it from the freezer, then pop the yogurt bites out of the mold. Serve them immediately, or store them in an airtight container in the freezer.
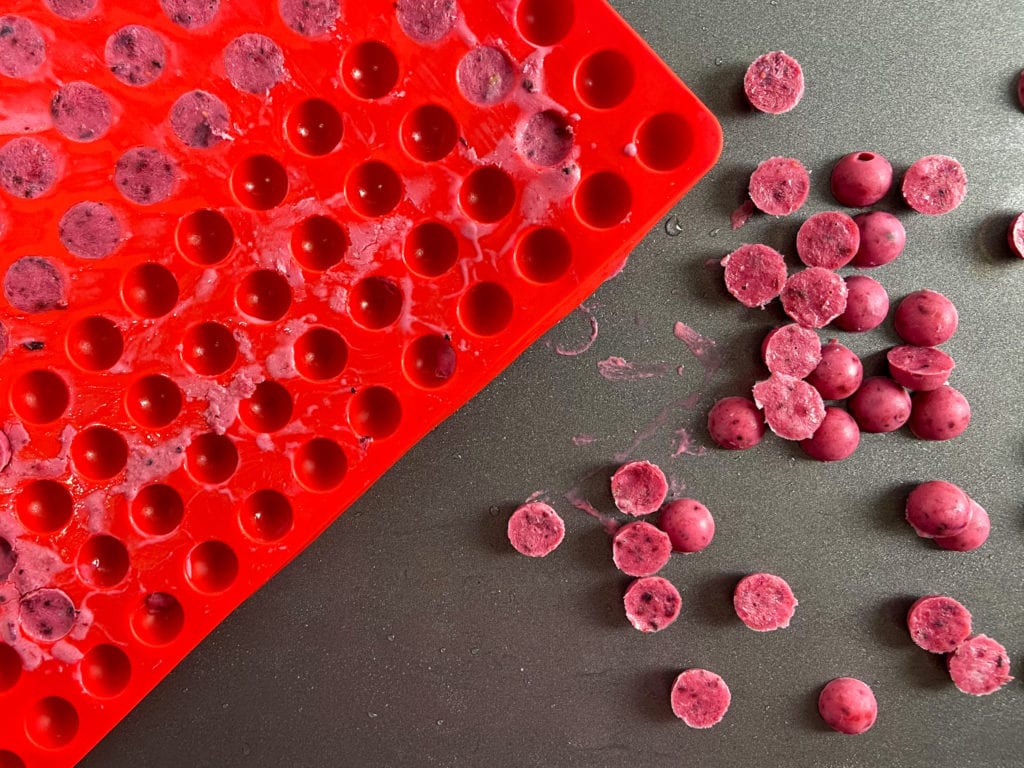
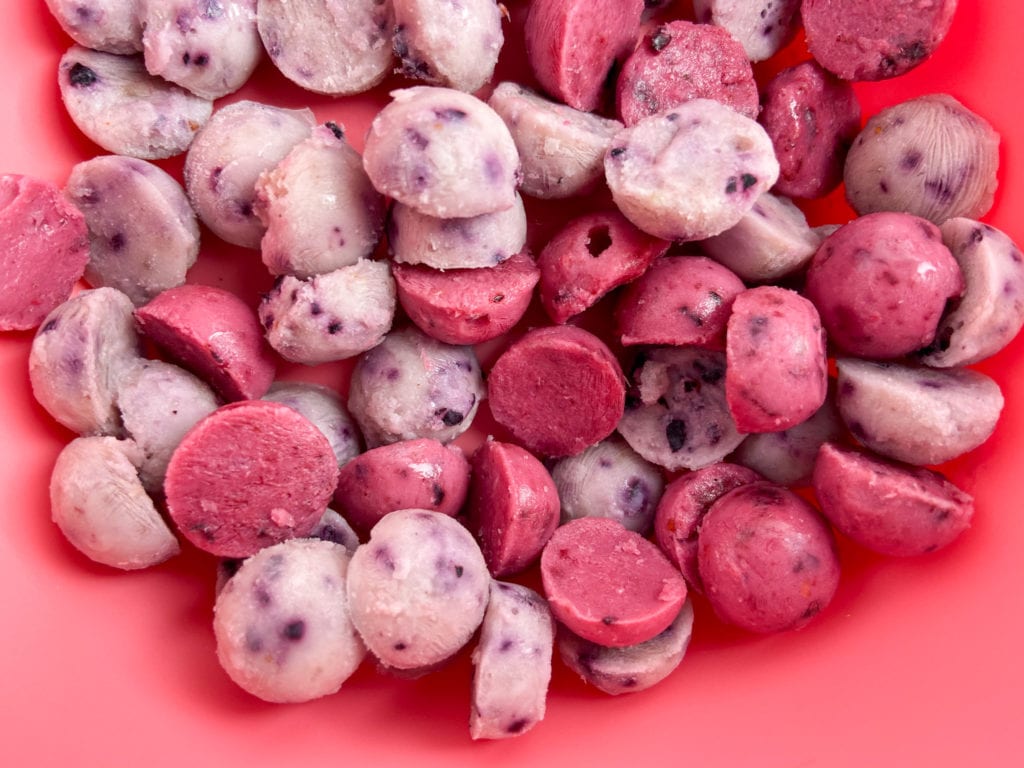
Note: Try using different combinations of fruit. In the picture, the darker one is mixed berries, and the other is blueberry banana.
You can add a little honey to sweeten these up if you’d like (but not until your baby is at least 1 year of age).
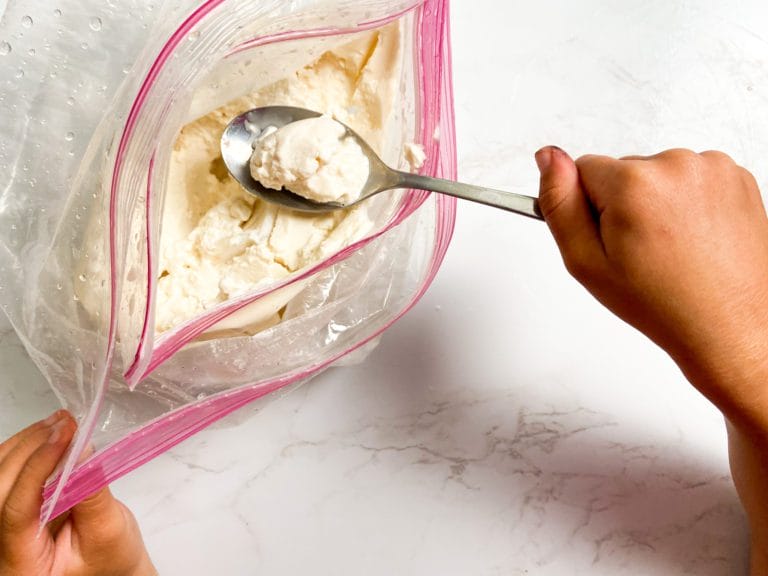
If you don’t want to purchase this silicone mold, you can simply fill a pastry bag or zip lock bag with the yogurt mix, and pipe little dots onto a sheet pan lined with parchment paper.

Try these other toddler food recipes!
- Toddler Zucchini + Carrot Fritters
- Toddler Zucchini + Apple Muffins
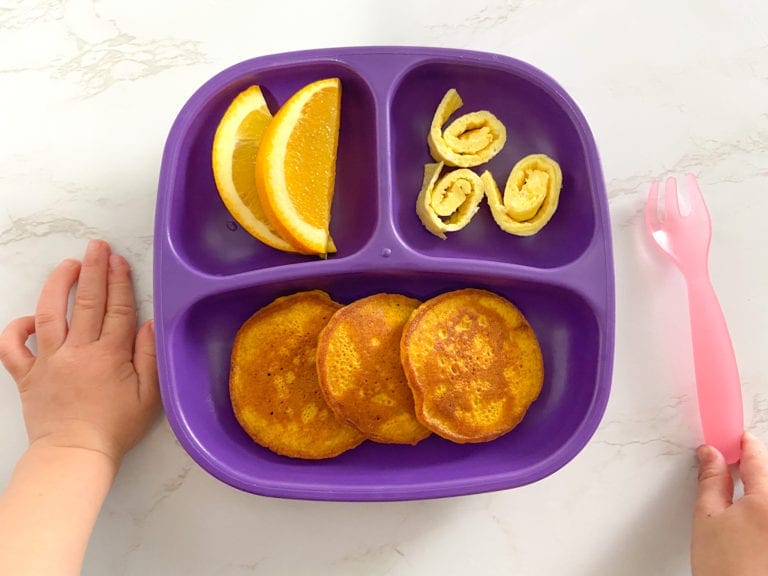
- Toddler Pumpkin Pancakes
- Carrot Cake Teething Biscuits
You should always consult your pediatrician before giving your baby new foods.

Toddler Yogurt Bites
Equipment
Ingredients
- 1/2 cup plain yogurt I use Greek or whole milk yogurt
- 1/2 cup fruit berries, banana, mango, peaches, etc.
Instructions
- Add the yogurt and fruit to a blender or food processor and puree until smooth.
- Pour it onto the silicone mold and spread it out using an offset spatula or the back of a spoon. Place the mold on a baking sheet and set it in the freezer for two hours, or until frozen solid.
- Remove it from the freezer, then pop the yogurt bites out of the mold. Serve them immediately, or store them in an airtight container in the freezer.
Notes
- Try using different combinations of fruit. I made one with mixed berries and another with blueberries and banana.
- You can change the ratio of yogurt to fruit, it’s completely flexible.
- You can add a little honey to sweeten these up if you’d like (but not until your baby is at least 1 year of age).
- If you don’t want to purchase this silicone mold, you can simply fill a pastry bag or zip lock bag with the yogurt mix, and pipe little dots onto a sheet pan lined with parchment paper.
As always, sharing is caring! Please click on the buttons below to share this post with your friends!