How to Make Salt Dough Christmas Ornaments
As an Amazon Associate, I earn from qualifying purchases. This post may contain affiliate links. Read my disclosure policy.
This 3 ingredient salt dough is a cinch to make, and so much fun to decorate! Making these salt dough Christmas ornaments with your kids will provide lasting memories.
I remember making salt dough ornaments as a kid, and it was so much fun! I want to pass these same traditions on to my kids, and what better time to start than now?
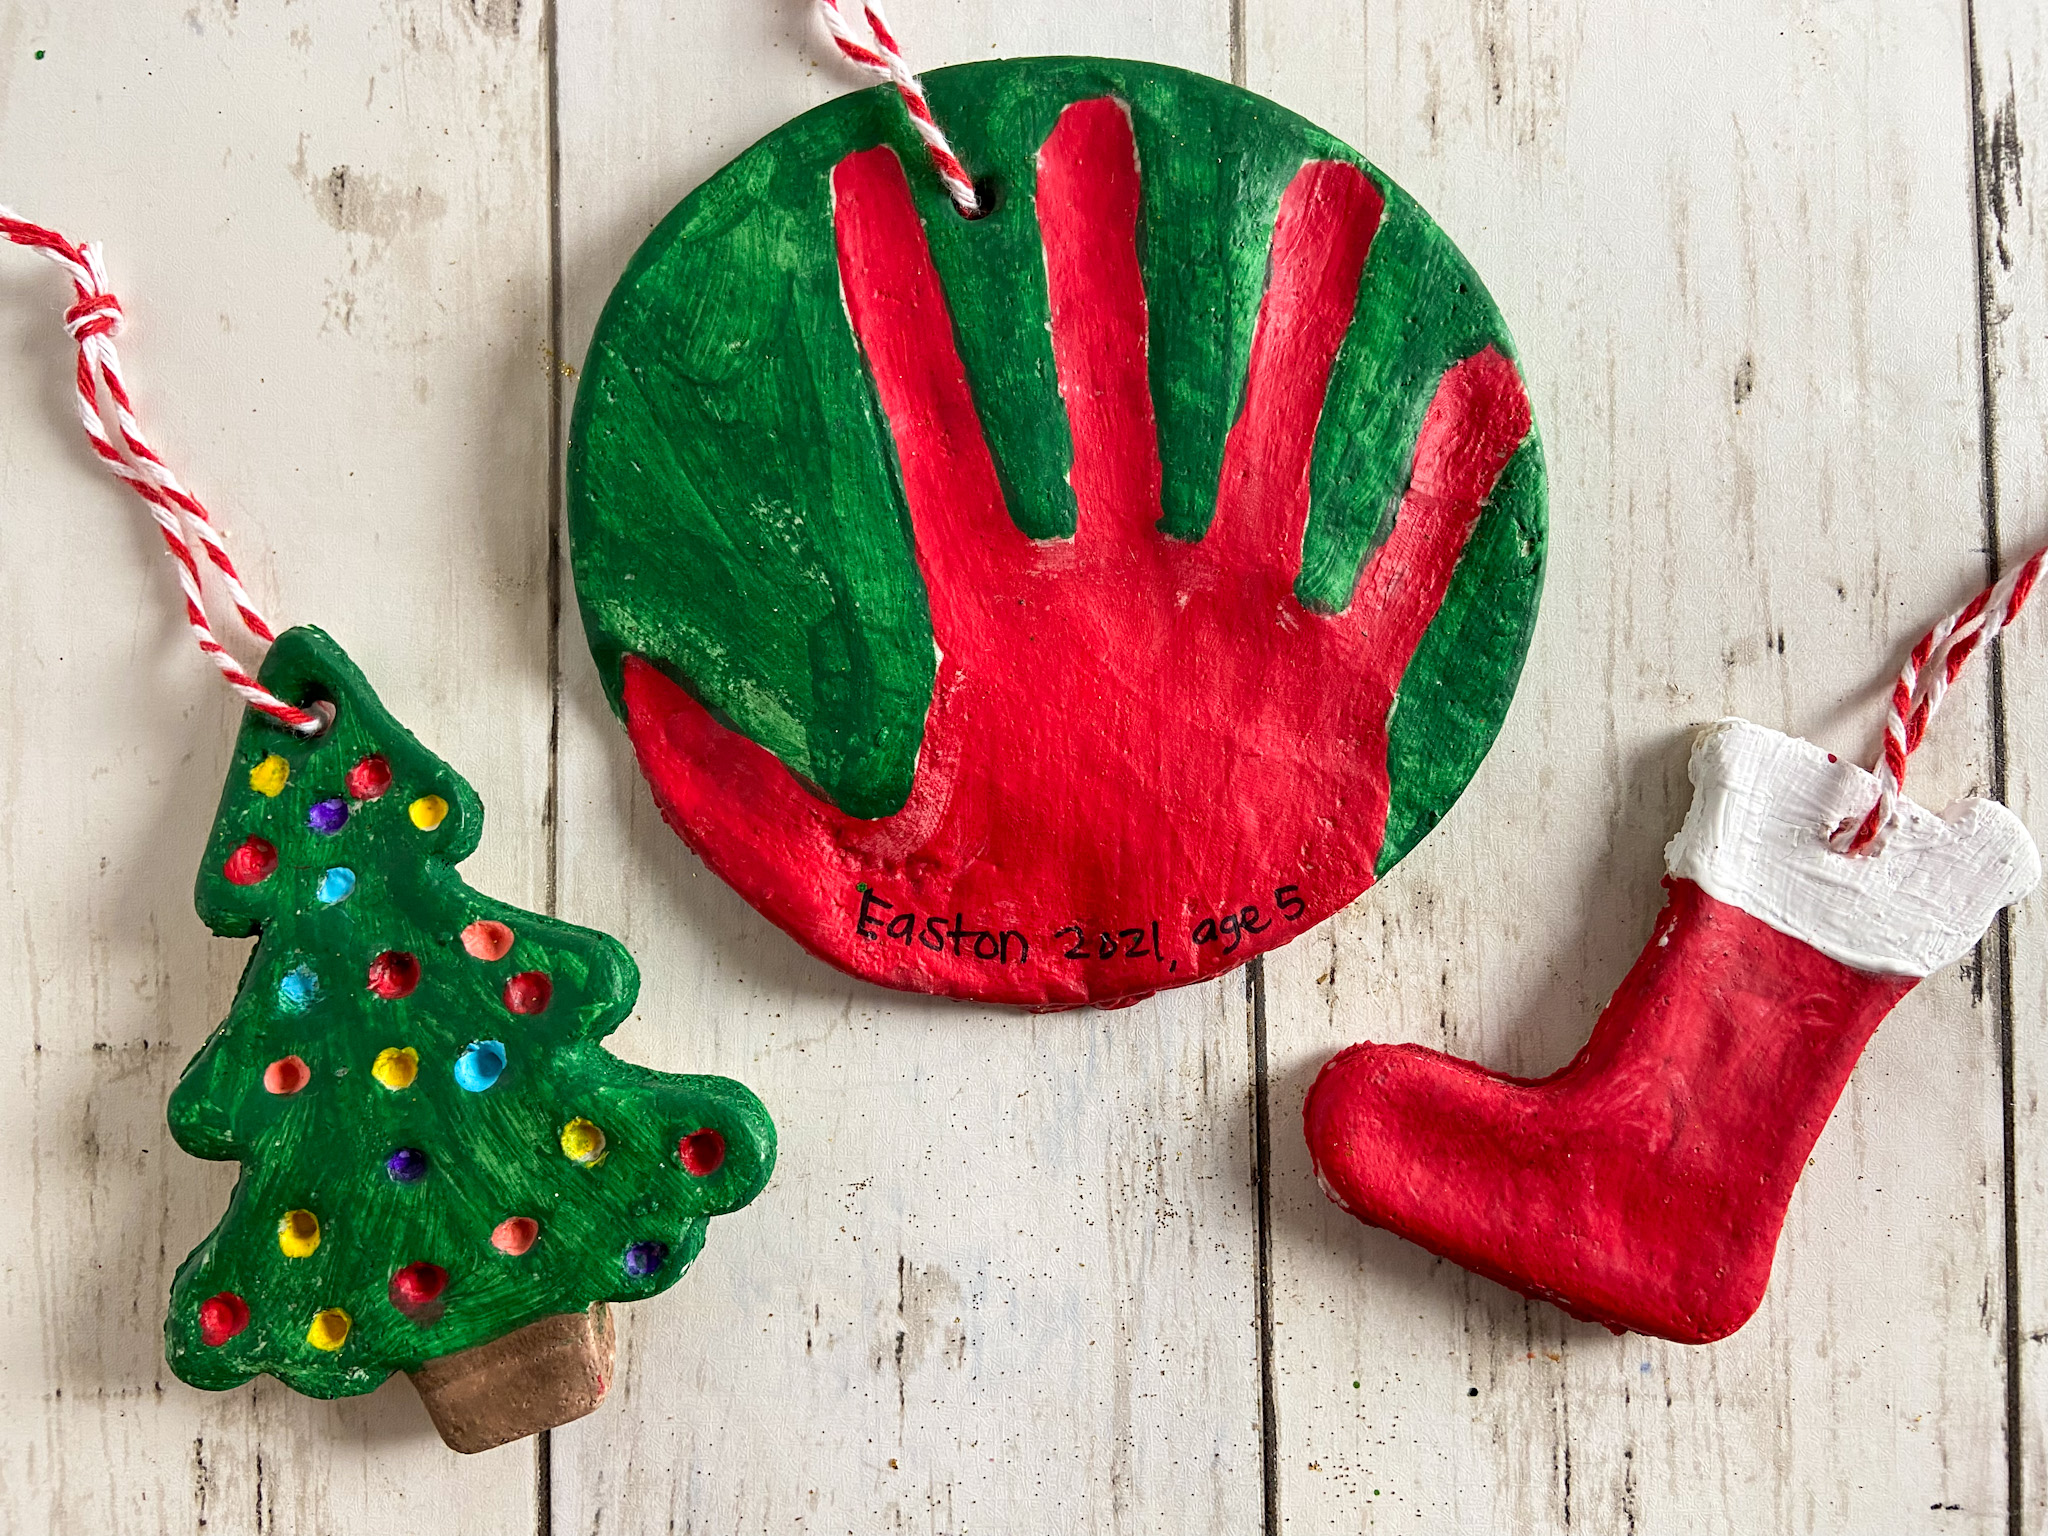
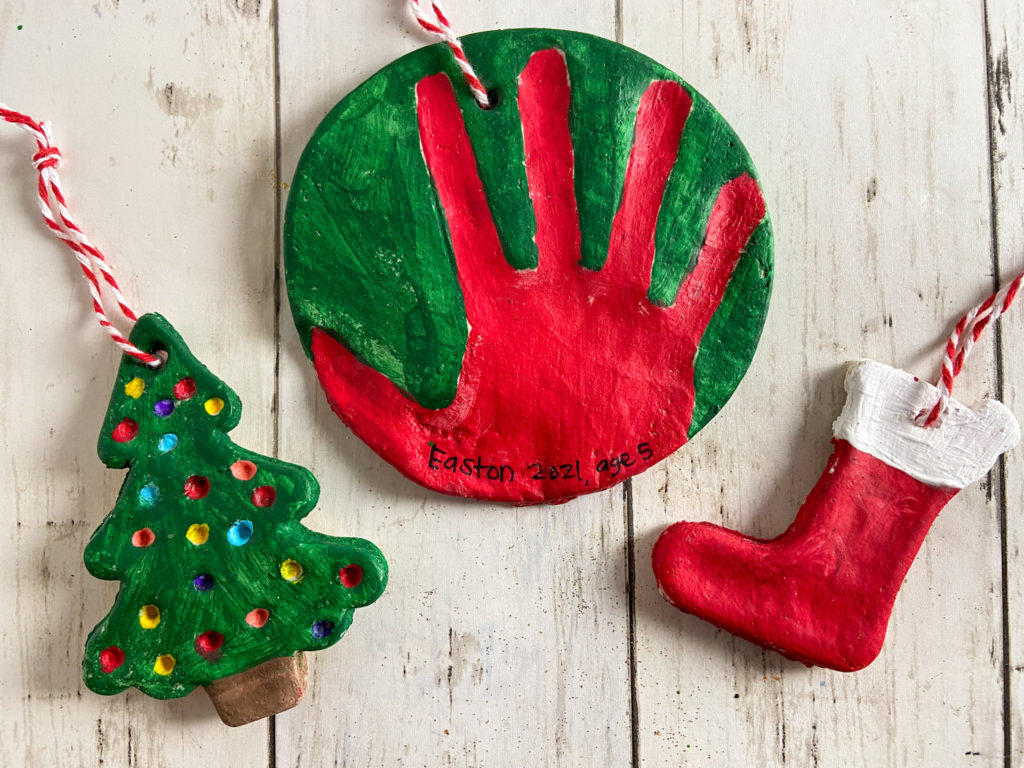
It makes me sad that my kids are no longer babies (ages 5 and 2), which is why I really wanted to capture their hand prints in these ornaments this year, before they get any bigger!
We had a great time making traditional Christmas shapes, hand prints, and dinosaurs. I know your kids will enjoy making these as well, and I’m sure they’ll come up with their own unique shapes and designs!
How do you make salt dough ornaments?

Ingredients:
- 4 cups of flour
- 1 cup of table salt
- 1 1/2 cups of water (plus more as needed)
Supplies:
- parchment paper
- cookie cutters
- mod podge
- acrylic paint
- glue
- glitter
- paintbrushes
- ribbon or string
Step 1: Preheat the oven to 250º F.
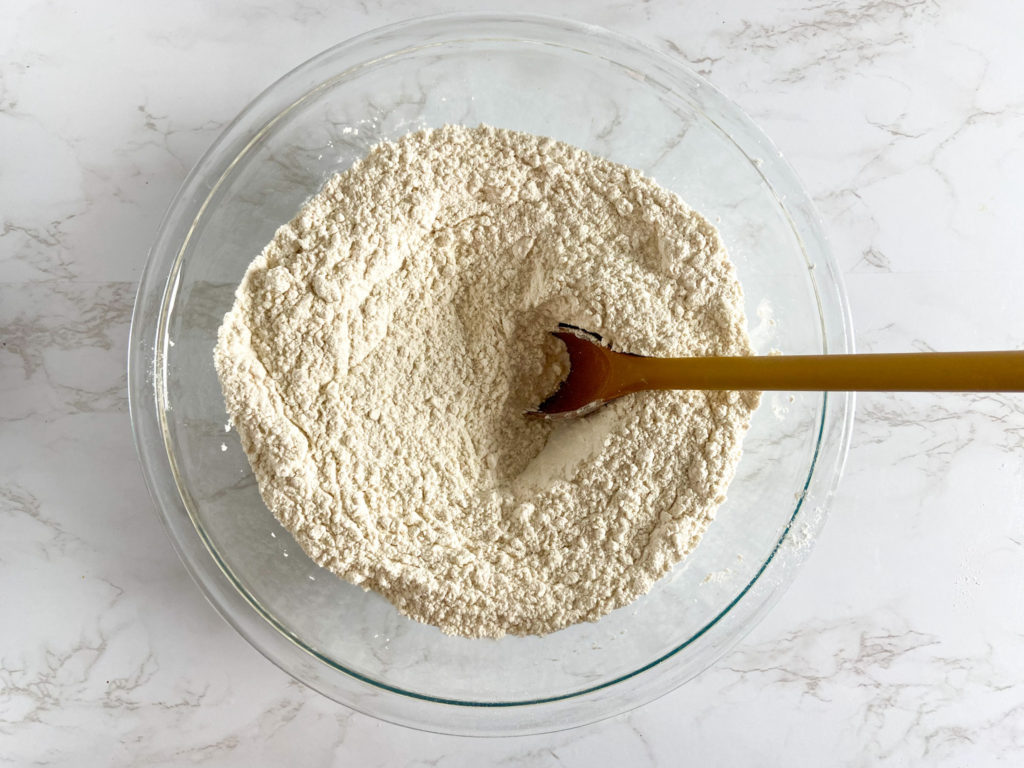
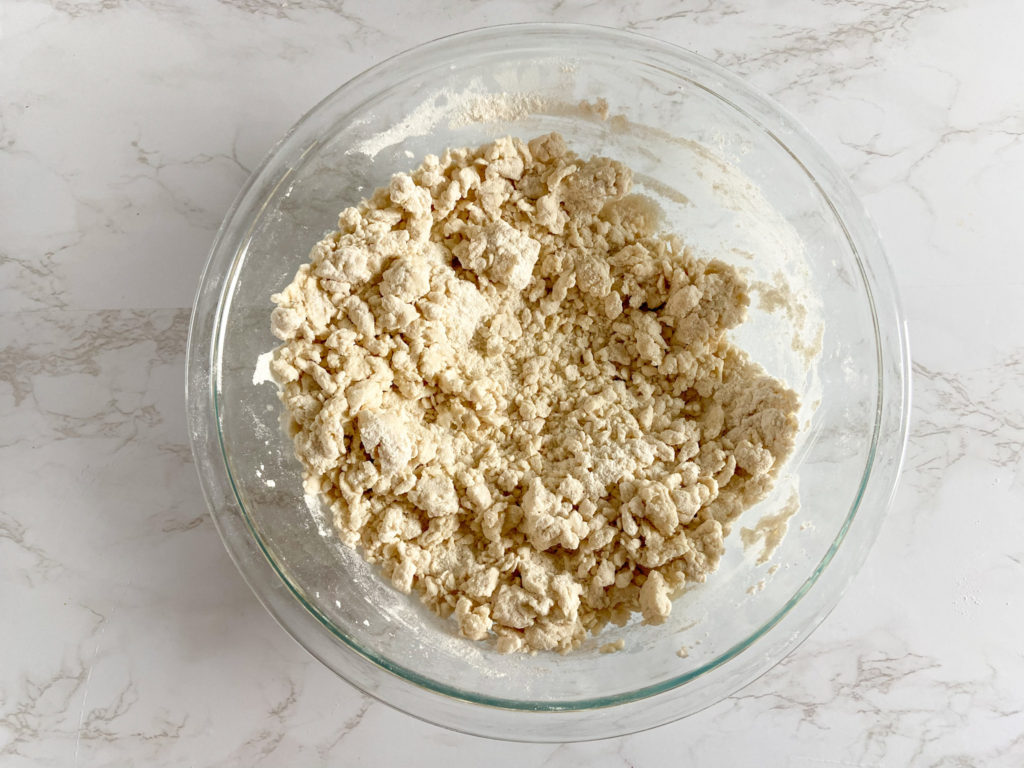
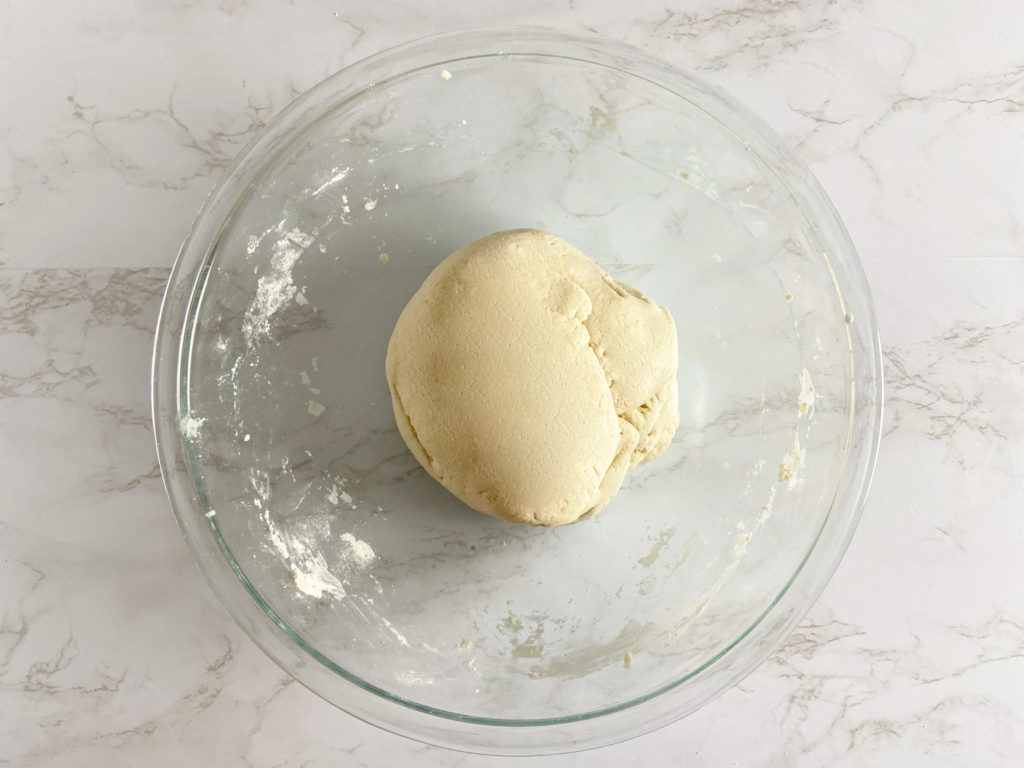
Step 2: Add the flour and salt to a large bowl and mix until combined. Then, add the water and mix until fully incorporated. Kneed the dough for 3-5 minutes, until it is smooth. If the dough is too dry, add a little more water, and if it’s wet and sticky, add a little more flour. The dough should be soft and easy to work with, but not sticky.
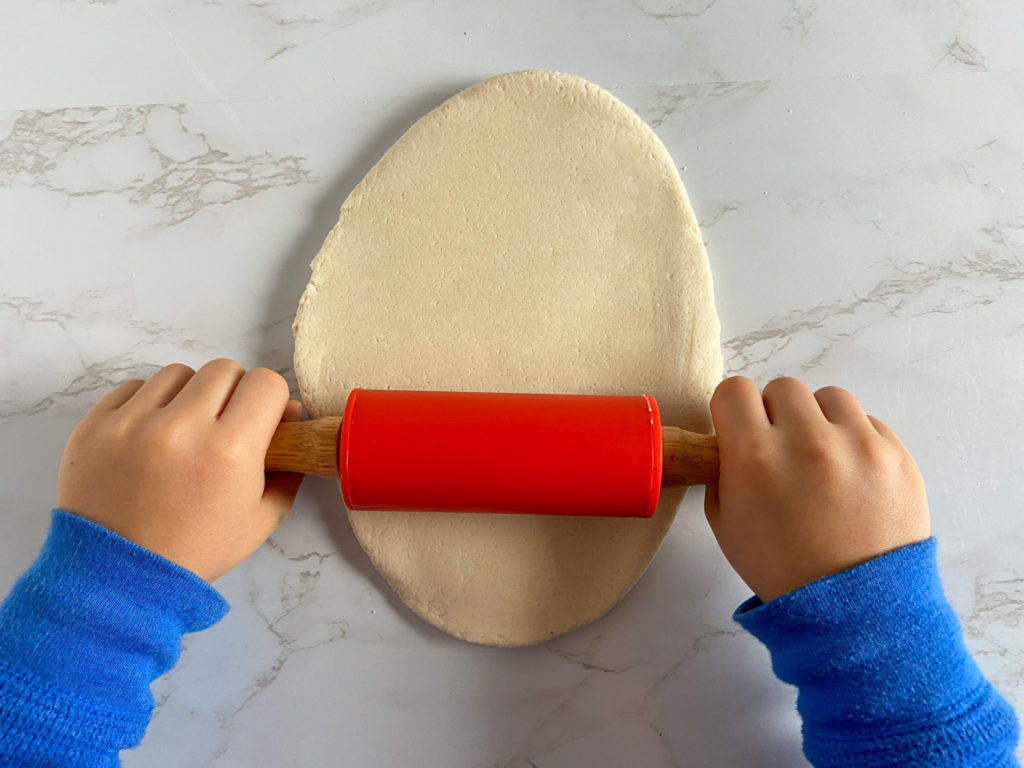
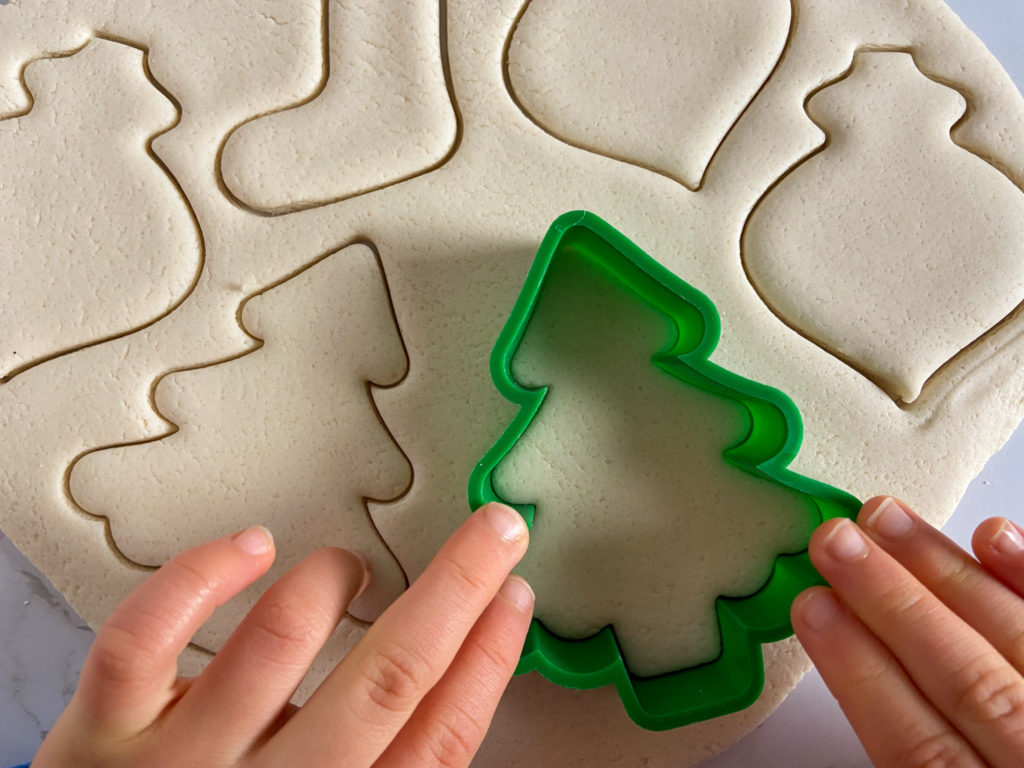
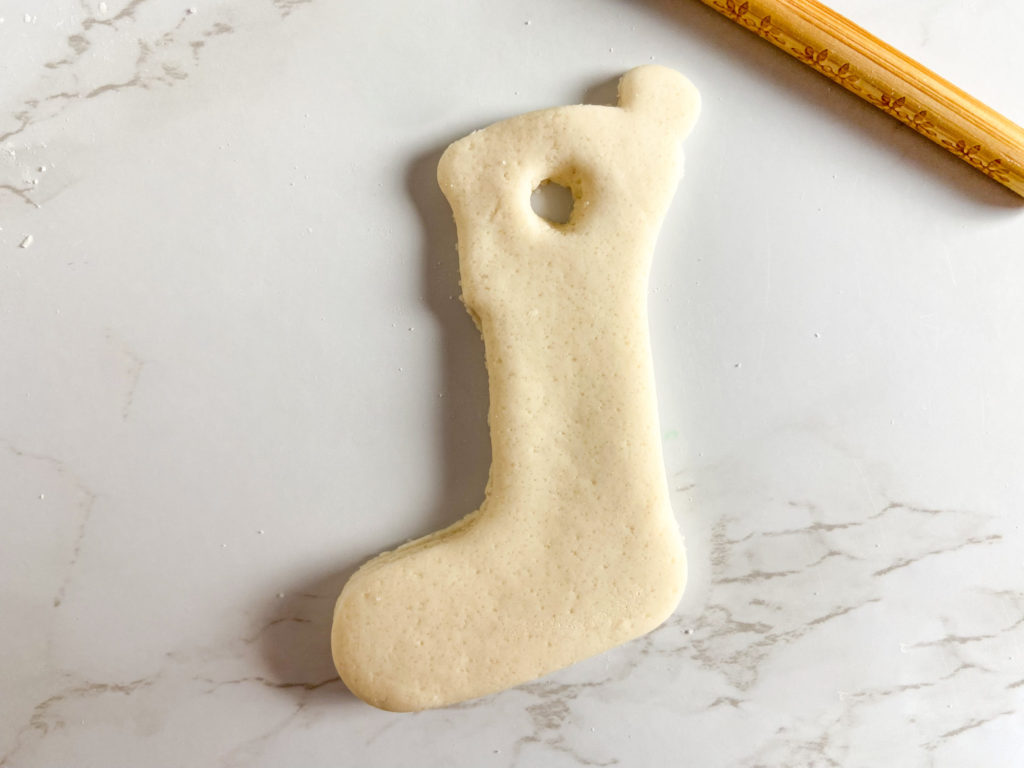
Step 3: Roll the dough out between 1/8″ and 1/4″ thickness. If the dough is sticking to the counter and rolling pin, you can roll it between two pieces of parchment paper. Then, use cookie cutters to cut out different shapes.
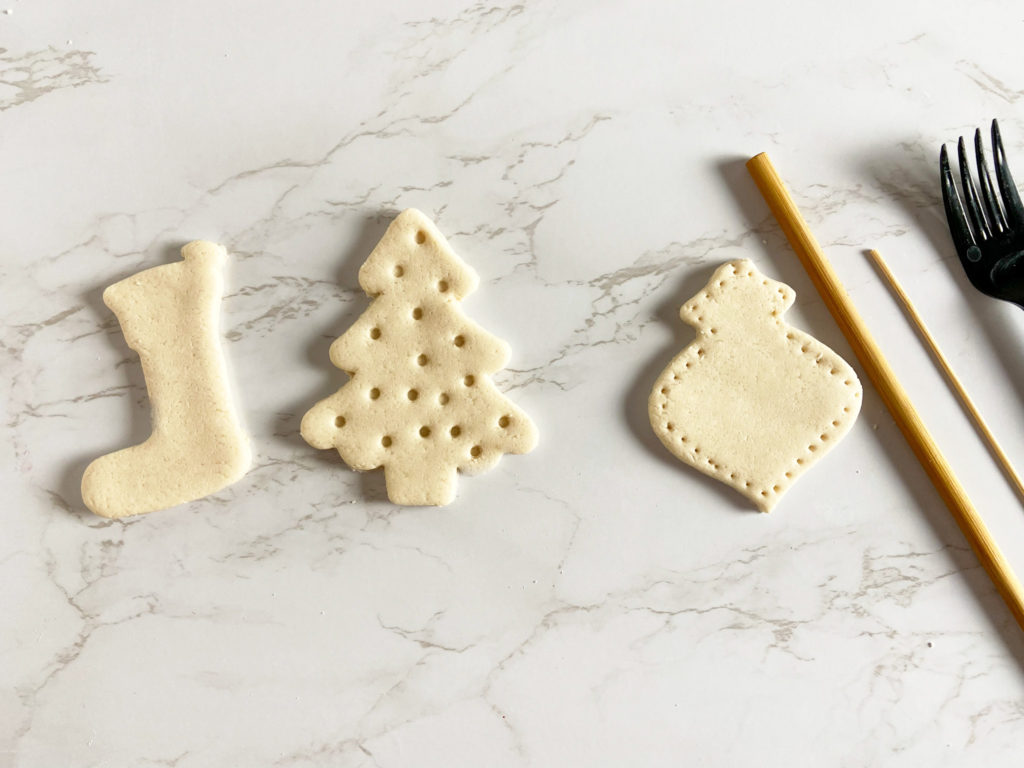
Step 4: Use a chopstick, fork, or any other instrument to create designs and textures on the ornaments (optional). Then, use a chopstick to create a hole at the top of the ornament.
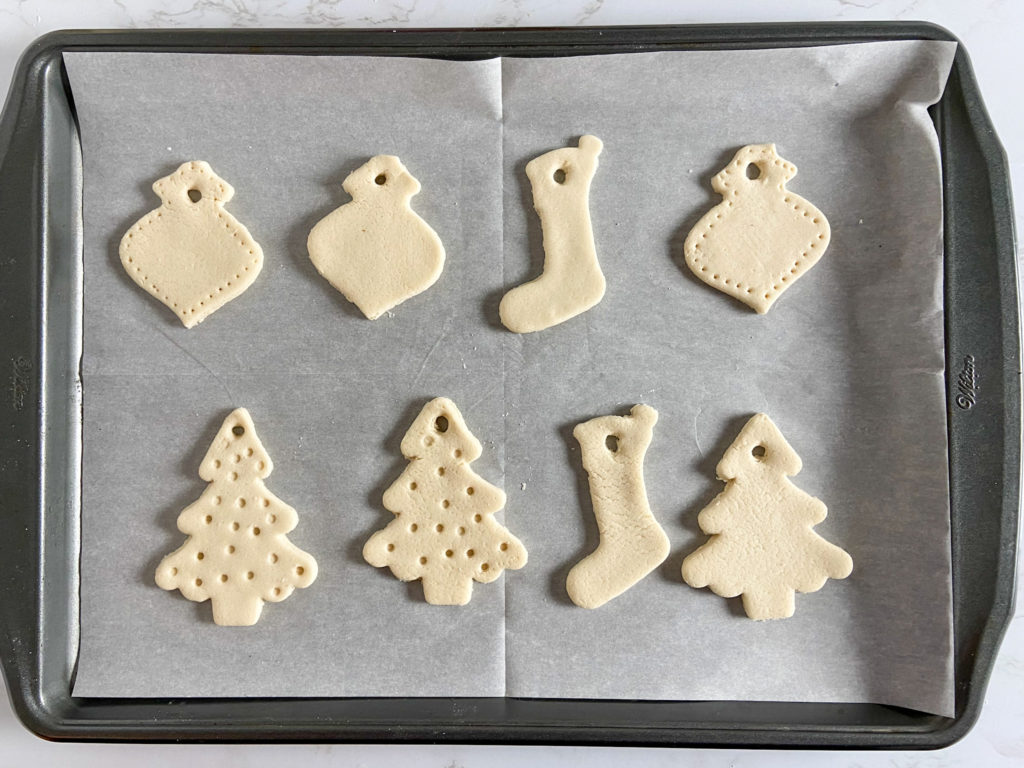
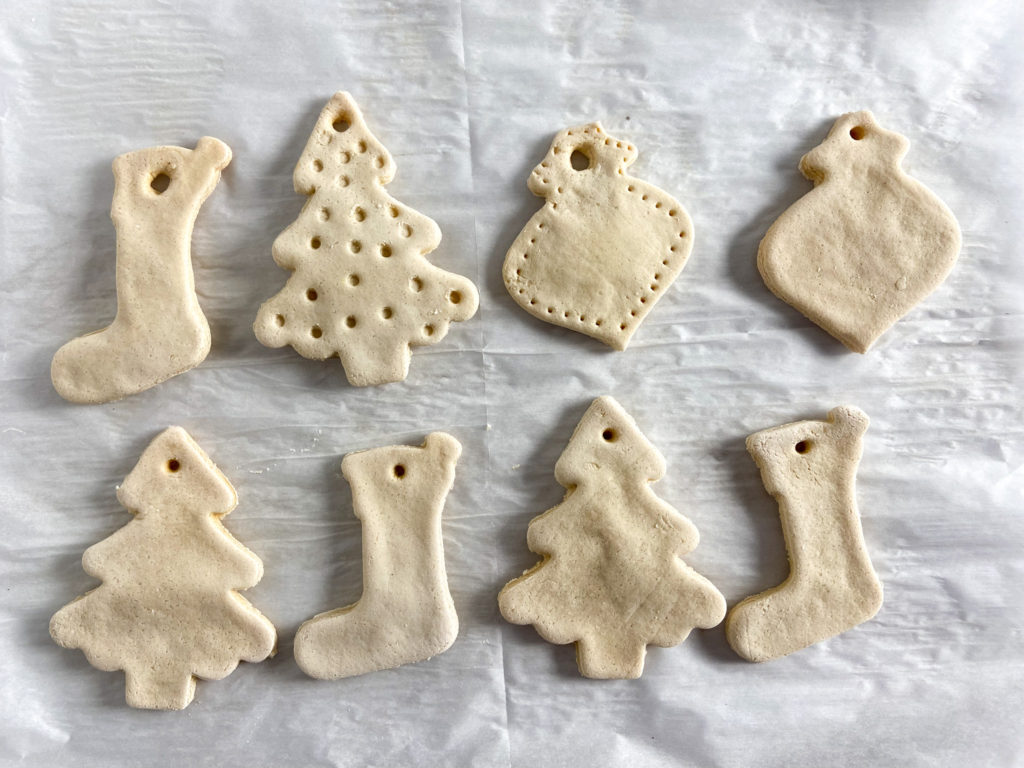
Step 5: Place the ornaments on a baking sheet lined with parchment paper. Bake for an hour and a half, or until the ornaments are completely hard and dried out. If the ornaments are on the thicker side, they will need to bake longer, possibly up to 3 hours.
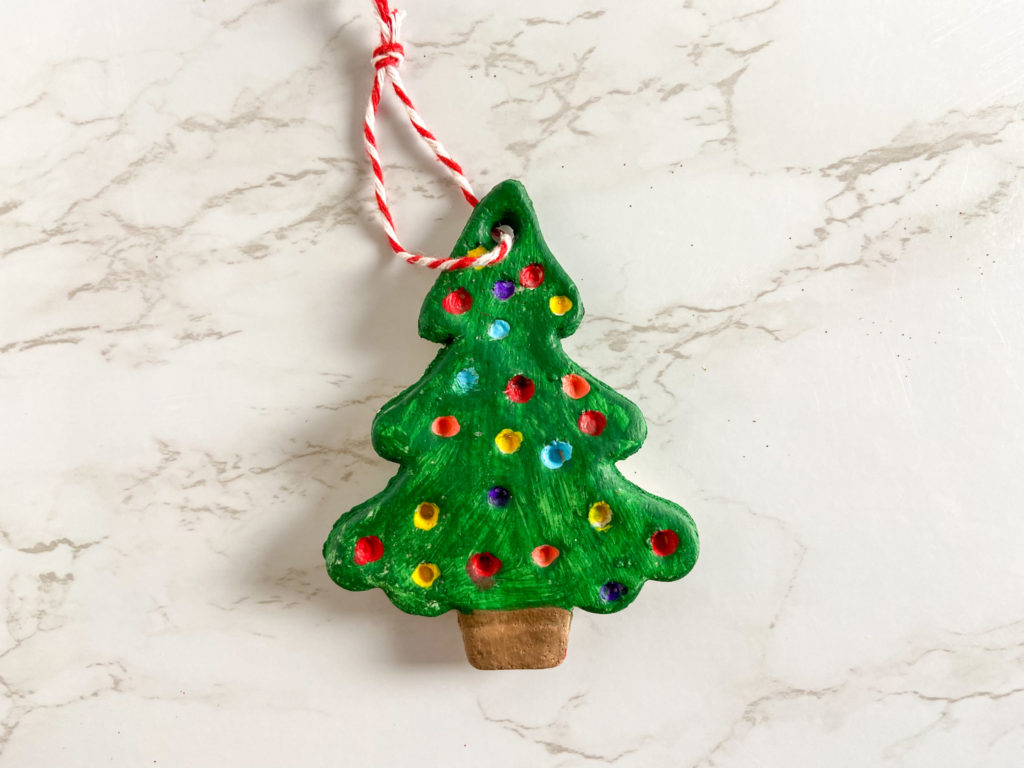
Step 6: Once the ornaments are completely cooled, paint them with acrylic paint. Let the paint fully dry, then brush on a coat of mod podge to seal it. Brush mod podge onto the back of the ornament as well, whether or not you decorated it. This will help to preserve the ornaments for a long time.
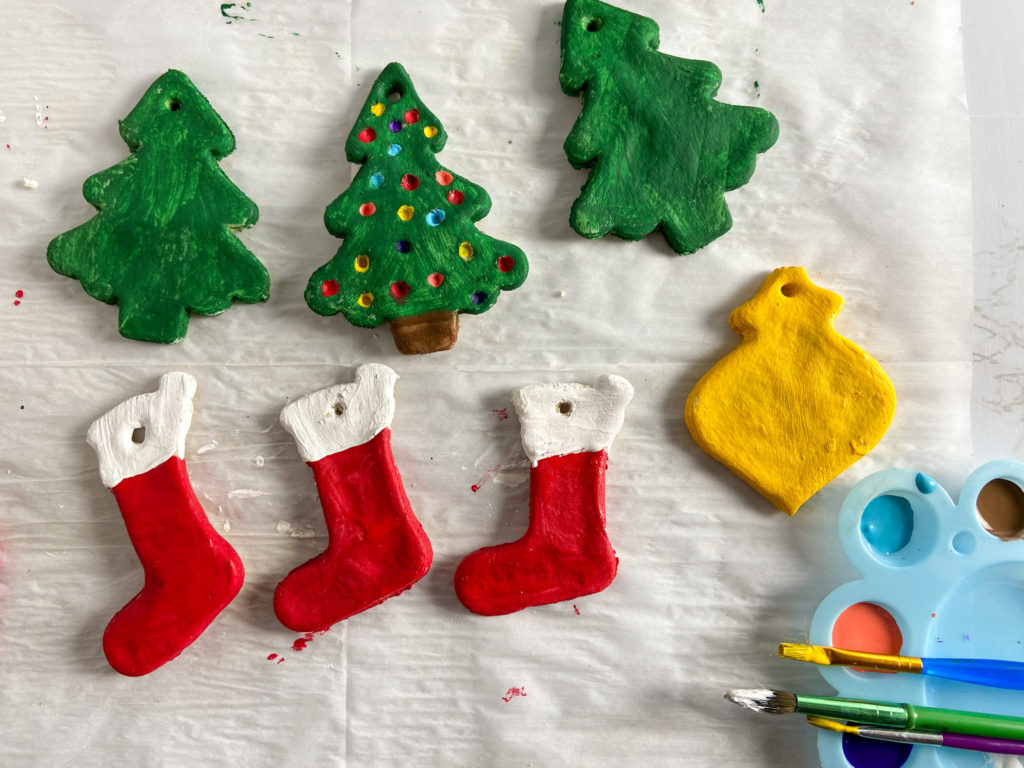
Step 7: Tie a string through the hole at the top of the ornaments, then hang it on your Christmas Tree!
Make your ornaments shine!
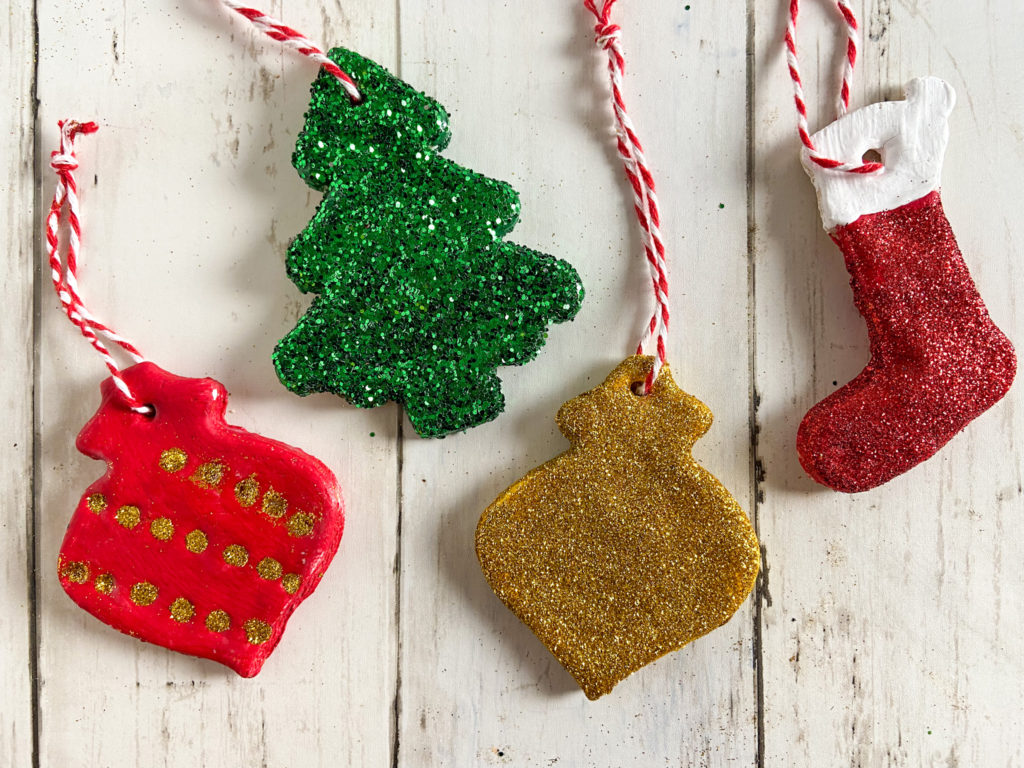
I LOVE the glitter look…the more glitter, the merrier as far as I’m concerned! If you plan to use glitter on your ornaments, paint them first. Once they’re completely dried, add a coat of mod podge and again, let it dry completely. Then, brush glue onto the ornament and cover it with glitter.
As much as I love glitter, I HATE that these micro plastics end up in our oceans. It is extremely harmful for our environment. Luckily, there is bio-degradable, earth friendly glitter available!
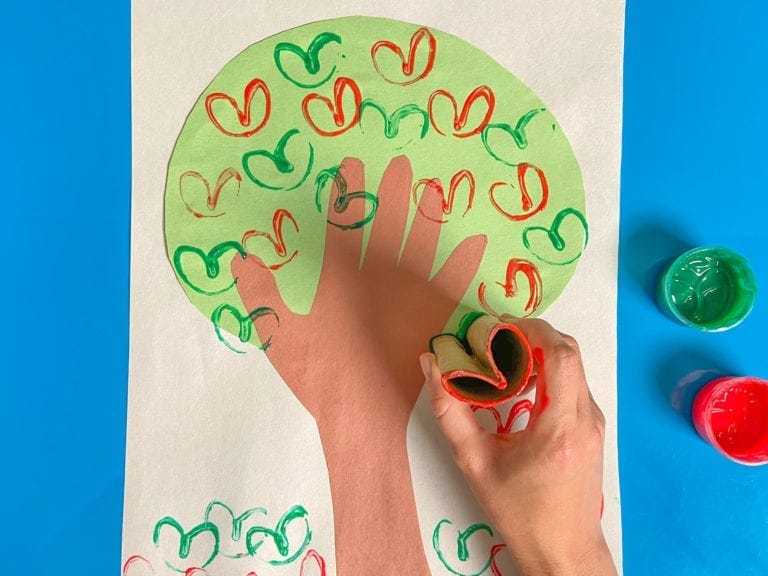
Tips on Making Hand Prints in the Salt Dough

Kids’ hand prints are by far my favorite things to make out of salt dough. It’s a moment in time, when our kids are small, that we can capture and save forever. *Insert mushy mom sniffles here!*
If you want your hand print ornaments to be in a circle shape like the ones pictured above, I would suggest doing the hand print first, THEN cutting a circle around the print. If you cut out the circle (or other shape) first, the shape will be distorted once your child pushes his hand into it.
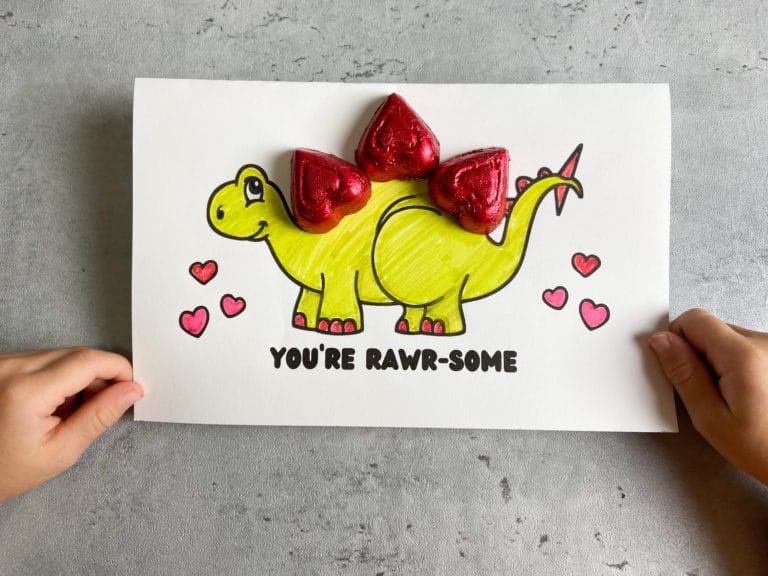
Dinosaur Ornaments!
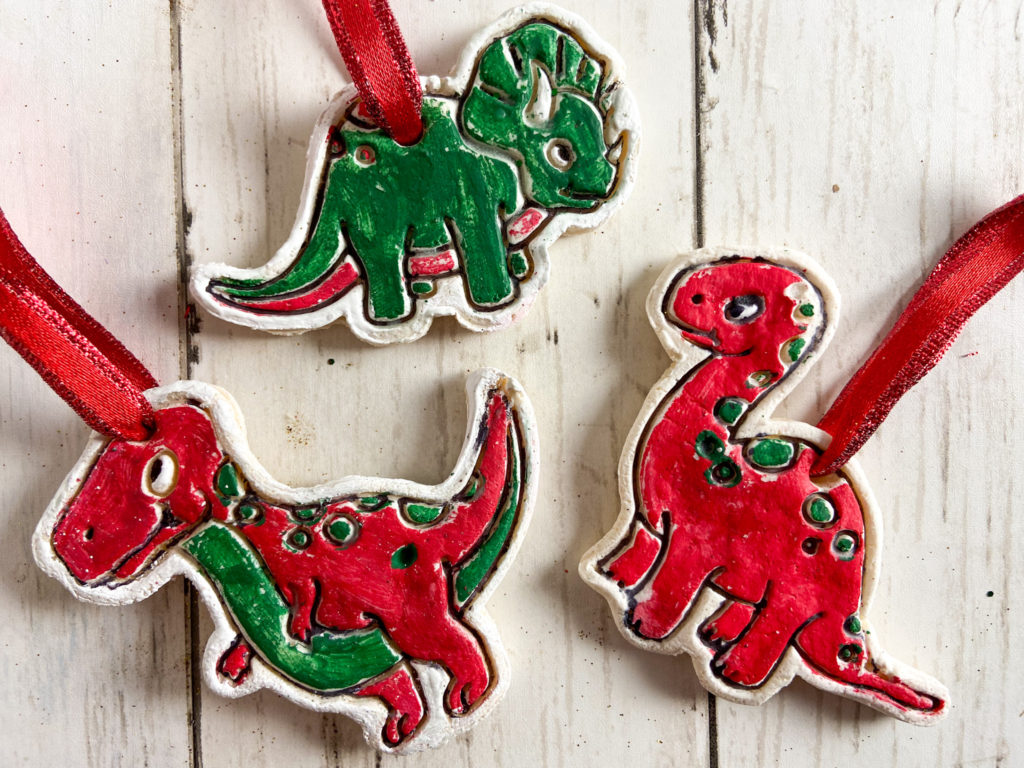
My son is OBSESSED with dinosaurs, so we had to make dinosaur ornaments too!
If you have a dinosaur lover at home, you’ll love these dinosaur fossil cookies and DIY dinosaur fossils! This dinosaur gift guide my also come in handy.
Try these other Christmas activities and recipes
- Twigs & Yarn Christmas Tree Ornament – Easy Kids Craft
- Cute And Easy Paper Straw Christmas Tree Ornaments Kids Craft
- Button Wreath Christmas Ornament – Cute Kids Craft + Video
- Pine Cone Christmas Trees – Easy Holiday Kids Craft
- Snow Globe Christmas Card With Free Printable + Video
- Christmas White Chocolate S’more Pops
- Christmas White Hot Chocolate
- Christmas Tree Rice Krispies Treats
- Christmas Pecans – Candied Nuts Perfect for the Holidays

Salt Dough Christmas Ornaments
Equipment
- cookie cutters
- ribbon or string
Ingredients
- 4 cups all-purpose flour
- 1 cup table salt
- 1 1/2 cups water plus more if needed
Instructions
- Preheat the oven to 250º F.
- Add the flour and salt to a large bowl and mix until combined. Then, add the water and mix until fully incorporated. Kneed the dough for 3-5 minutes, until it is smooth. If the dough is too dry, add a little more water, and if it’s wet and sticky, add a little more flour. The dough should be soft and easy to work with, but not sticky.
- Roll the dough out between 1/8″ and 1/4″ thickness. If the dough is sticking to the counter and rolling pin, you can roll it between two pieces of parchment paper. Then, use cookie cutters to cut out different shapes.
- Use a chopstick, fork, or any other instrument to create designs and textures on the ornaments (optional). Then, use a chopstick to create a hole at the top of the ornament.
- Place the ornaments on a baking sheet lined with parchment paper. Bake for an hour and a half, or until the ornaments are completely hard and dried out. If the ornaments are on the thicker side, they will need to bake longer, possibly up to 3 hours.
- Once the ornaments are completely cooled, paint them with acrylic paint. Let the paint fully dry, then brush on a coat of mod podge to seal it. Brush mod podge onto the back of the ornament as well, whether or not you decorated it. This will help to preserve the ornaments for a long time.
- Tie a string through the hole at the top of the ornaments, then hang it on your Christmas Tree!
Notes
As always, sharing is caring! Please click on the buttons below to share this post with your friends!