

Pressed Flower Butterfly Suncatcher Craft + Free Printable
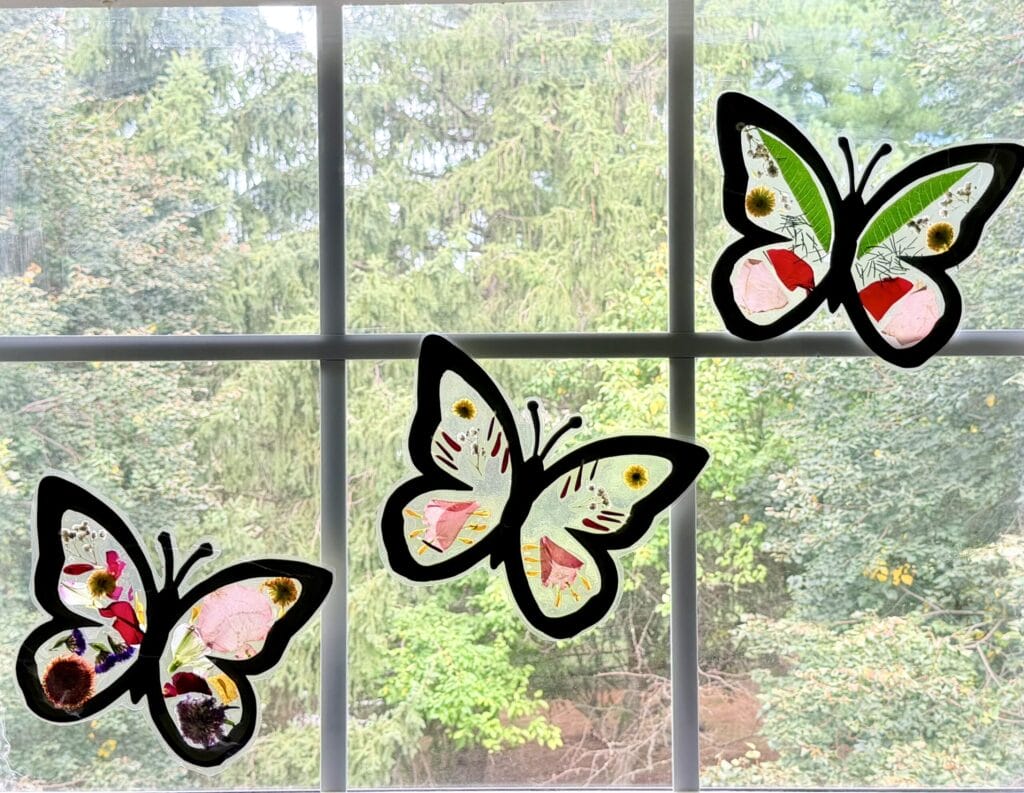
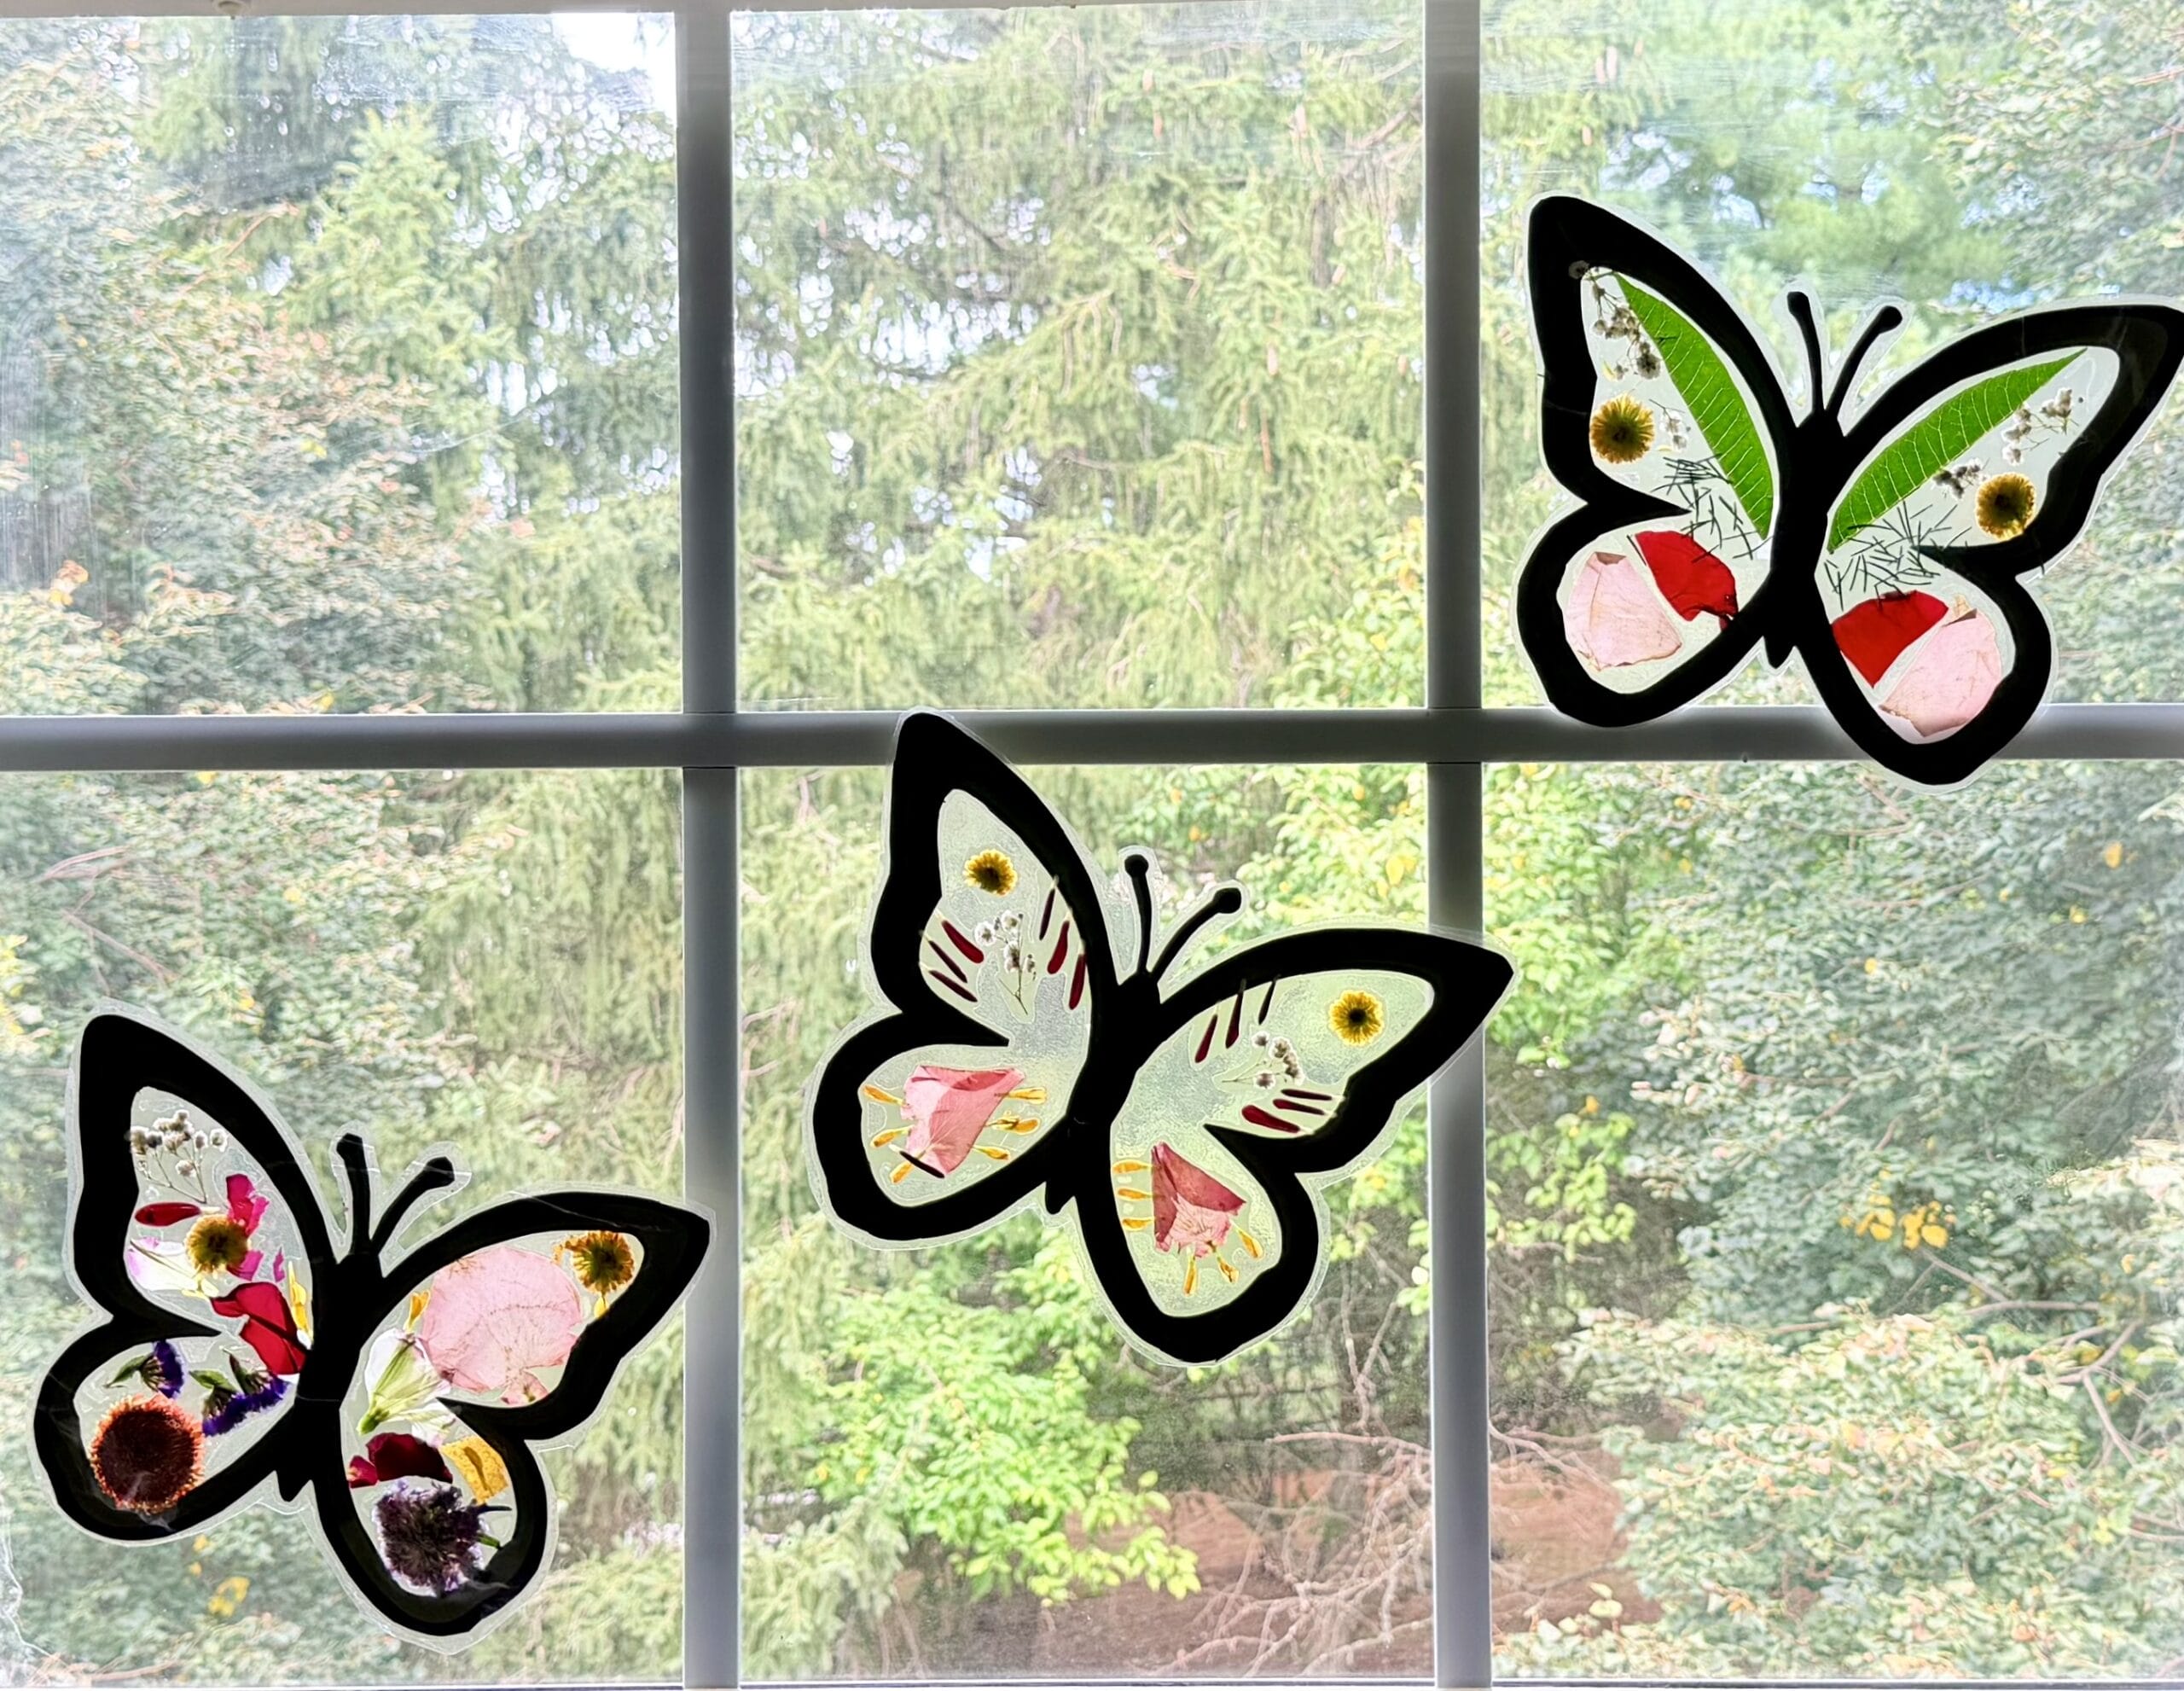
This pressed flower butterfly suncatcher is a simple nature craft that turns dried flowers and leaves into a beautiful window decoration.
Using the free butterfly template, cardstock, clear contact paper and pressed flowers, kids can create a colorful butterfly that looks especially pretty when the sunlight shines through it.
It’s a great spring or summer craft, nature activity or homeschool project — and no two butterflies will ever look exactly the same.
Why You’ll Love This Butterfly Suncatcher
This craft is:
- Easy to customize
- Made with real flowers and leaves
- A fun way to use flowers collected outside
- Great for spring and summer
- Perfect for nature study
- Simple enough for kids with some adult help
- Beautiful displayed in a sunny window
Supplies
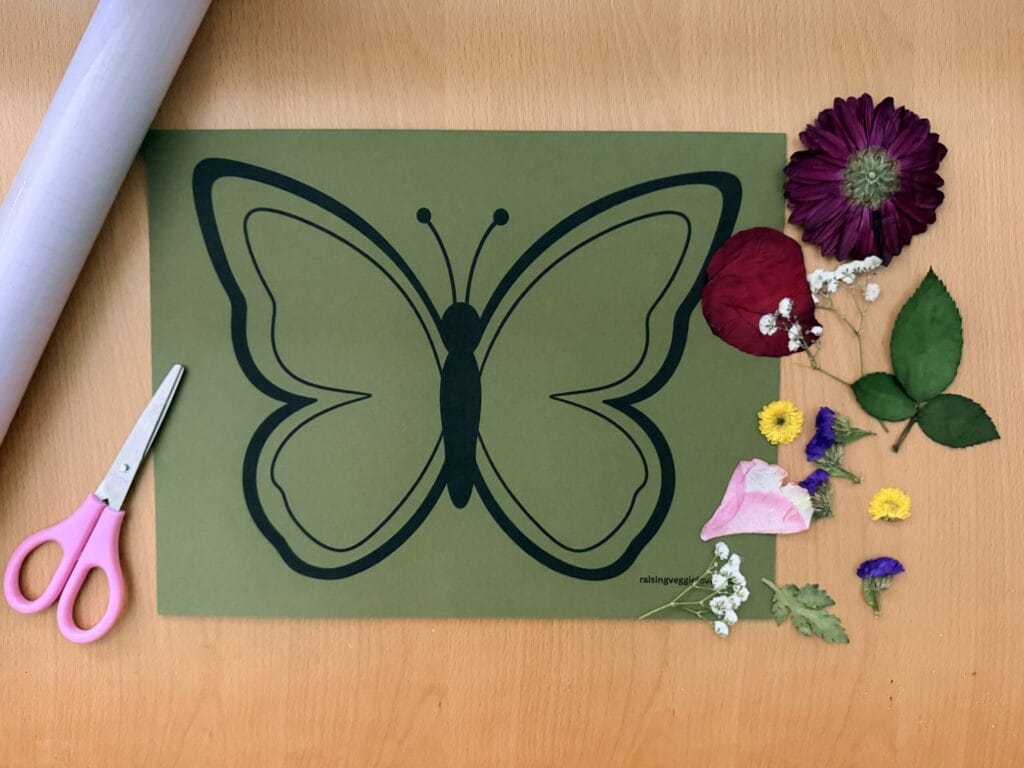
You’ll need:
- Free Butterfly Suncatcher Template
- Cardstock
- Clear contact paper
- Pressed or dried flowers
- Pressed leaves
- Scissors
- Pencil, optional
- String or clear tape for hanging, optional
I printed the butterfly template on green cardstock, but you can use any color you like.
The printable includes a full-size butterfly template designed specifically for creating a pressed flower suncatcher.
[DOWNLOAD THE FREE BUTTERFLY SUNCATCHER TEMPLATE]
How to Make a Pressed Flower Butterfly Suncatcher
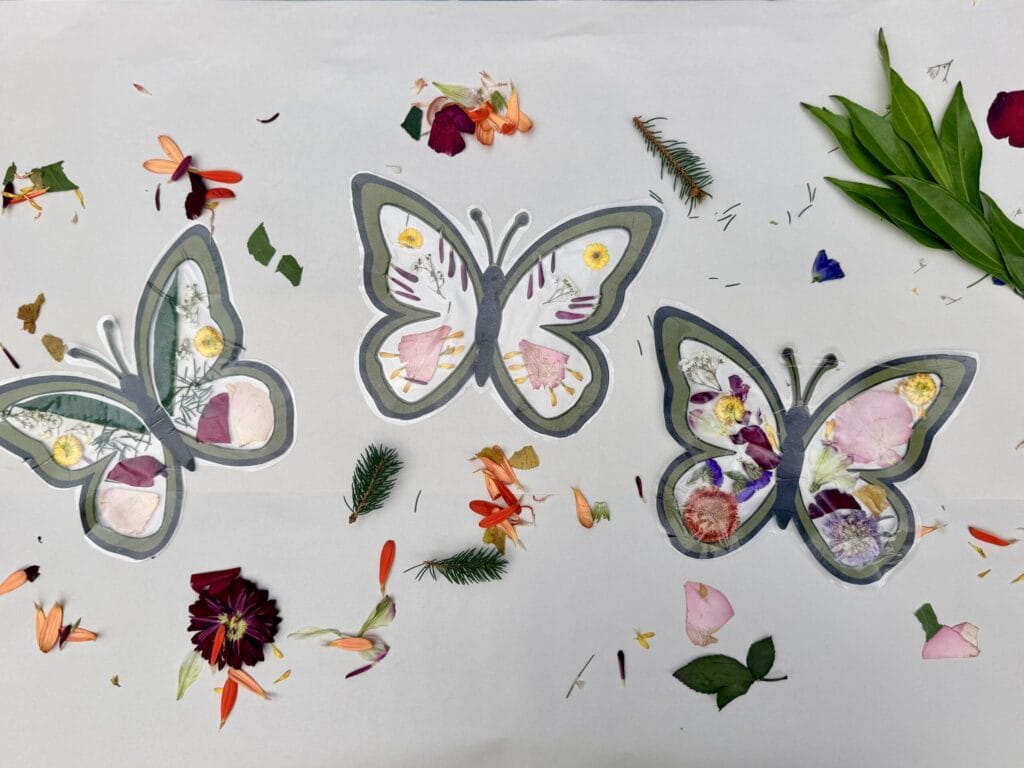
Step 1: Print the Butterfly Template
Print page 2 of the butterfly template directly onto cardstock.
I used green cardstock, but any color will work.
Step 2: Cut Out the Butterfly
Cut around the outside edge of the butterfly.
Next, carefully cut out the inside sections of the wings, leaving the butterfly border intact.
Older kids may be able to do this themselves, but younger children will probably need help with the inner wing sections.
Step 3: Add the Clear Contact Paper
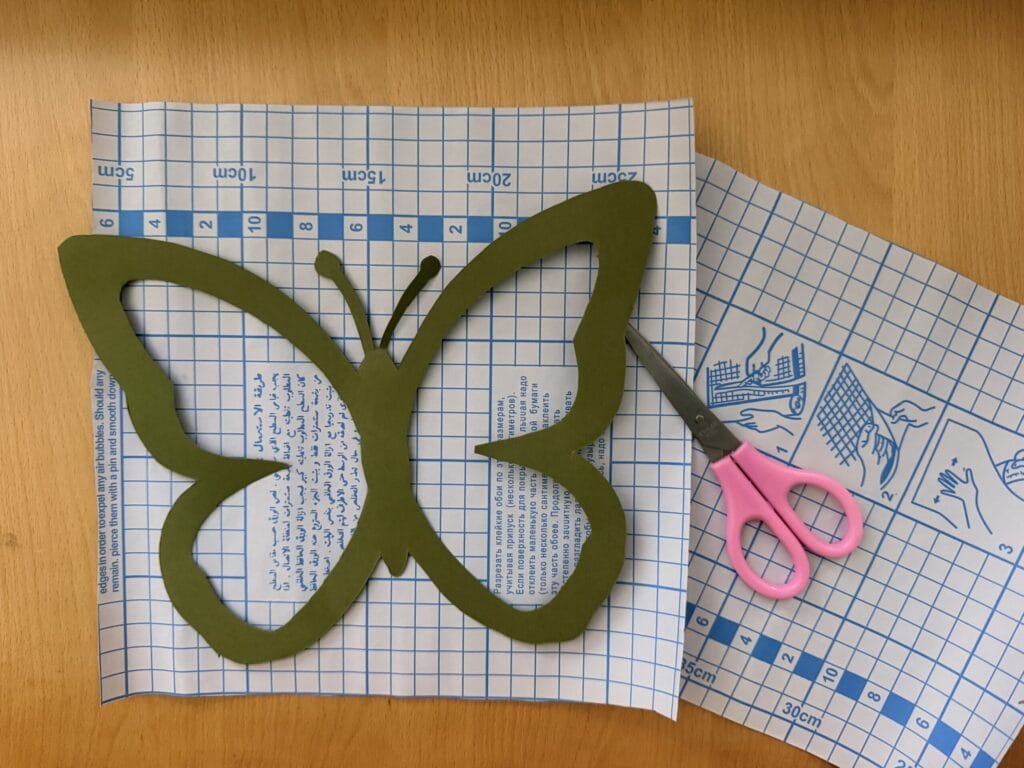
Cut a piece of clear contact paper slightly larger than the butterfly.
Peel off the backing and place the sticky side against the back of the butterfly so the open wing sections are covered.
Press it down firmly around the cardstock border.
Step 4: Add the Pressed Flowers and Leaves
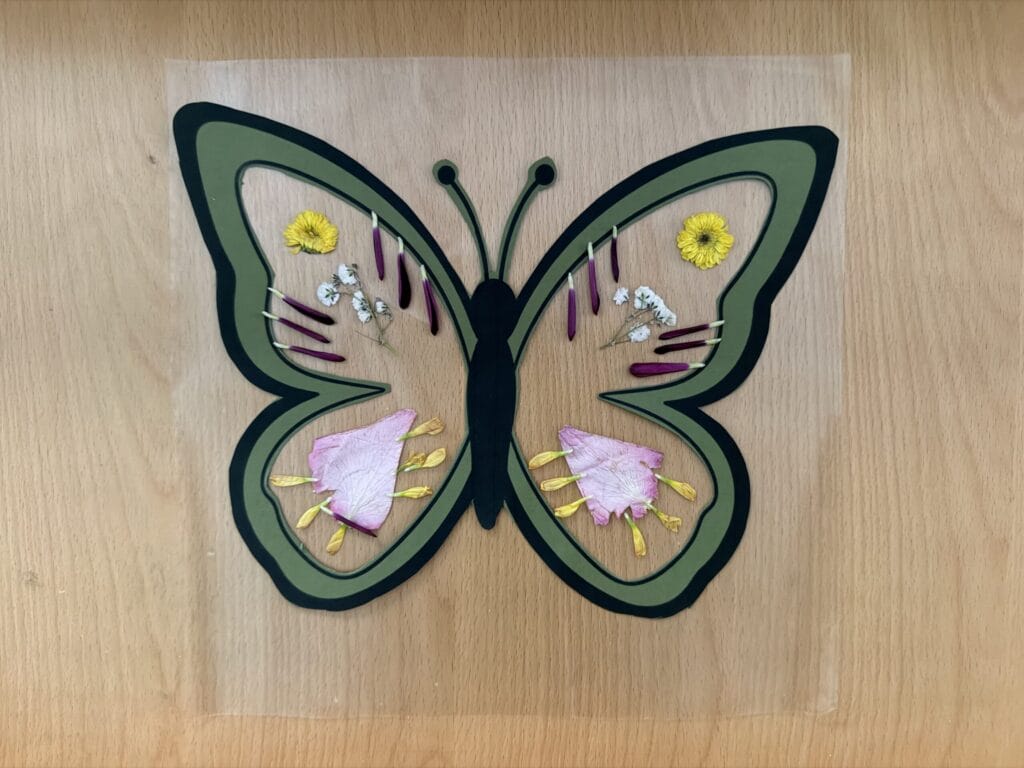
Arrange dried flowers and leaves on the sticky side of the contact paper inside the butterfly wings.
Kids can create a symmetrical design or simply place the flowers wherever they like.
Try mixing different:
- Flower shapes
- PetalsLeaves
- Colors
- Small pieces of greenery
There really isn’t a wrong way to decorate it.
Step 5: Seal the Suncatcher
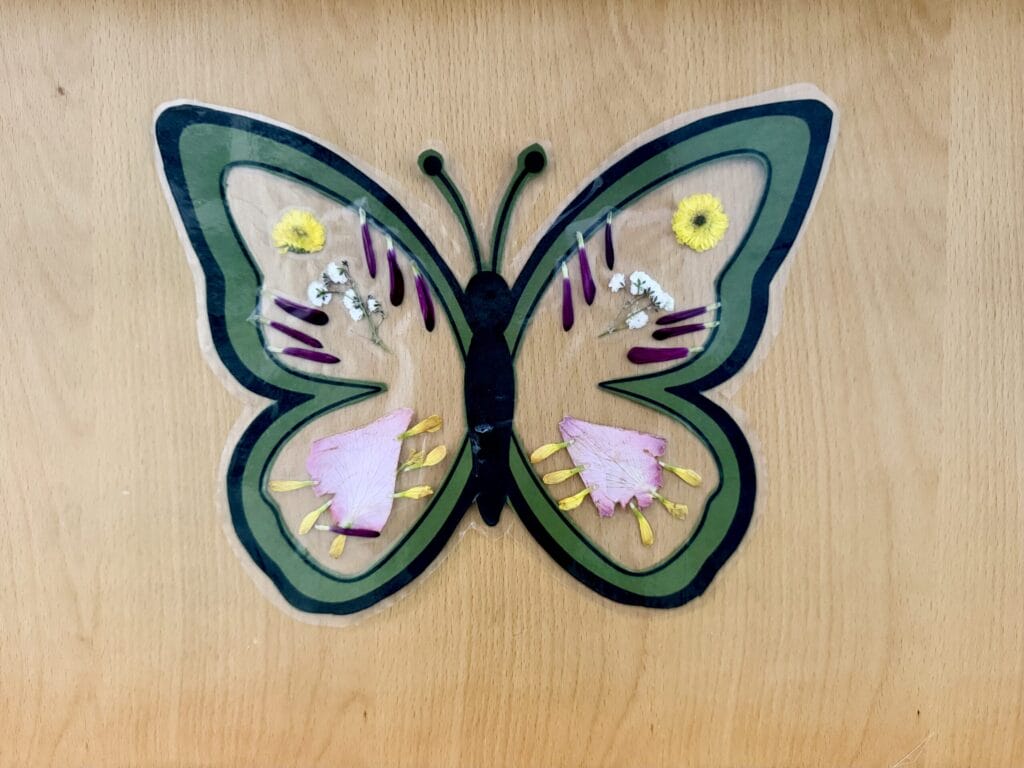
Cut another piece of clear contact paper and place it over the front of the butterfly.
Press everything together firmly to seal the flowers between the two layers.
Trim away the extra contact paper around the outside edge of the butterfly.
Step 6: Hang It in a Window
Tape the finished butterfly directly to a window or add a small loop of string for hanging.
Place it somewhere that gets plenty of natural light so the pressed flowers glow when the sun shines through.
How to Dry Flowers for Crafts
If you don’t already have dried flowers, you can easily press your own at home.
I used the classic book pressing method.
What You’ll Need
- Fresh flowers or leaves
- Coffee filters
- Heavy books
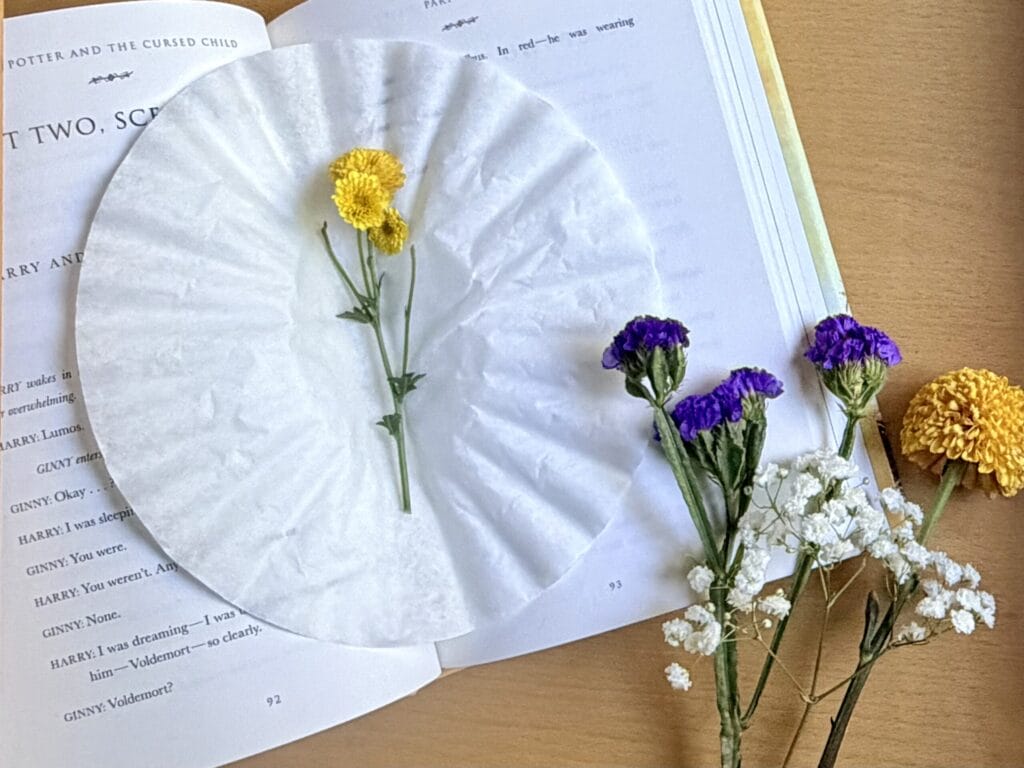
Step 1: Choose Your Flowers
Pick small flowers, petals and leaves that are relatively flat.
Thick flowers hold more moisture and may take longer to dry.
Step 2: Place the Flowers Between Coffee Filters
Lay the flowers flat between two coffee filters.
Coffee filters help absorb moisture while keeping the flowers from sticking directly to the book pages.
Try to arrange the petals the way you want them to look once dried.
Step 3: Press Them in a Heavy Book
Place the coffee filters inside a heavy book.
Close the book carefully so the flowers don’t shift.
Stack additional heavy books on top for extra pressure.
Step 4: Let the Flowers Dry
Leave the flowers pressed until they are completely dry and flat.
Smaller flowers may dry faster, while thicker flowers and leaves can take longer.
Once dry, remove them carefully because pressed flowers can be fragile.
Tips for Pressing Flowers
For the best results:
- Choose flowers that are fresh but not wet
- Avoid pressing flowers immediately after rain
- Use flowers with thinner petals when possible
- Spread petals out before closing the book
- Don’t overcrowd the coffee filters
- Let flowers dry completely before using them in the suncatcher
Can You Use Something Besides Real Flowers?
Yes.
If you don’t have pressed flowers, you can still use the butterfly template with:
- Tissue paper
- Small pieces of colored cellophane
- ConfettiPaper scraps
- Flat leavesFlower petals
The printable itself is designed to work with real flowers, leaves or tissue paper, so there’s plenty of room to customize it.
Nature Learning Ideas
You can easily turn this craft into a simple learning activity.
Before making the suncatcher, take a walk outside and look for different types of flowers and leaves.
Kids can:
- Compare flower colors
- Look at different petal shapes
- Identify leaves
- Talk about symmetry
- Sort flowers by size or color
- Notice which flowers press well
- Observe how flowers change as they dry
You can also ask kids to create a symmetrical butterfly by placing similar flowers on each side of the wings.
More Nature Activities
A Simple Nature Craft to Brighten the Window
This pressed flower butterfly suncatcher is such a simple way to turn flowers and leaves into something kids can enjoy long after they’ve been picked.
Each butterfly will look a little different depending on the flowers, colors and leaves you use, which makes every one unique.
Once it’s finished, hang it in a sunny window and let the light shine through.
[DOWNLOAD THE FREE BUTTERFLY SUNCATCHER TEMPLATE]