

Fall Leaf Spinner Craft for Kids (With Free Printables!)
As an Amazon Associate, I earn from qualifying purchases. This post may contain affiliate links. Read my disclosure policy.
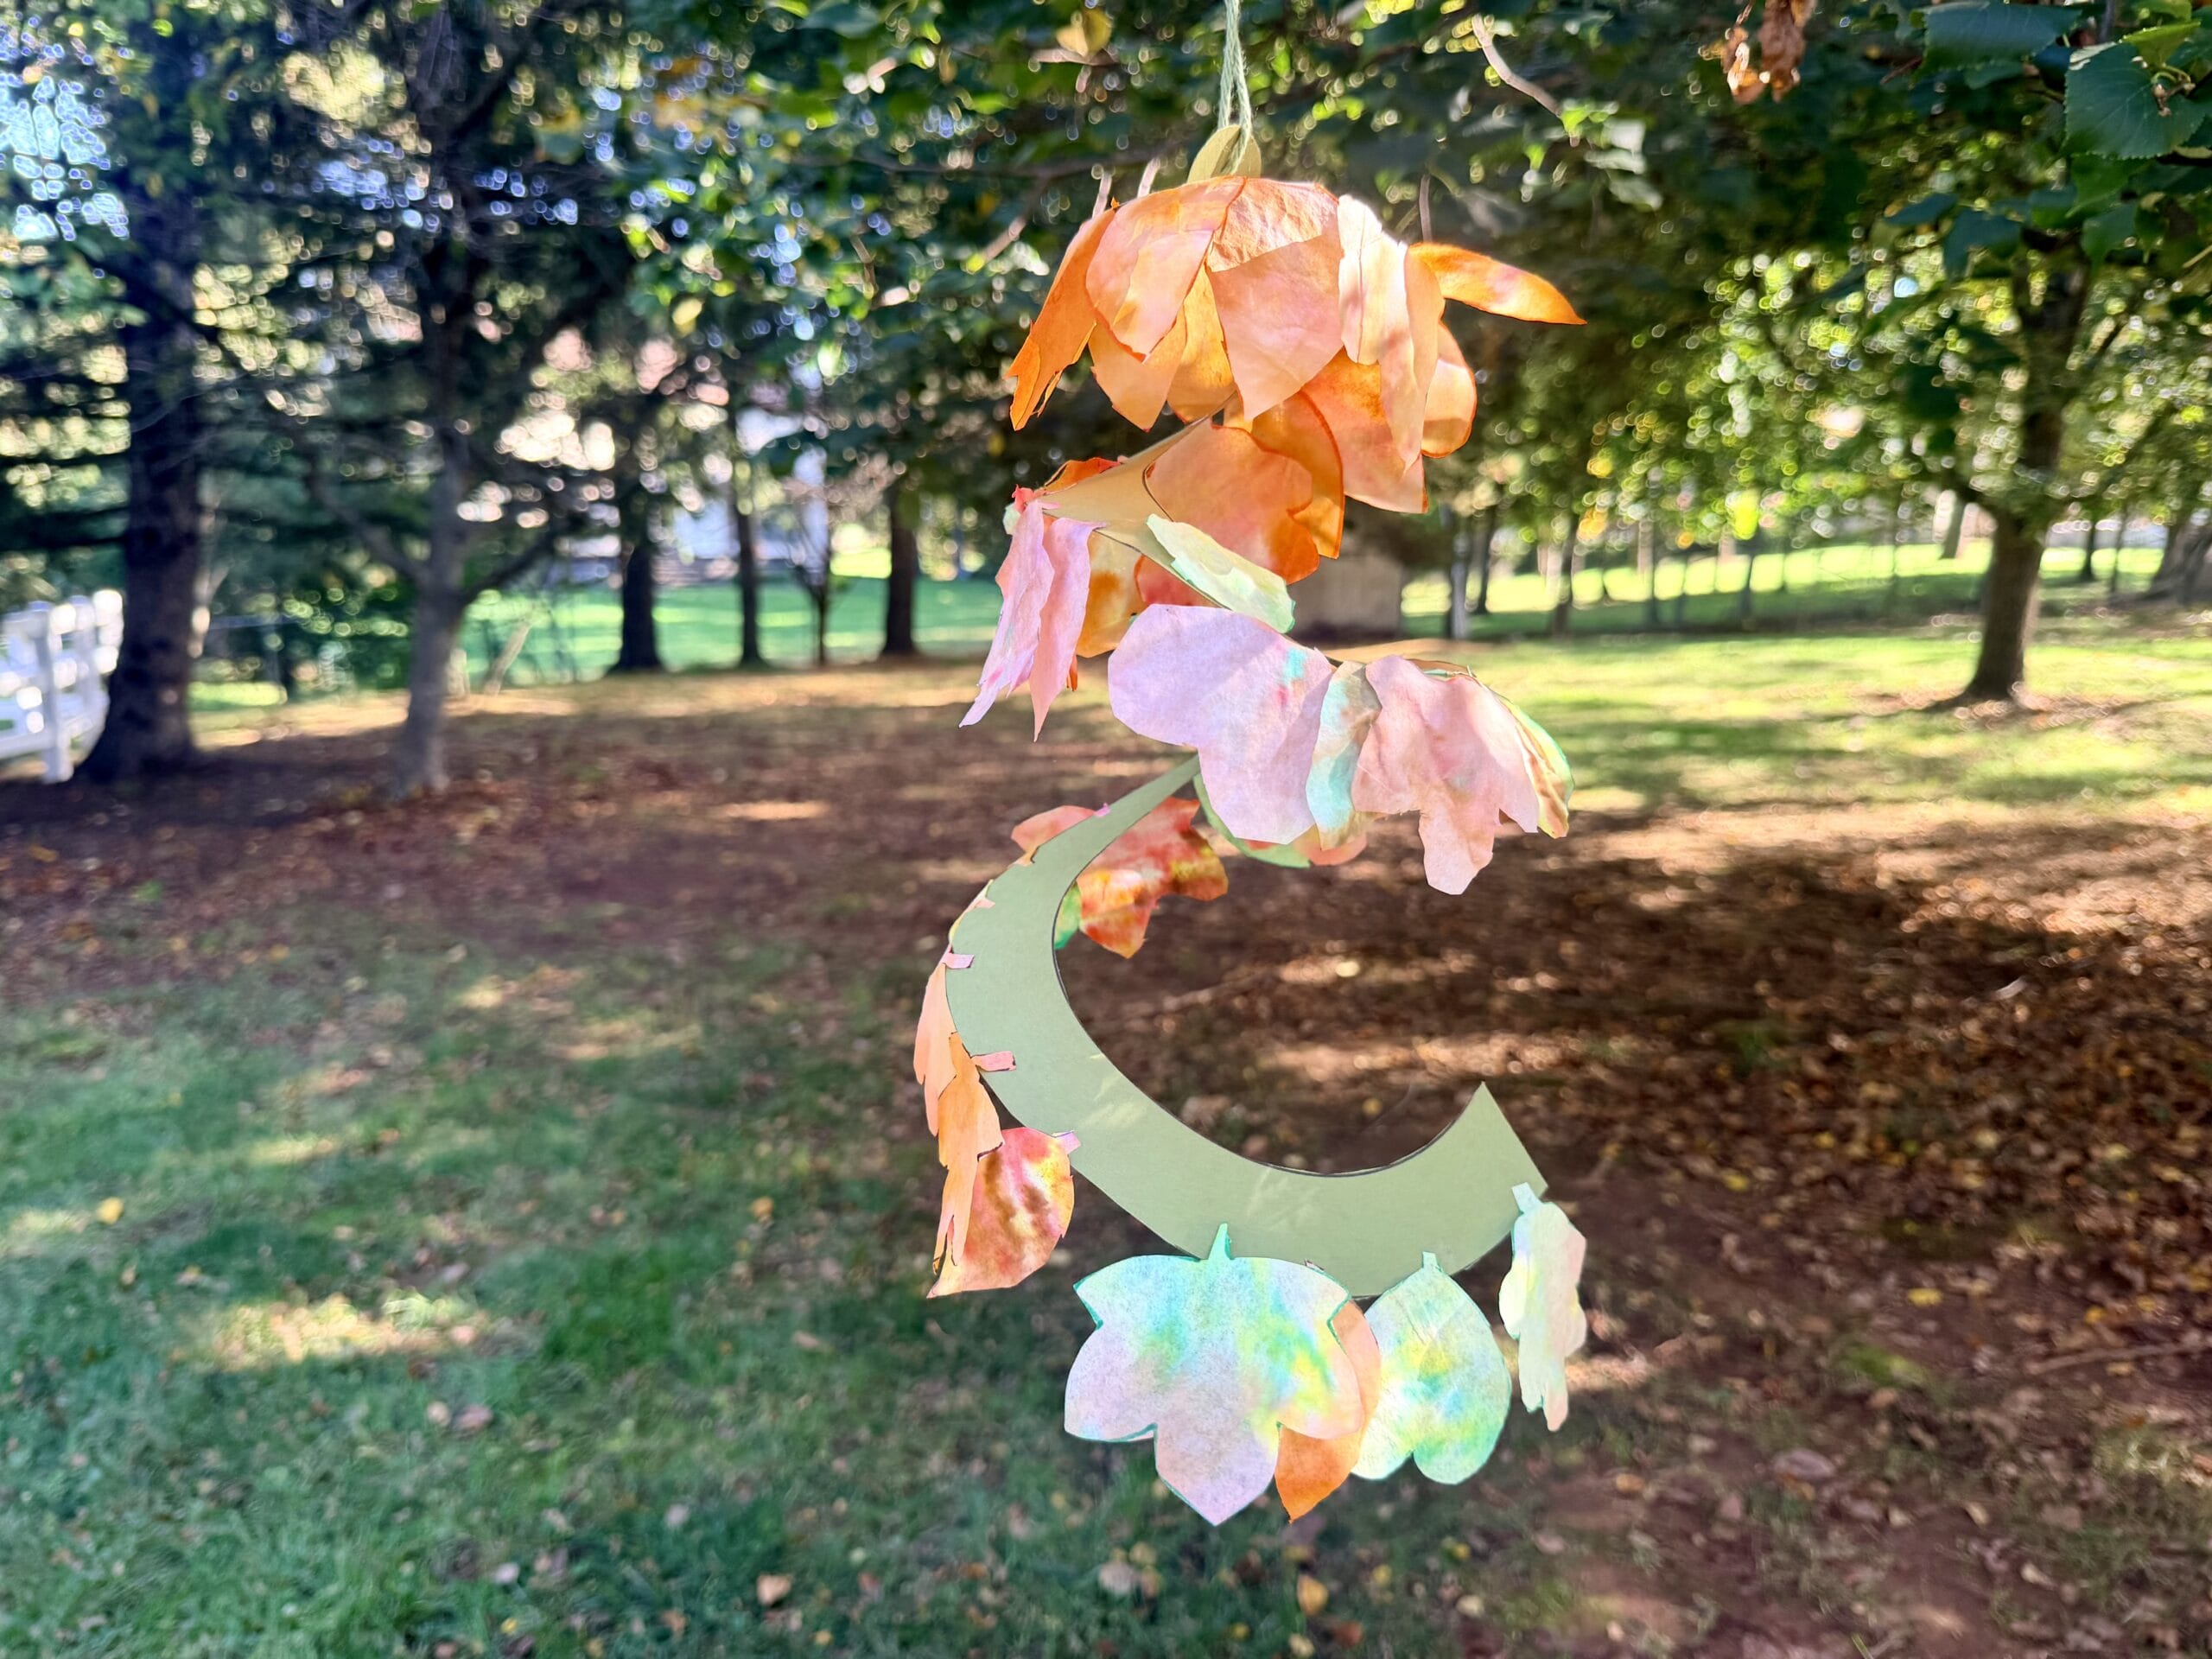
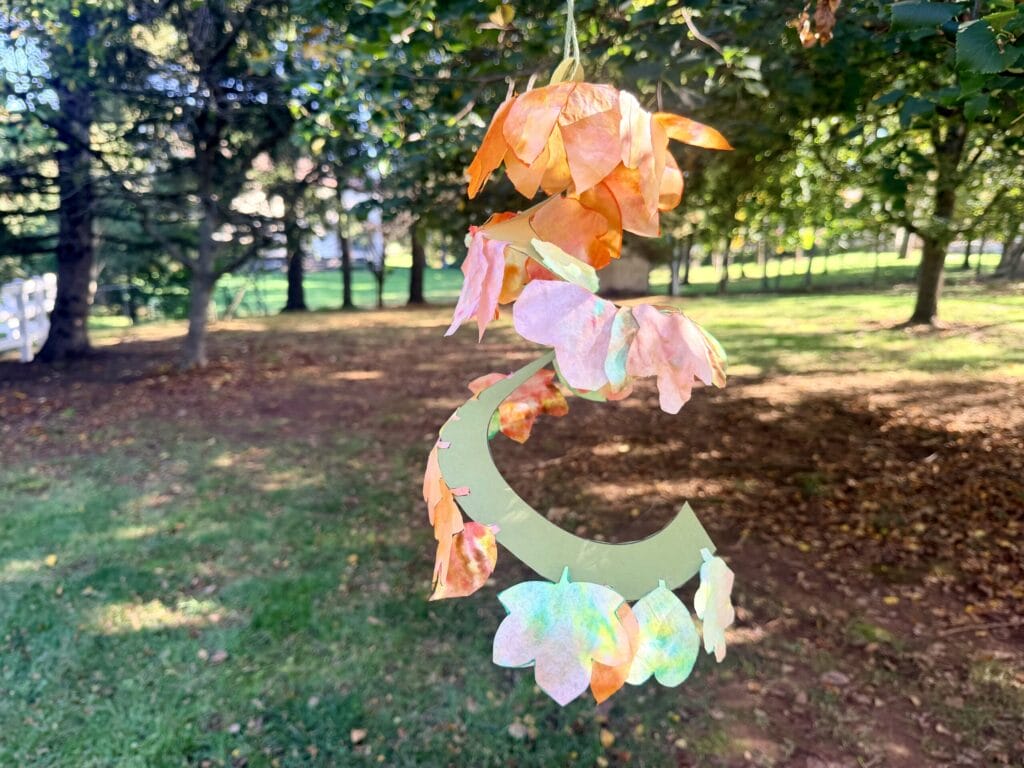
Looking for a fun fall craft that’s as pretty to display as it is to make? This fall leaf spinner craft combines colorful coffee filter leaves with a hanging paper spiral that twirls in the breeze!
The coffee filter leaves have a beautiful watercolor effect, and when the finished spinner hangs near a sunny window, the colors catch the light as it spins.
Best of all, I’ve included two free printable templates to make this craft even easier!
I also love that we were able to reuse some materials from a previous craft. Remember our Butterfly Suncatcher Craft? I saved the coffee filters we used while drying the flowers and gave them a second life as colorful fall leaves!
This is a great autumn activity for kids, whether you’re looking for a seasonal homeschool project, a creative afternoon activity, or a pretty homemade fall decoration.
Why You’ll Love This Fall Leaf Spinner Craft
- Two free printables: A fall leaf template and a spiral spinner template make this craft easy to prepare.
- Beautiful watercolor effect: Washable markers and water create colorful, one-of-a-kind leaves.
- Fun to display: Hang your finished spinner near a window and watch it twirl.
- Great for different ages: Younger kids can enjoy coloring the coffee filters, while older kids can practice tracing and cutting.
- A little science, too: Explore color blending, moving air, and how light passes through the leaves.
- A chance to reuse materials: Give leftover coffee filters a second life instead of throwing them away.
Supplies You’ll Need
- Free fall leaf template printable
- Free spiral spinner printable
- Cardstock (I used sage green for the spinner)
- White coffee filters
- Washable markers
- Spray bottle filled with water
- Scissors
- Pencil for tracing
- Glue stick
- Hole punch
- String or yarn
- Tray or protected work surface
Tip: Make sure you’re using washable markers. Unlike permanent markers, washable marker ink spreads when sprayed with water, creating the beautiful watercolor effect.
How to Make a Fall Leaf Spinner
Step 1: Color the Coffee Filters
Start by spreading your coffee filters out on a protected work surface.
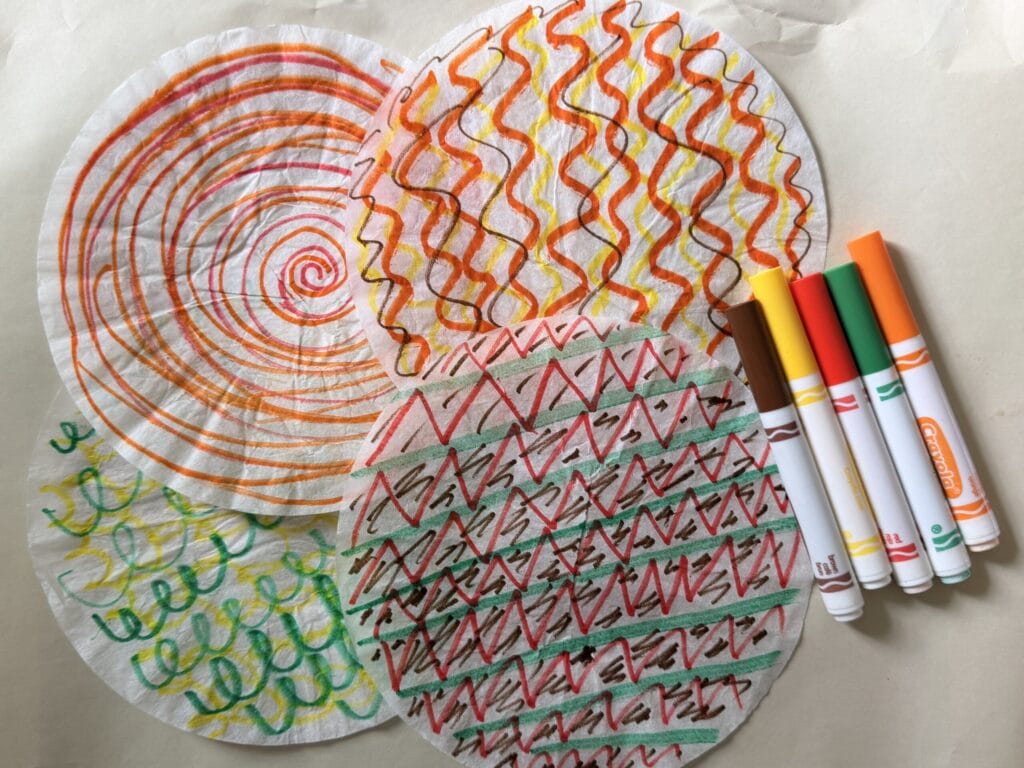
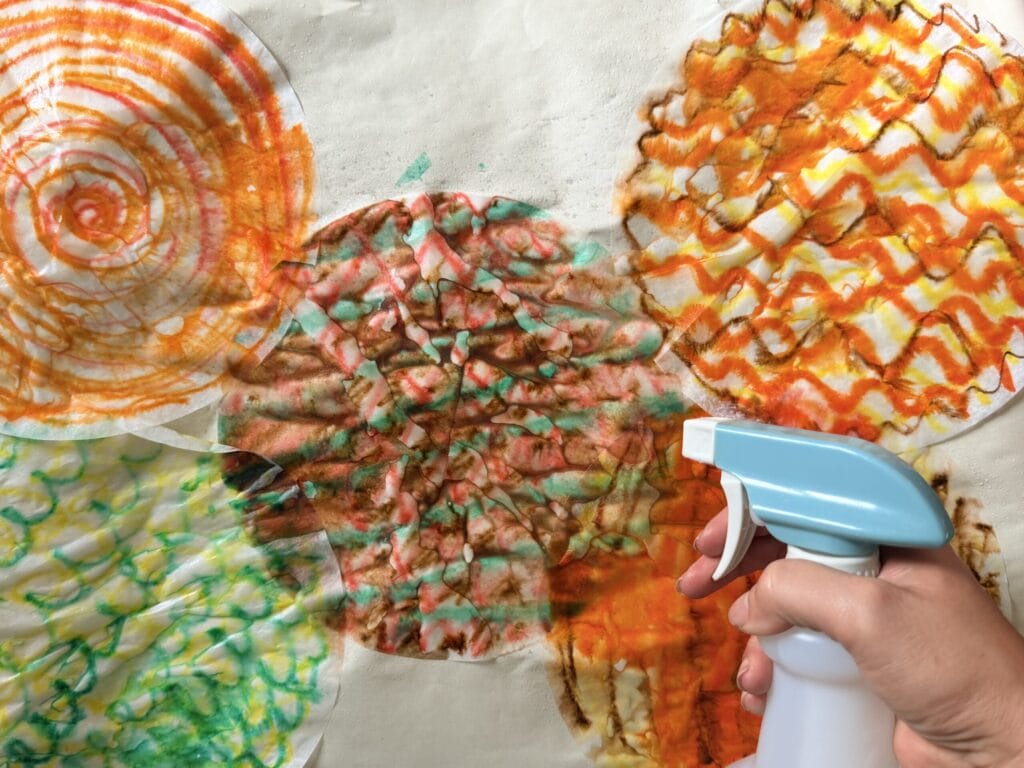
Use washable markers to draw different designs and patterns on the coffee filters. You can make stripes, swirls, circles, or random patches of color.
Stick with fall-inspired colors like red, orange, yellow, and brown for a beautiful autumn look.
Don’t worry about making perfect designs. The colors will blend together when you add water!
We reused the coffee filters from when we dried the flowers for our Butterfly Suncatcher Craft, which made this project even more fun.
Step 2: Spray with Water
Once you’ve finished coloring, use a spray bottle to lightly mist the coffee filters with water.
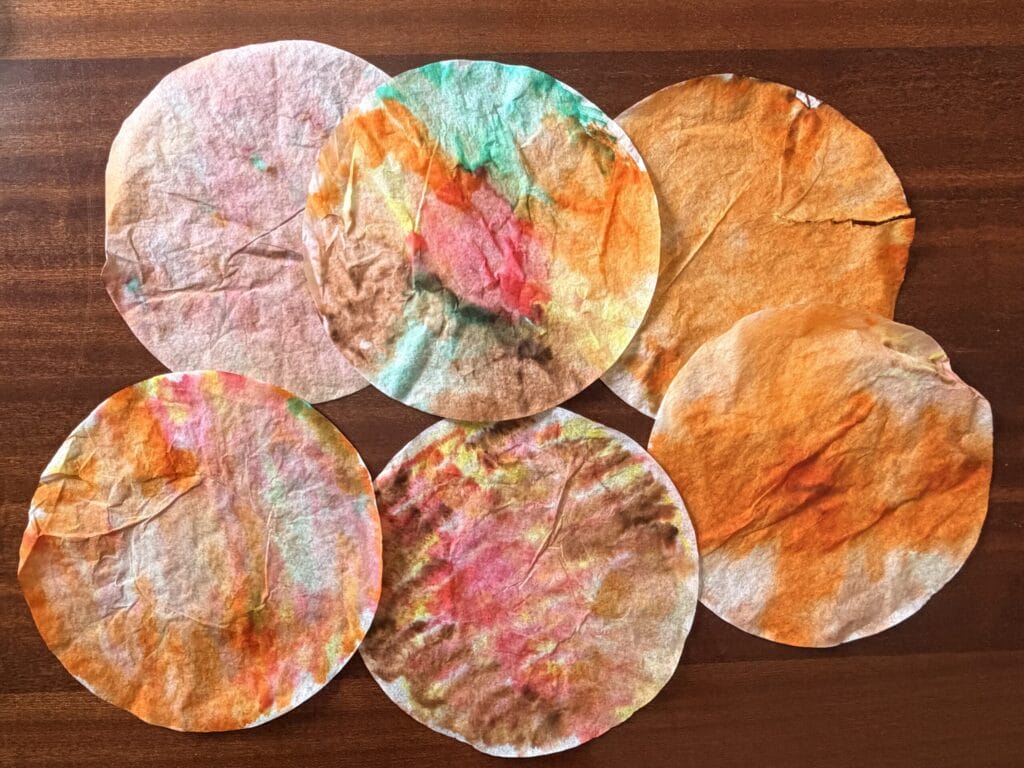
Watch as the marker colors begin to bleed and blend into one another!
This is one of my favorite parts of coffee filter crafts. It’s always fun to see how the colors spread and create unexpected patterns.
You don’t need to completely soak the coffee filters. Just spray enough water to make the colors blend.
Set them aside and allow them to dry completely before moving on.
Tip: I recommend placing the coffee filters on a tray or protected surface before spraying. The marker colors can bleed through and stain the surface underneath.
Step 3: Trace and Cut Out the Fall Leaves
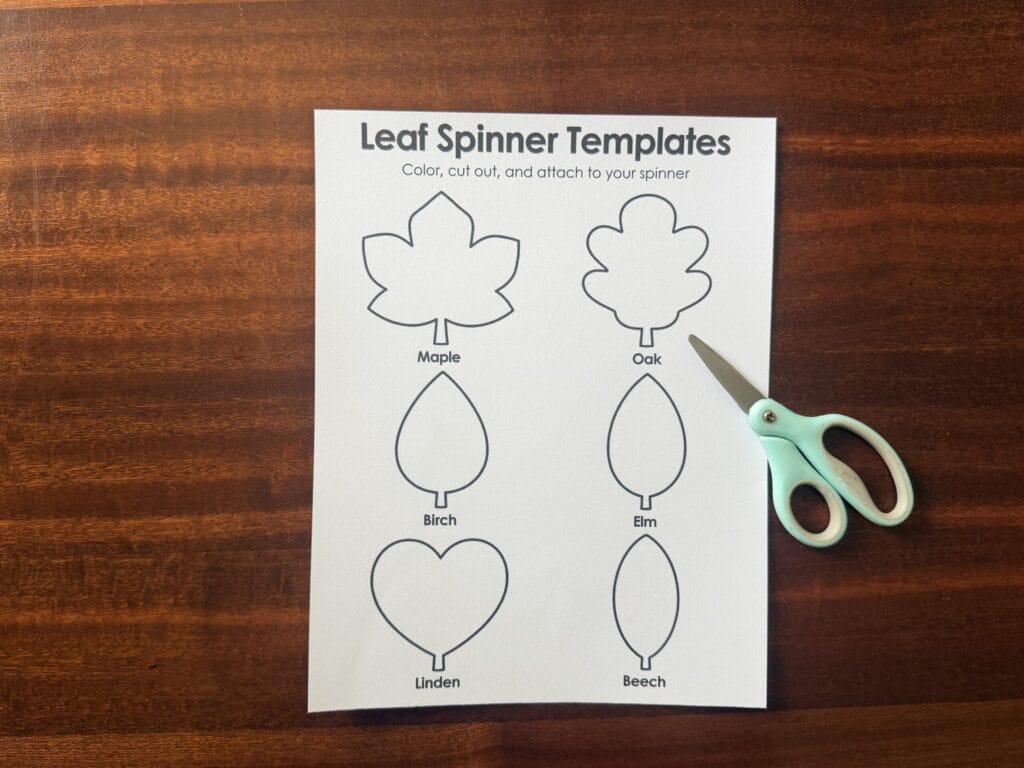
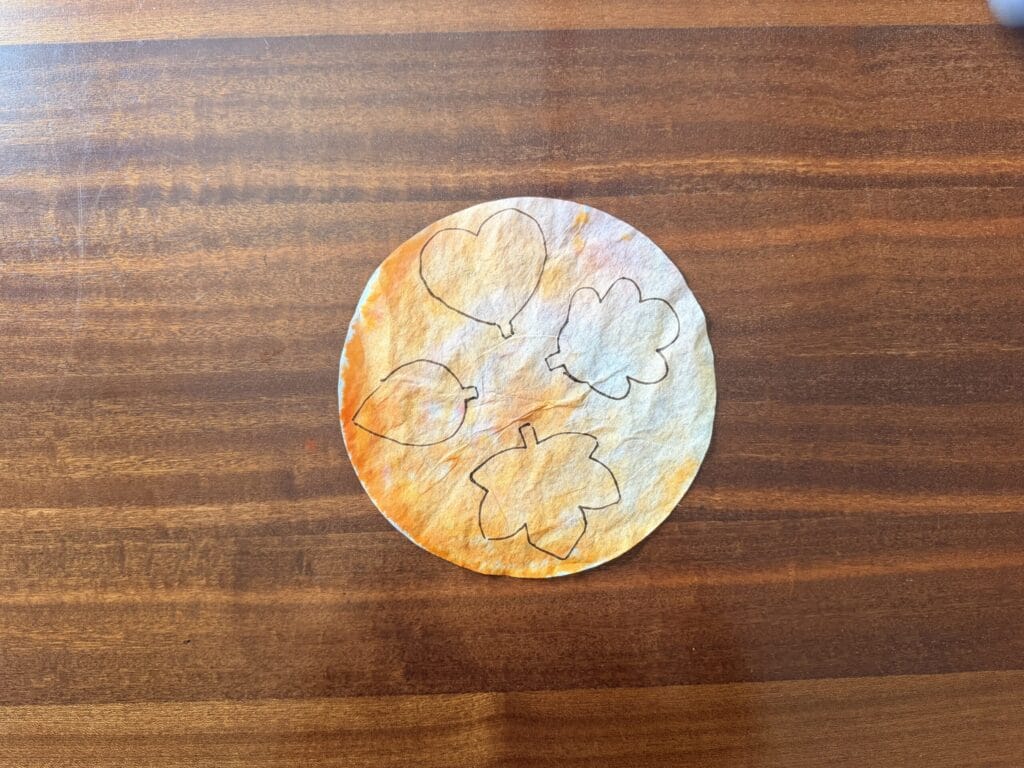
Once your coffee filters are dry, grab your fall leaf template printable.
I printed both of our templates onto cardstock to make them sturdier and easier to work with.
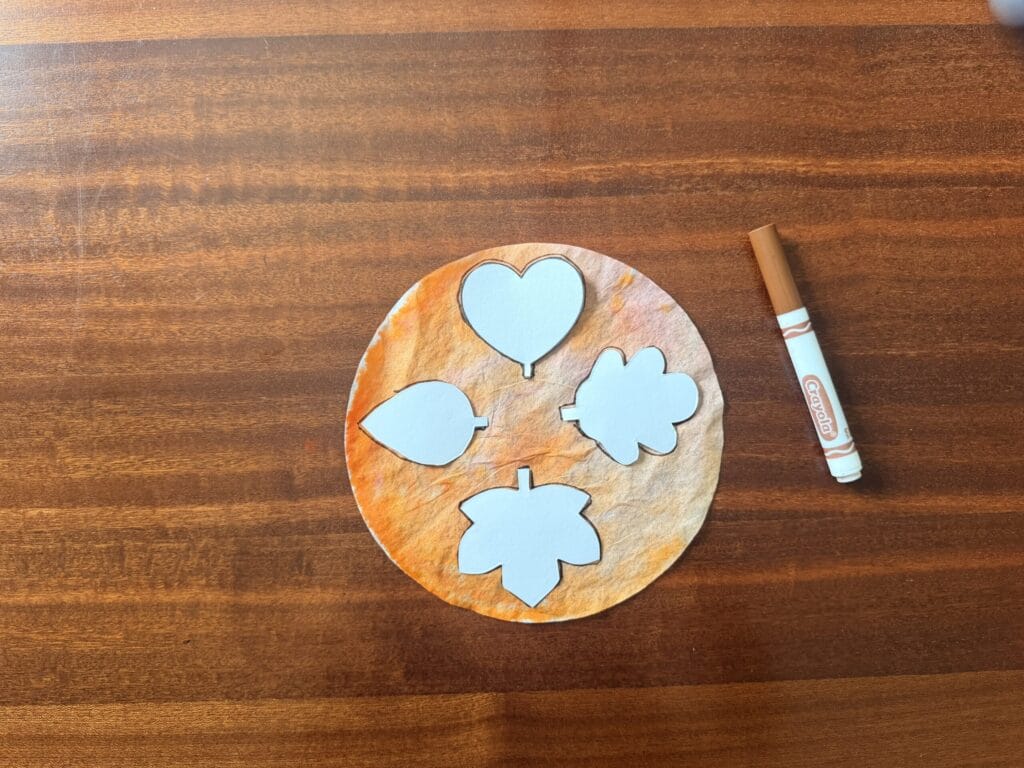
Cut out the leaf shapes you’d like to use. These will be your tracing templates.
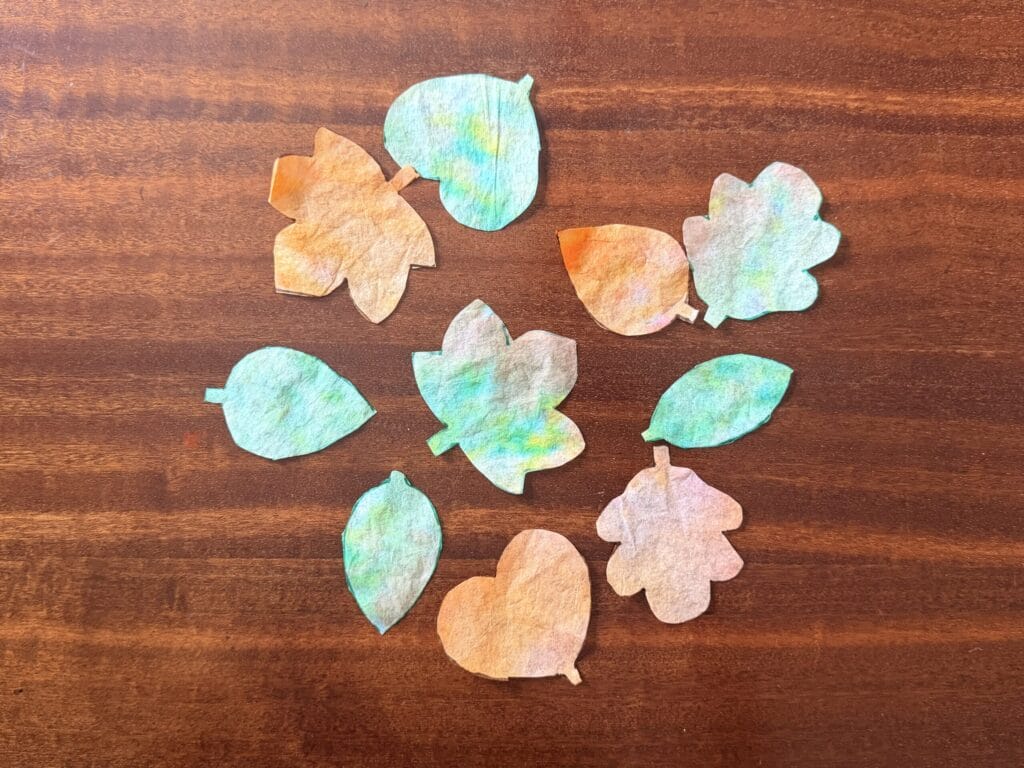
Place the cardstock leaf templates on top of the colored coffee filters, trace around them with a pencil, and carefully cut out each leaf.
Try using different shapes and sizes to give your spinner some variety.
The leaves should be lightweight enough to move with the spiral while still extending outward to catch the light.
Tip: Simpler leaf shapes are easier for younger kids to trace and cut out.
Step 4: Cut Out the Spiral Spinner
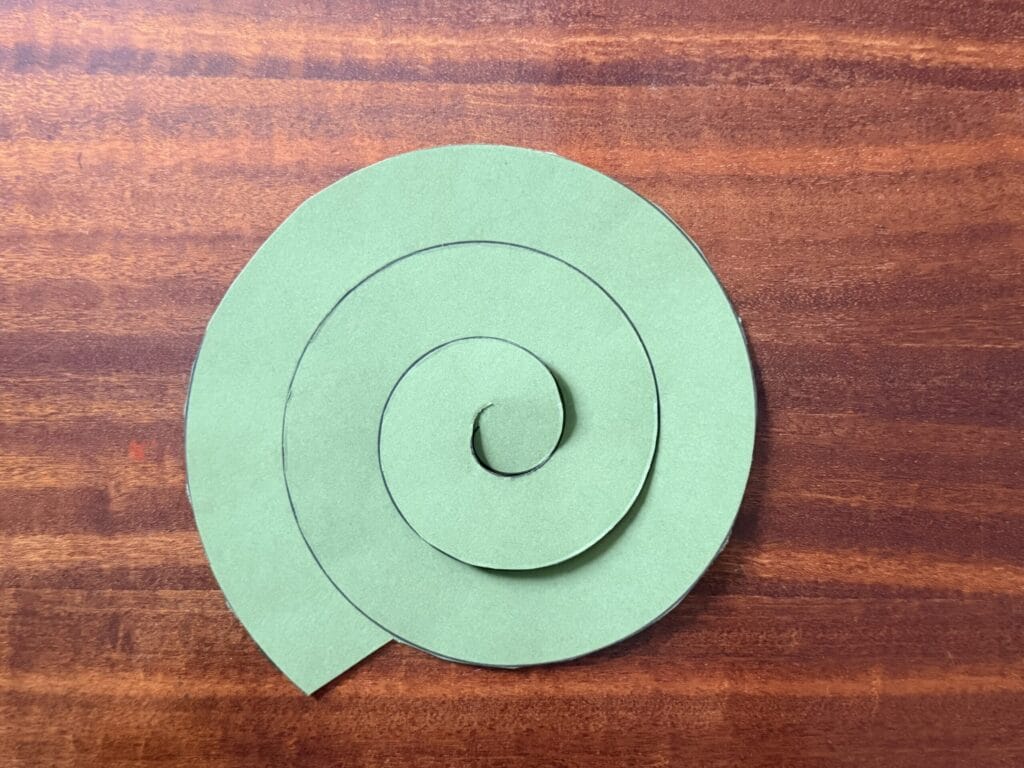
Next, grab your spiral spinner printable.
I printed ours on sage green cardstock, which complemented the warm fall colors of the coffee filter leaves.
Carefully cut along the printed spiral lines, following the swirl.
Once you’ve finished cutting, you’ll have one long spiral that extends downward when you lift it from the center.
Be careful not to cut across the spiral, or you may accidentally separate it into pieces.
Younger kids may need a little help with this step since cutting along the curved lines can be tricky.
Why cardstock? I liked using cardstock because it gave our spinner a little more structure and held the glued-on leaves nicely. Just keep in mind that heavier cardstock may need a stronger breeze to start spinning.
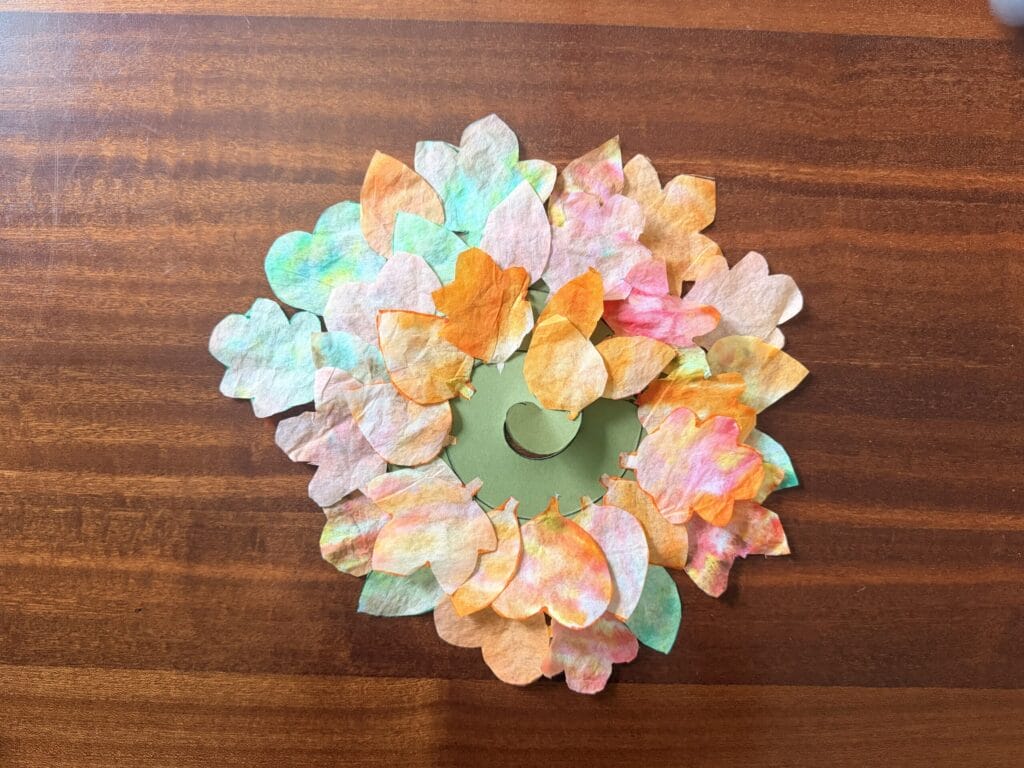
Step 5: Glue the Leaves onto the Spinner
Now comes the fun part—adding your colorful fall leaves!
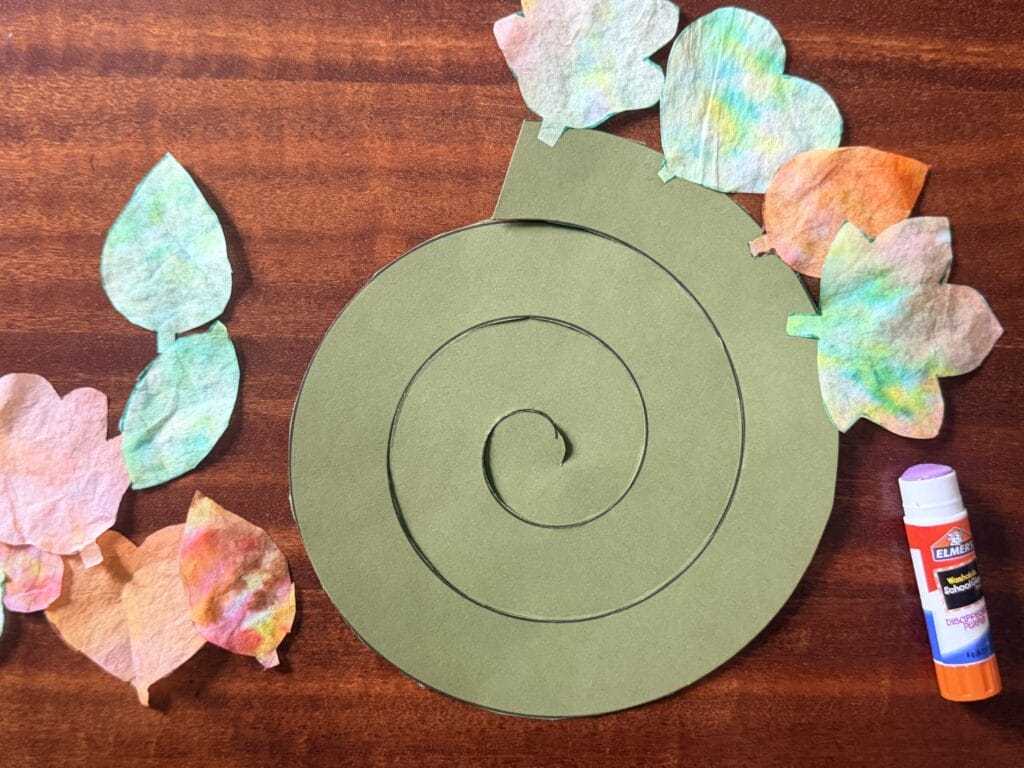
Use a glue stick to attach the stems of the coffee filter leaves to the outside edge of the spiral.
Start near the bottom and continue adding leaves along the swirl, working your way up.
Space the leaves out so they have room to extend outward without completely overlapping one another.
Only glue the stem portion of each leaf to the cardstock spiral. This allows the colorful leaves to stick out and gives the finished spinner a pretty, layered look.
Continue until you’re happy with how full your spinner looks.
Allow the glue to dry before hanging it up.
Step 6: Add String and Hang Your Spinner
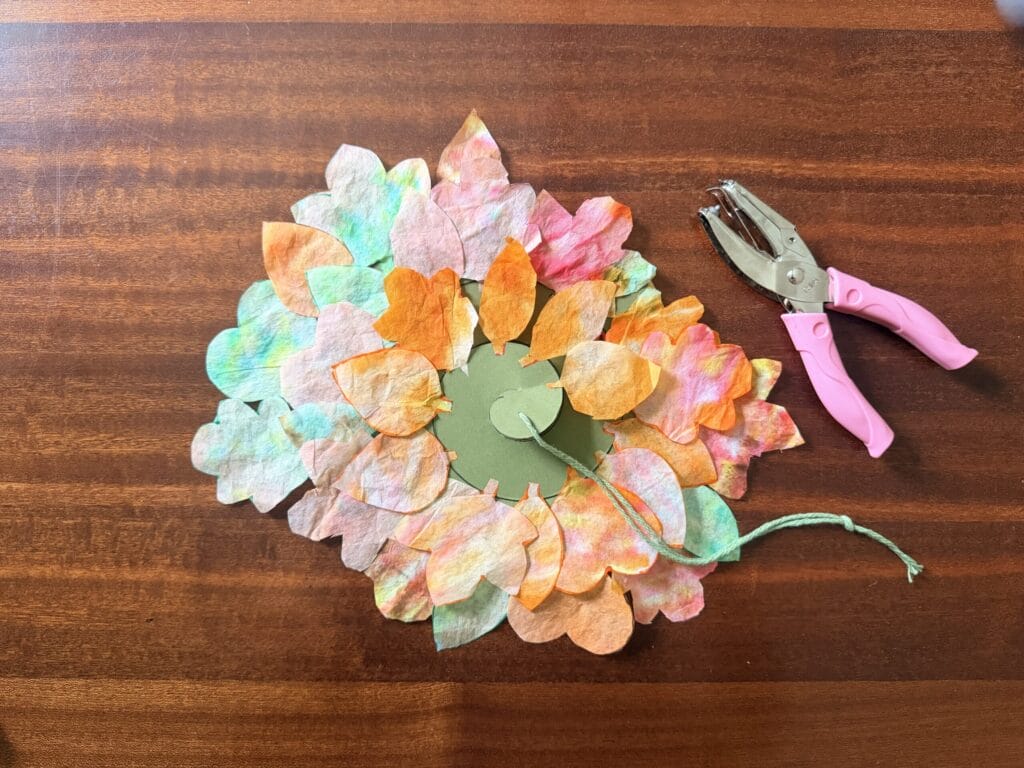
Use a hole punch to make a hole at the top of your spinner, near the center of the spiral.
Thread a piece of string or yarn through the hole and tie a secure knot.
Now find the perfect place to hang your creation!
We wanted our colorful leaves to catch the light, so hanging the spinner near a window is a great option.
As the air moves, the paper spiral can begin to turn, carrying the colorful leaves along with it.
And when sunlight shines through the coffee filter leaves, the colors look beautiful!
Tips for Making the Best Fall Leaf Spinner
Use fall colors. Red, orange, yellow, and brown give the leaves a beautiful autumn look. You can also add a little green for variety.
Let the coffee filters dry completely. Damp coffee filters are harder to trace, cut, and glue.
Use a glue stick. A glue stick works well for attaching lightweight coffee filter leaves without adding too much moisture.
Give your spinner room to move. Hang it somewhere it won’t bump into nearby furniture or decorations.
Try a gentle breeze. If your spinner doesn’t move on its own, try gently blowing on it or placing it near an open window on a breezy day.
The Science Behind This Fall Leaf Spinner
This craft is also a fun opportunity to introduce a little science into your day!
Why Do the Marker Colors Bleed?
Coffee filters are made of absorbent paper.
When you spray water onto the washable marker designs, the water moves through the paper and carries some of the ink with it.
As the ink spreads, the colors mix together and create a watercolor effect.
You can experiment with different marker colors to see which combinations blend best.
Why Does the Spinner Spin?
When moving air pushes against the spiral and attached leaves, it can cause the spinner to rotate.
The spiral’s shape and the way it’s suspended allow it to turn as air moves around it.
Try hanging the spinner in different locations and observe how the amount of airflow affects its movement.
Why Do the Leaves Catch the Light?
Coffee filters are thin and slightly translucent, meaning some light can pass through them.
When you color the filters with washable markers, the resulting leaves look especially vibrant when held up against a sunny window.
Turn It Into a Simple Science Experiment!
Ask your kids:
- What happens when you blow gently on the spinner?
- Does it spin faster when the air moves more quickly?
- What happens if you add more leaves?
- Does your spinner move differently near a window?
- How do the colors look when sunlight shines through them?
Encourage your kids to make predictions and then test their ideas.
It’s a simple way to combine art, observation, and hands-on learning!
Download Your Free Fall Leaf Spinner Printables
Ready to make your own colorful fall leaf spinner?
I’ve included two free printables to help you get started!
Free Fall Leaf Templates
These leaf templates are perfect for tracing onto your colored coffee filters.
Choose your favorite shapes or mix and match several different leaves.
Free Spiral Spinner Template
This printable makes it easy to create the hanging spiral that holds your colorful leaves.
I printed ours onto sage green cardstock, but you can choose any color you like!
Printing tip: Print both templates at actual size (100%). Cardstock works well for sturdy tracing templates and gives the spinner more structure. If you’d like your spinner to move more easily in a light breeze, try regular printer paper for the spiral instead.
More Colorful Crafts for Kids
If your kids enjoyed making this fall leaf spinner, here are a few other colorful crafts to try!
Butterfly Suncatcher Craft
Our Butterfly Suncatcher Craft is another fun way to create something beautiful that catches the sunlight. It’s also the project that inspired us to reuse our coffee filters for these fall leaves!
Colorful Coffee Filter Flowers
If your kids enjoyed watching the marker colors blend together, they’ll also love making these Colorful Coffee Filter Flowers. They use a similar watercolor technique and make a lovely handmade gift.
Easter Coffee Filter Suncatchers
Our Easter Coffee Filter Suncatchers are another way to experiment with washable markers, water, and coffee filters. They also come with free printable templates!
Heart Suncatcher Craft
For another colorful window decoration, try our Valentine’s Day Heart Suncatcher Craft.
A Beautiful Fall Craft to Hang and Enjoy
I love crafts that don’t just get put away once we’re finished making them.
This fall leaf spinner is colorful, fun to make, and makes a pretty seasonal decoration. Kids can experiment with blending colors, practice their tracing and cutting skills, and then watch their artwork move in the breeze.
And I especially love that we were able to repurpose supplies from another craft!
Hang your finished spinner near a sunny window and enjoy watching those colorful fall leaves twirl.
Happy crafting!